
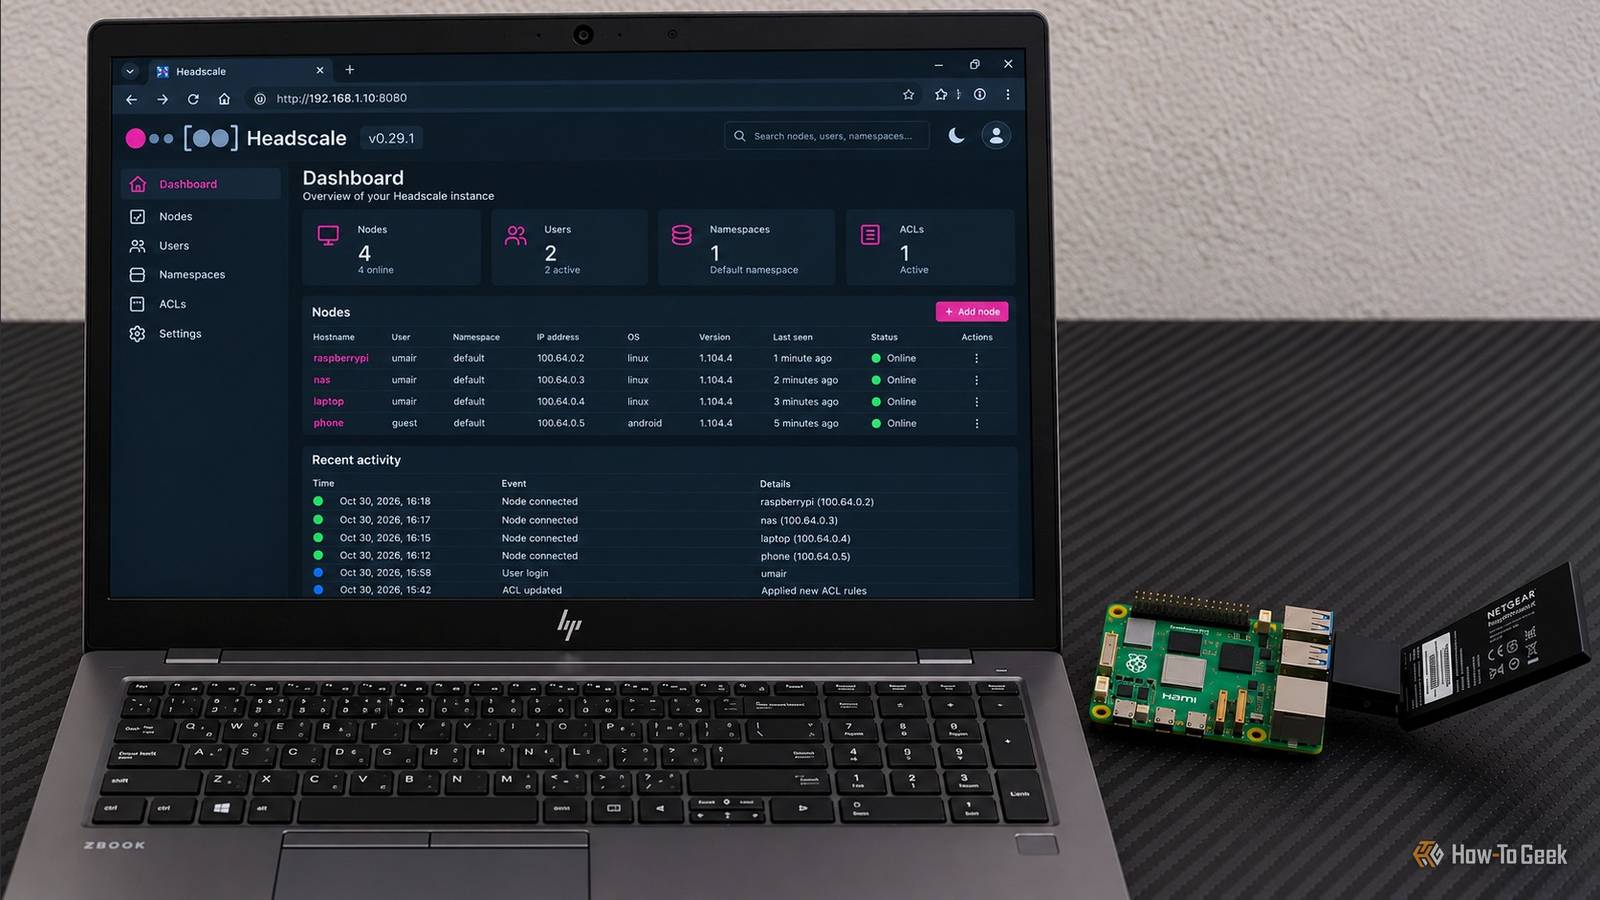
Published Nov 4, 2026, 7:30 AM EST Umair Khurshid is a technology writer and developer with a strong focus on Linux, FreeBSD, cloud infrastructure, and automation. Before focusing on writing, Umair worked as a developer and DevOps engineer building and automating cloud-native systems. I already own a dedicated travel router, and it does a pretty good job of connecting my devices to unfamiliar Wi-Fi networks when I am away from home. However, I wanted something that gave me more control over my network and made accessing my homelab easier while traveling. I already use Tailscale and Headscale across several devices, so experimenting with them on a Raspberry Pi seemed like a natural next step. What I ended up with was a little networking setup that could do more than share an internet connection. By combining Linux networking tools, Tailscale, and my self-hosted Headscale control server, I could connect to my home network, route traffic through a remote connection, and experiment with different ways to manage my devices while away. My dedicated travel router was not enough I wanted more control over my network I run several services in my homelab, and accessing them remotely is something I regularly need. Although I could install Tailscale on individual devices, I wanted to experiment with a setup that gave me more networking flexibility. A Raspberry Pi was a good candidate because it runs a regular Linux distro, supports common networking utilities, and gives me considerably more freedom to configure routing and network services. I can also use it for other homelab experiments instead of buying another dedicated networking appliance. The idea was to combine the portability of a travel router with the flexibility of a small Linux machine. Tailscale would handle private connectivity, Headscale would provide the self-hosted control plane, and Linux would take care of the networking configuration. Setting up Tailscale and Headscale on my Raspberry Pi Connecting the Pi to my self-hosted tailscale I started with Raspberry Pi OS and installed the Tailscale client, it’s quite easy-peasy. However, I use Headscale as well, an open-source, self-hosted implementation of the Tailscale control server. Headscale lets me manage my own coordination server rather than depending on Tailscale’s hosted control plane. I can register devices, manage my tailnet, and maintain control over the coordination infrastructure while continuing to use the official Tailscale clients. Once I authenticated the Raspberry Pi with my Headscale server, it appeared alongside my other devices. I can access it using its Tailscale IP address. This gave me a convenient way to manage the Pi remotely without exposing its SSH service to the public internet. It also meant I could integrate the travel router into the same private network I already use for my homelab. The next step was configuring the Pi as an exit node. This allows other devices connected to my tailnet to route their internet traffic through the Raspberry Pi. I enabled IP forwarding and advertised the exit node with: sudo tailscale up --advertise-exit-node Afterward, I approved the exit node through my Headscale configuration and made it available to other devices. The exact approval process depends on the Headscale version and configuration. There is another part of the setup worth understanding. Tailscale supports both exit nodes and subnet routers, and they serve different purposes. An exit node routes internet traffic through the selected device. A subnet router allows devices on your tailnet to access machines on a network behind the Raspberry Pi. If you want to reach services on a local network, subnet routing is useful, and if you want to route your general internet traffic through a remote connection, you can use an exit node. To turn the Raspberry Pi into a more traditional travel router, I also configured its wireless access point, DHCP, NAT, and firewall rules. This lets other devices connect to the Pi’s local network without requiring each one to have Tailscale installed. I have published the complete configuration, installation scripts, and setup instructions in my pi-tailscale-travel-router GitHub repository, so you can use it as a starting point for your own setup. What can I do with my Raspberry Pi travel router I would not say that the Raspberry Pi makes my dedicated travel router obsolete. The dedicated device is still more convenient for quickly connecting to hotel networks and sharing internet access with multiple devices. The Raspberry Pi offers a different kind of flexibility. I can configure it to perform specific networking tasks, integrate it with my existing homelab, and experiment with Tailscale features without being restricted to the capabilities of a vendor’s firmware. There are a few hardware limitations to consider, too. The Raspberry Pi’s networking performance depends on its model, wireless configuration, and available interfaces. I already had a Wi-Fi adapter, so this was not an issue for me. However, buying all the necessary components specifically to build a travel router could make this a more expensive option than purchasing a dedicated device. Still, if you already own a Raspberry Pi and enjoy experimenting with Linux networking, this is a worthwhile project.
Tailscale turned my Raspberry Pi into the travel router I actually wanted
Full Article
Original Source
Read the full article at Howtogeek →KhanList aggregates and links to publicly available news content. We do not host full articles from third-party sources. Always verify important information with original sources.