
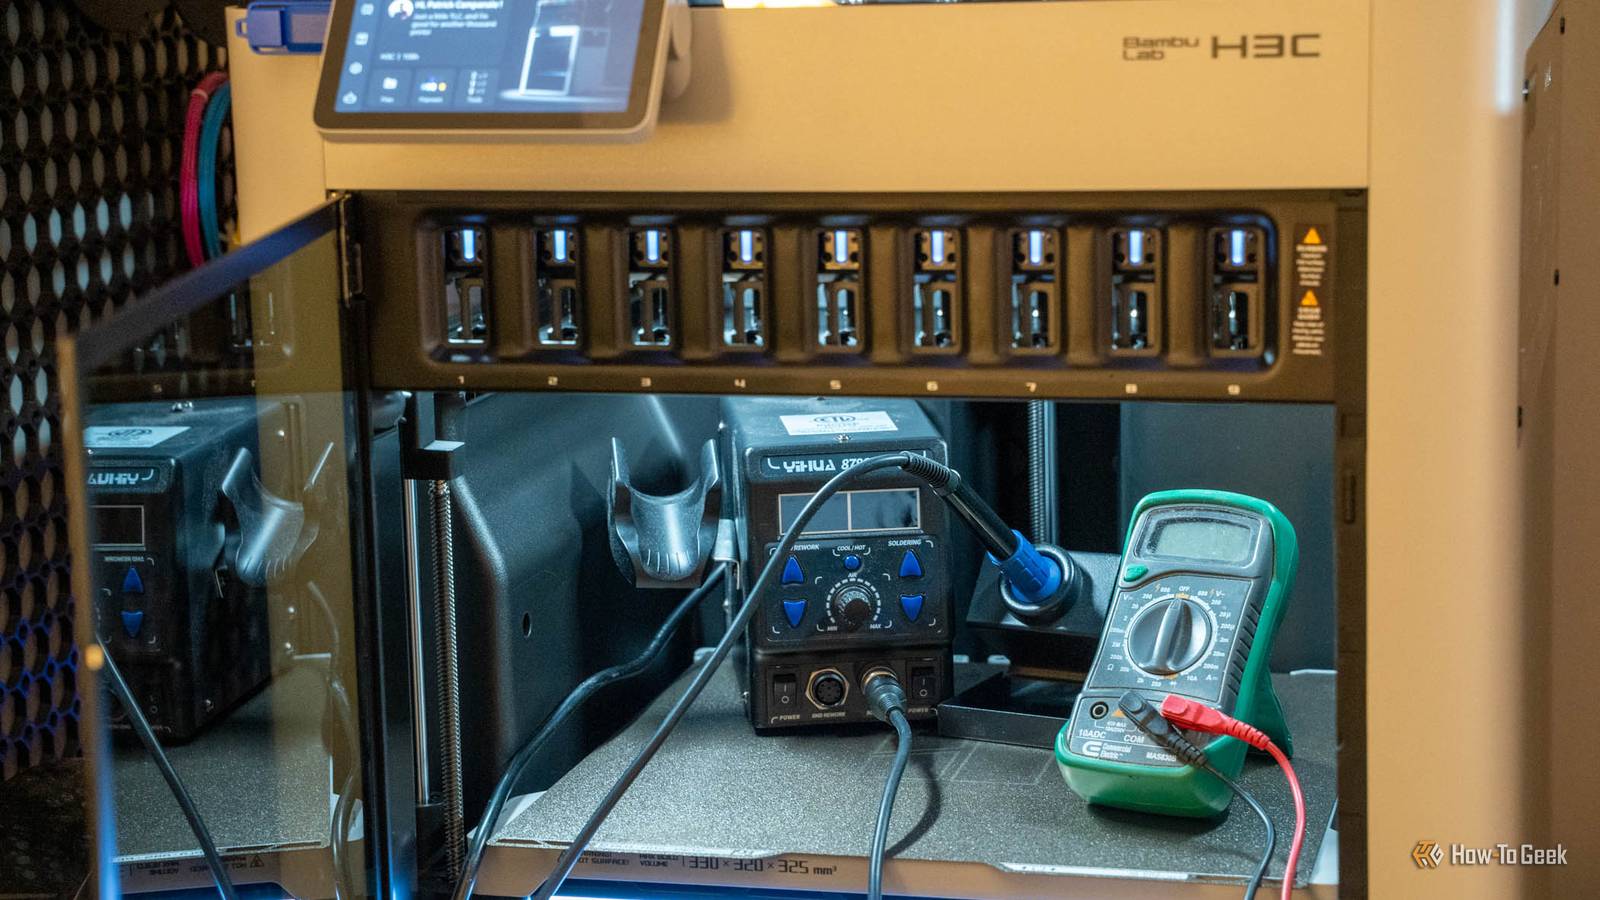
Published Nov 18, 2026, 8:30 AM EST Patrick Campanale has been in the tech space for well over a decade, specializing in PC/gaming news and reviews, as well as maker-focused products to build small businesses. With a start in technology back in 2010 surrounding the Palm/webOS ecosystem, Patrick spent his formative years developing mobile applications as well as blogging for various publications, eventually leading to starting his own website in 2014. After running a technology blog for a few years, he stepped out of that role and into the world of high-end custom PC manufacturing and building, with a focus on YouTube video production and overclocking. Then, in 2017, Patrick joined the 9to5Toys team as an editor/writer/reviewer with over 14,000 articles being published during his time there, ranging from deals and roundups to in-depth reviews on the latest technology, video games, 3D printers, and more. In his free time, Patrick loves to create projects from wood using various robots and methods, including leveraging the technologies of CNCs and lasers. If Patrick isn't working on a computer or playing video games, he's likely in his 2-car garage workshop creating something unique. In addition to all this, Patrick is also the media director at his local church where he feels God has called him to serve, and he loves every minute of it. Did you know that Apple recently added the iPhone 18 Pro, Mac Studio, and Mac mini repair parts to its Self Service Repair site? Yes, Apple offers official repair kits for many of its devices. Other companies are also starting to offer official repair kits and manuals with the right to repair movement gaining steam. If you're wanting to start repairing your own electronics or other devices, then the tools you need are pretty simple. First, you'll want a good multimeter. Second, you'll want a solid soldering iron. Third, you'll want to pick up a 3D printer. With these three tools, you can tackle almost any electronics repair or even many household repairs that you'll come across. Right to repair is designed to help DIYers repair their own items It's just not progressing nearly as fast as I'd like If you've not heard of right to repair, it's a movement to give consumers the right to repair their own items and products. The Magnuson–Moss Warranty Act has been around since 1975 and it gives consumers the "right to repair" their own items without fear of a warranty being voided, so long as the repair didn't do further damage to the item. The problem is, companies have gotten around this by simply not providing documentation or parts to perform a repair. Or, in some cases, companies have flat-out denied warranties because a third-party part was installed since the consumer (or even reputable repair shops) couldn't source first-party components. I used to do PC and mobile phone repair, and I saw first-hand what happened when we performed a repair on one component like a screen, and the customer took their phone in for warranty repair after the fact for something completely unrelated like a charging port. The customers would inevitably come back to us for the repair because their warranty claim had been denied. The modern right to repair movement isn't aimed at giving you the actual right to repair your own items—the Magnuson–Moss Warranty Act covers most of that—it's aimed at giving you the tools necessary to actually perform the repairs. That's why Apple now has its Self Service Repair Program where consumers can purchase repair parts and tools, as well as download service manuals, to perform many repairs themselves. But sadly, modern right to repair laws that require manufacturers to provide parts and manuals to consumers for DIY repairs only apply to modern releases. So, what can you do with devices you own that aren't covered by right to repair? You can still repair them yourself. It just takes a little more know-how and ingenuity. Start with a multimeter so you know what's actually broken Continuity and voltage testing do most of the work on small electronics One of the first things I check whenever I am diagnosing something broken is wiring and circuitry. Often, wires could be bad, a capacitor could be popped, or a resistor might have blown. This always starts with a visual diagnosis: are there cables unplugged or wires that are disconnected, are there any visible burn marks on the board, are any capacitor tops visibly blown? Once I answer those questions, I can move onto the next stage of diagnosis: actually testing the board. You see, sometimes a visible check can reveal the problem, and other times you actually need to test the continuity or capacitance of a component on the board. This is honestly a lot less daunting than it might seem once you have a good multimeter. Klein makes a solid multimeter that you can pick up at Home Depot if you don't have one and need it today. A more premium option would be the Fluke 101, but it can get a bit pricey if you're just starting out. Really, even running down to Harbor Freight and grabbing a multimeter is a good place to start if you're on a budget—just get a multimeter. Klein Digital Multimeter Klein's 600V digital multimeter is the perfect start to your DIY electronics toolkit. It can test continuity between wires or leads, show you what voltage there is between two items, and so much more. The Pinecil handles most small-electronics soldering But you'll definitely want to upgrade if you start to solder more often A multimeter only shows you what is wrong with your components, but a soldering iron is typically required to actually repair the components. A soldering iron is an essential tool for repairing electronics yourself. There are many models out there and I have used quite a few. Soldering irons like the USB-C-powered Pinecil V2 are cheap, can be powered by many USB-C power sources (including a portable battery), and have features like a variable temperature. If you're just starting out, I'd definitely recommend checking out the Pinecil V2 as it's one of the most popular soldering irons in the DIY community because of how affordable yet capable it is. I personally have the YIHUA 8786D 2-in-1 system which I absolutely love. It has a variable temperature soldering iron as well as a variable temperature hot-air reflow station so I can use it for a wide range of projects. It's more of an advanced system because of the hot-air reflow station, but the hot air has come in handy many times for things like heat-shrink tubing on wiring and reflowing components on a motherboard. YIHUA 8786D 2-in-1 Soldering Station The YIHUA 8786D is the perfect starter soldering station. It features a fast-heating soldering iron that can reach temperatures of up to 896F, as well as a hot air rework station that can get up to the same temperature. The hot air gun automatically shuts off when set in its cradle, and the soldering iron goes to sleep after 10 minutes of inactivity, too. A 3D printer makes the plastic parts nobody sells Someone has probably even designed it already I have owned a 3D printer for several years now, and it never ceases to amaze me how many different ways there are to use it. The thing with a 3D printer is it can make almost anything you could come up with. So, let's say the battery door on your Nikon D90 camera breaks somehow. You could spend $10 or so buying one on Amazon, or you could spend about $0.10 in filament to 3D print one that someone has already designed. That's a simple task though—you could get a new battery door online. Let's say you have the Sony Walkman WM-703C and the battery door on that goes missing. It's just a piece of plastic held in by a clip and it's easy to lose or break. You're not likely to find one of those easily—unless you look at MakerWorld for two seconds and find this model someone designed. Those are just two examples of thousands I could give. Stove knobs, freezer door handles, cabinet hinges, dishwasher levers, and so much more can easily be 3D printed from existing models you can easily find online. And, if you can't find a model online, then you can design it (or have AI design it for you). 3D printers are also becoming way more affordable. The Bambu Lab A1 mini has a retail price of $299 but is often on sale for far less than that. It's the printer I would recommend anyone start with if they're working on a budget. If you have a little more to spend, then check out the Bambu Lab P2S as a solid step up. If you need a larger print area than the A1 mini offers, the Elegoo Centauri 2 is a very good option without breaking the bank. Bambu Lab P2S 8/10 Build Volume 256x256x256mm Printing Speed 600mm/s Brand Bambu Lab Max Hot End Temp 300C The Bambu Labs P2S 3D printer is ready to go out of the box and can have you printing within 15 minutes. It features up to 20-color printing with the AMS unit, has an upgraded built-in camera for remote monitoring and time lapses, and has an enclosed body for printing even high-temperature filament. It's nice to have official repair parts from companies, I just wish it was more wide-spread While right to repair isn't where I'd like it to be, it's definitely progressing. The FTC (Federal Trade Commission) says that a third-party repair cannot by itself void a warranty. There are many factors that can void a warranty, but a third-party being the one to provide a repair (including you) is not one of those factors. But, these laws mostly cover new devices. However you slice it, with a soldering iron, multimeter, and 3D printer, you can repair just about anything you come across at your home.
Right to repair starts in your garage with a soldering iron, multimeter, and a 3D printer
Full Article
Original Source
Read the full article at Howtogeek →KhanList aggregates and links to publicly available news content. We do not host full articles from third-party sources. Always verify important information with original sources.