
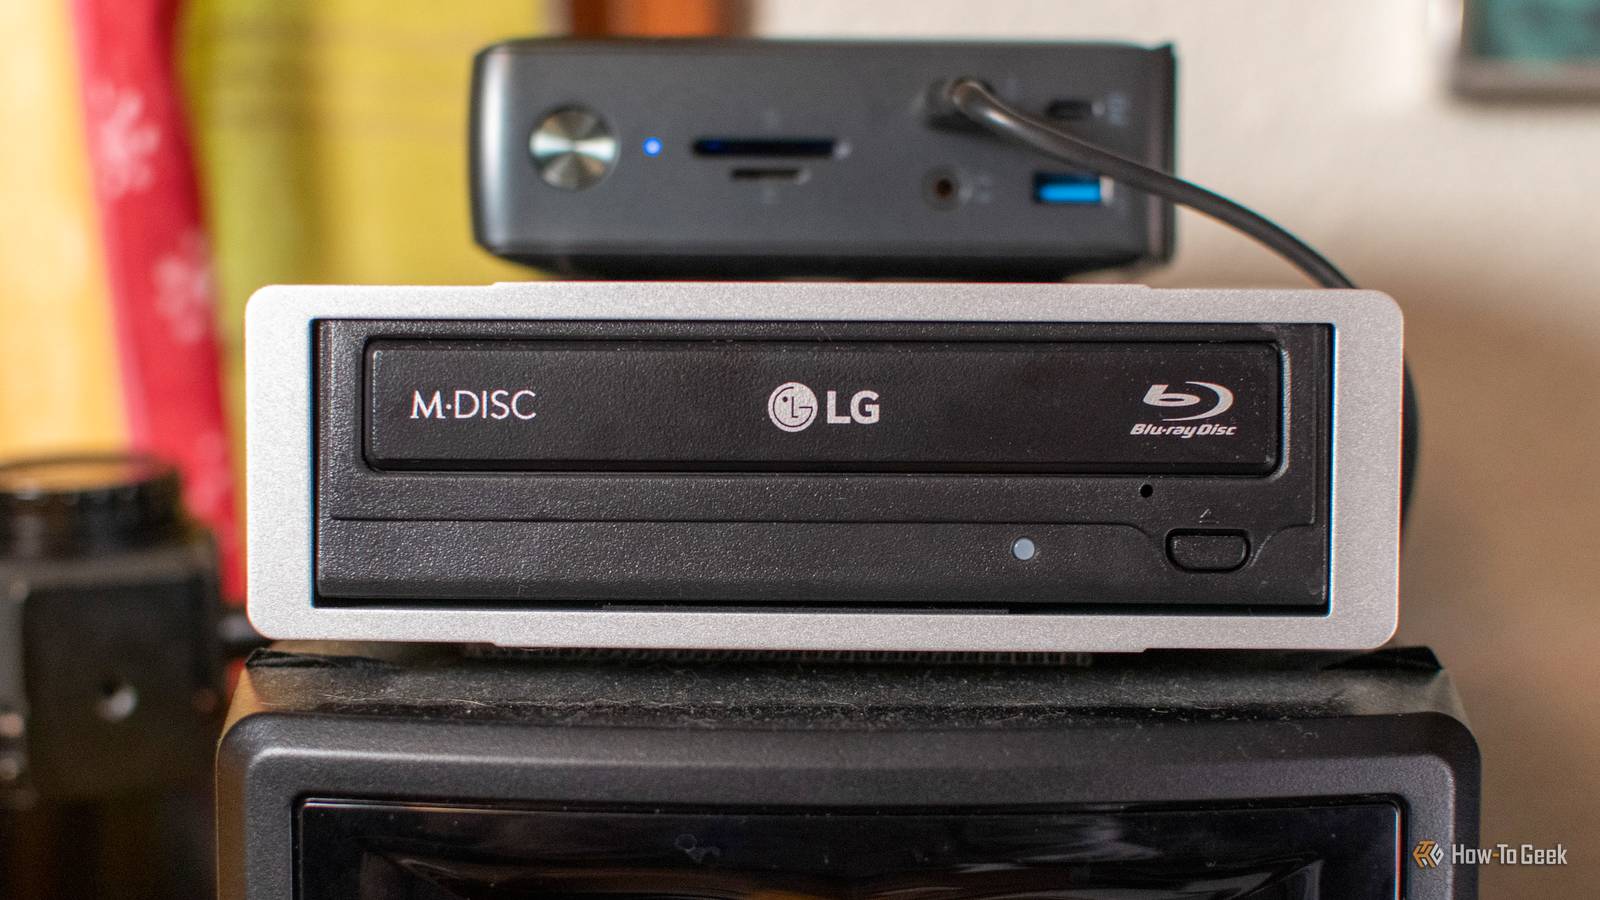
Published Sep 25, 2026, 10:30 AM EDT Arol is a tech journalist who currently works as a contributor at How-To Geek since 2022. He first began writing online for the short-lived portal of Spanish-language gaming forum Emudesc in 2013. Years later, in 2017, he got his true start in tech journalism working for a small Google-focused site called Pixel Spot. He transitioned to a news and feature writer role at XDA Developers that same year, where he worked until 2021 before making the jump to other websites. Arol brings nearly a decade of writing experience, and the occasional hot take, to his writings. While he's a technology lover at heart, he holds computer hardware and smartphones particularly close to heart. You'll normally find him covering news, although he has also written the occasional deal, buyer's guide, how-to post, and round-up. He's also written for Android Police and MakeUseOf. He's also a Political Science student. When he's not writing, you'll probably find him hitting the gym, trying to ace a new hobby, reading his textbooks, or traveling. You can reach him at me@arolwright.com. Blu-ray discs remain one of the few ways to keep high-quality home movies on physical media you control. Windows 11 barely includes basic support to make a playable one, though — which might surprise some of you, considering native burning tools for formats like DVD have been a staple on Windows for almost 20 years now. Here's the hardware and software you need, how burning works, and whether it's all worth the effort. What you need A burner, the right discs, and authoring software Hardware is where most people get stuck. Your PC needs a drive that explicitly writes Blu-ray media. It's a big roadblock — if you were reading this 15 years ago, your problem was probably a DVD-only drive, and now it's even worse because you may not have a drive at all. If yours has none, an external USB Blu-ray writer is the easy fix. Pick one that lists BD-R and BD-RE writing in its specs. Plug it directly into the PC rather than a cheap hub, since burners can be picky about power and a dropped connection mid-burn ruins the disc. Then there's the media. BD-R discs are write-once, while BD-RE discs can be erased and rewritten. A single-layer disc holds 25GB and a dual-layer disc holds 50GB, which is enough for a feature-length film at 1080p. Higher-capacity BDXL discs exist, but they need a drive and player that specifically support them, so skip them unless you know both do. It's smart to buy at least one BD-RE for test burns before you commit a write-once disc to your final cut. The software side matters more than most guides admit. Windows 11's File Explorer can write ordinary files to a Blu-ray, but it only creates a data disc. It won't build menus, chapters, or the folder structure a standalone player expects from a movie disc. For a proper video disc, you need authoring software. ImgBurn is a long-standing free option that works best when you already have a prepared Blu-ray folder or ISO image. Commercial tools such as DVDFab Blu-ray Creator take regular MP4, MKV, or MOV files and convert them into a playable disc with menus and subtitles. Whichever you choose, download it from the developer's own site and watch the installer screens for bundled extras. Finally, gather your source files in one place and leave plenty of free storage, because authoring tools usually create large temporary files before burning begins. The process Data disc or movie disc, and how to burn each Start by deciding what kind of disc you're making, because the two routes are very different. If you only want to store files, Windows 11 handles it on its own. Insert a blank disc, choose the option to burn files to disc, and give it a title. Windows then asks whether you want to use the disc like a USB flash drive or with a CD/DVD player. The flash drive option allows drag-and-drop editing but is less compatible, while the player option works on more devices. Drag your videos into the disc window, then use Eject under Drive Tools to finalize it. The result plays fine on a computer, but a standalone Blu-ray player may refuse some containers and codecs, so it won't behave like a store-bought movie disc. For a real movie disc (only use either public domain videos or a movie you own), open your software of choice. I personally like DVDFab's Blu-ray Creator, but it can be a bloated app for some, so definitely keep your options open if you don't like that one. From there, import your videos. Choose the disc size that matches your blank media, BD-25 or BD-50, and pick an output resolution, typically 1080p or 720p. Most tools then let you select a menu template, set chapter markers, and add audio tracks or subtitles. Expect the software to convert your footage into a Blu-ray-compatible format, which can take a while on long projects. Many programs let you save the result as an ISO or a folder before burning. That's worth doing, because you can preview it and reuse it if a burn fails. If you're using ImgBurn with an authored folder, add the BDMV and CERTIFICATE folders, select your Blu-ray writer, and use UDF 2.50 as the file system. Turn on the verify option so the program reads the disc back and compares it with the source after burning. Once the burn finishes, don't skip the last step. Test the disc on the player you actually plan to use, whether that's a console, a living room player, or your PC running VLC. Fixing a problem on a rewritable disc is far cheaper than discovering it after burning a write-once one. Is it worth doing? Great for sharing and archiving, overkill for everyday storage Whether burning your own Blu-rays makes sense depends on what you want out of it. For what it's worth, there's a real case for it. Streaming relies on heavy compression, while a disc can carry high-definition video with lossless audio options, multiple subtitle tracks, and menus, all without an internet connection or a subscription. A finished disc also plays on standalone players and consoles, which makes it a practical way to share a wedding video or family archive with relatives who don't want to fiddle with USB sticks or cloud links. And because it's a physical object, you control it. There are also tons of downsides. Many people have to buy a burner separately, plus discs and possibly paid software. Burning takes time, the tools can be clunky, and playback problems on a particular player are common enough that testing becomes part of the process. Capacity is another limit. Twenty-five gigabytes fills up quickly if you shoot at high bitrates, and heavy compression to make a project fit undermines the point of choosing Blu-ray in the first place. Recordable discs also aren't a forever medium. How long they last depends heavily on disc quality and how you store them, so treating one as your only copy is a mistake. For pure storage, an external hard drive or SSD is cheaper per gigabyte, faster, and far less hassle. Blu-ray makes the most sense when you need something a non-technical person can put in a player and watch, or when you want a second, offline copy of footage that matters. As one layer of a backup plan that also includes a drive and a cloud copy, it earns its place. As a replacement for those, it doesn't. If you're making a single disc for a one-off occasion, the setup cost may not be worth it. If you have a growing library of family video, it probably is. Blu-ray burning works, but only for the right projects Burning Blu-rays in Windows 11 takes a proper drive, blank discs, and authoring software, since File Explorer only handles data. The process is manageable once you test carefully. It suits movies you want to share or archive offline, but it's a supplement to backups, not a replacement.
How to burn your own movies on Blu-ray in Windows 11
Full Article
Original Source
Read the full article at Howtogeek →KhanList aggregates and links to publicly available news content. We do not host full articles from third-party sources. Always verify important information with original sources.