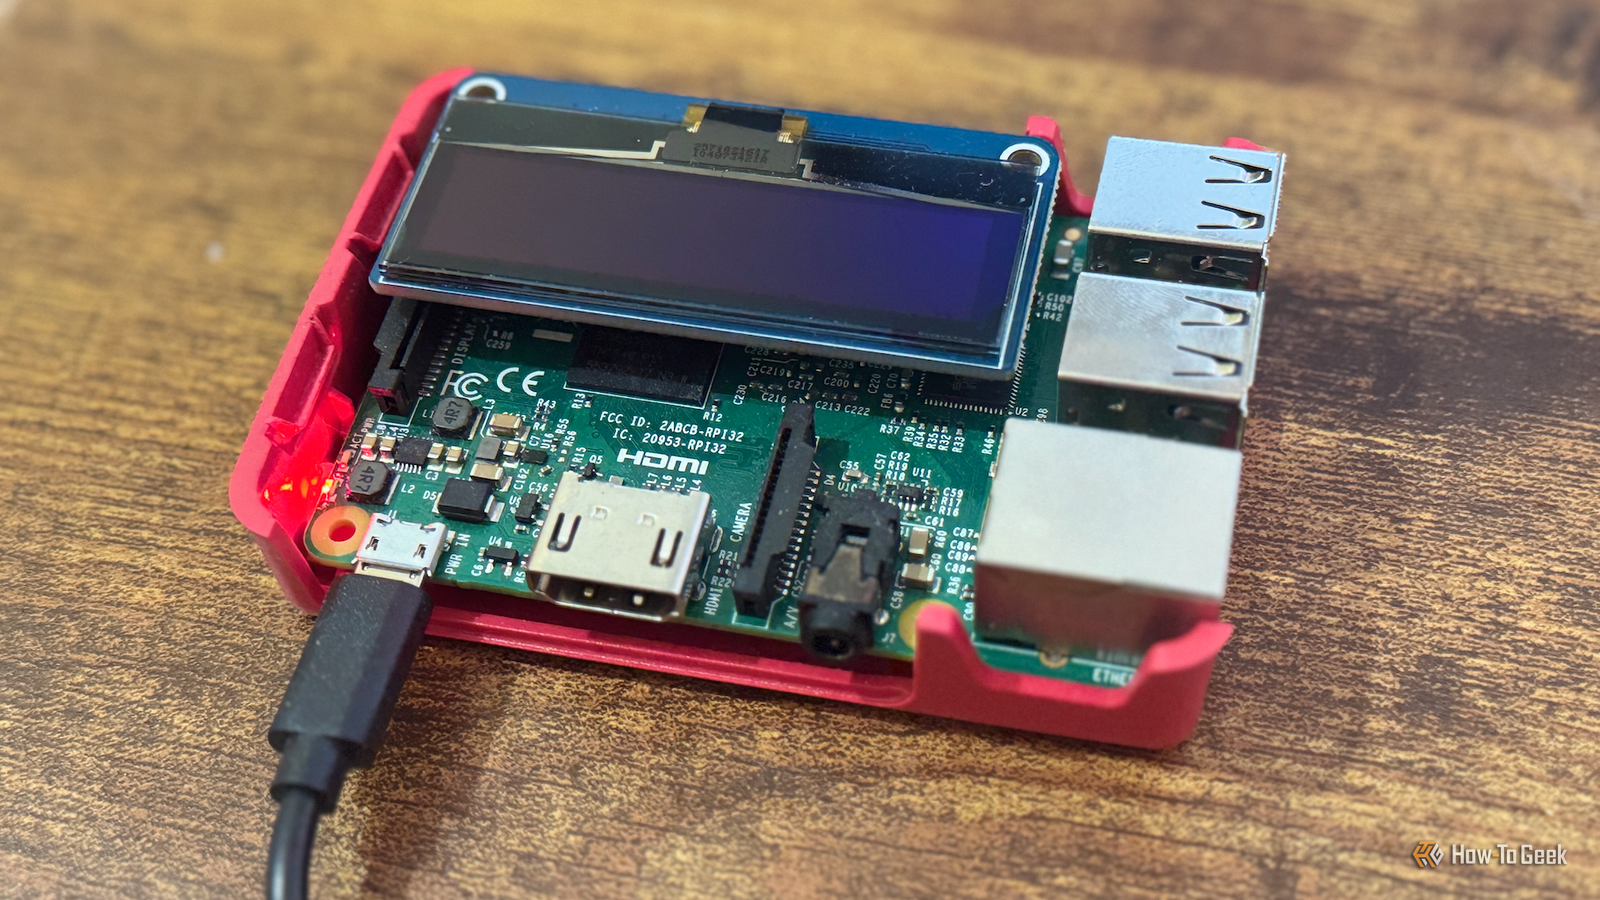
Published Jul 17, 2026, 12:45 PM EDT Patrick Campanale has been in the tech space for well over a decade, specializing in PC/gaming news and reviews, as well as maker-focused products to build small businesses. With a start in technology back in 2010 surrounding the Palm/webOS ecosystem, Patrick spent his formative years developing mobile applications as well as blogging for various publications, eventually leading to starting his own website in 2014. After running a technology blog for a few years, he stepped out of that role and into the world of high-end custom PC manufacturing and building, with a focus on YouTube video production and overclocking. Then, six years ago, Patrick joined the 9to5Toys team as an editor/writer/reviewer with over 14,000 articles being published there there, ranging from deals and roundups to in-depth reviews on the latest technology, video games, 3D printers, and more. In his free time, Patrick loves to create projects from wood using various robots and methods, including leveraging the technologies of CNCs and lasers. If Patrick isn't working on a computer or playing video games, he's likely in his 2-car garage workshop creating something unique. In addition to all this, Patrick is also a youth pastor at his local church where he feels God has called him to serve, and he loves every minute of it. It's time for more Raspberry Pi projects! This weekend, however, I'm going to be showing you three unique ways to use your Raspberry Pi with Home Assistant. Raspberry Pi 4 Model B Brand Raspberry Pi CPU Cortex-A72 (ARM v8) Memory 2 GB With the Raspberry Pi 4 Model B, you can create all kinds of fun projects, and upgrade gadgets around your home. Alternatively, install a full desktop OS and use it like a regular computer. Build a remote to turn your shop dust collector on automatically Use a button or automatic tool sensors, the choice is yours Credit: Nathaniel Pangaro / How-To Geek If you have a workshop with a dust collector, then you know how annoying it is to remember to walk over and turn it on (and then off) every time you want to use it. With a Raspberry Pi and a bit of DIY know-how, you can actually make that dust collector automatic without spending an arm and a leg. There are a few ways to go about this. The simplest is to run something like Home Assistant on your Raspberry Pi, and then set up automations with energy monitoring smart plugs to automatically turn your dust collector on whenever power starts flowing through the outlets your tools are plugged into. This is an extremely effective, yet extremely simple, way to achieve an automated dust collector. Plus, you can program the Home Assistant automation to keep the dust collector running for 30 seconds after a tool shuts off to pick up any stray dust that hasn't been sucked up yet. However, if you want the more DIY route, then it'll require some GPIO work and maybe even some soldering. You'll need something like a relay that can take live high voltage and switch it on and off using the 3.3V control signals of the Raspberry Pi. From there, you'll need a way to trigger the GPIO—an app on your phone, a physical remote, or another trigger that's tied directly to the tool. This project can get as complicated or simple as you want it to be. So, get out into the shop and automate your dust collector. It'll make your time out there that much nicer. No remote? No problem. Your Raspberry Pi can be an IR blaster for old home theater gear Make your home theater gear work with Home Assistant While newer home theater gear can be controlled from your phone or through something like Home Assistant, older gear without network connectivity simply doesn't have that functionality. That's where a simple Raspberry Pi project like an IR blaster comes in. You can use any Raspberry Pi for this, but you'll want one that has some form of Wi-Fi, like the Pi Zero 2 W. From there, you just need an IR blaster and receiver that connect to the GPIO pins of the Pi and to load some firmware on it. The firmware that you use will depend on which IR blaster you use. Once you have the hardware figured out, then it's time to program the remote system. The reason you need the IR receiver is to program the Raspberry Pi. You'll take your old remote and point it at the receiver and click the individual buttons for the Pi to learn what to do. Then, when you tell the Pi to trigger a command, it will repeat what it learned. Adafruit has a great guide on building a Raspberry Pi IR remote that you should definitely check out. Once you have it all ready to go, I'd recommend bringing it into Home Assistant so you can start automating portions of your home theater that you couldn't before. How much CO2 is building up in your office? It could be the source of your headaches mid-day Did you know that you should "burp" your house every so often? Depending on how long you're in a room and how well sealed it is, there's a chance that CO2 could build up in there. In normal concentrations, CO2 isn't all that harmful. Your body is designed to handle it. However, in more concentrated doses, it can cause some adverse effects, like headaches and brain fog. So, using a Raspberry Pi, an SCD40 or SDC41 sensor, and a little OLED display or some LEDs, you can easily tell how much CO2 is in your room, and whether it needs to be aired out. On the simple side of things, I'd recommend just building a setup that consists of the sensor and three LEDs—red, yellow, green. A green LED (or maybe no LED at all) means that the CO2 is below a threshold that you should worry about. The yellow LED means "Maybe open a window soon." When the red LED lights up, you know it's time to either open a window now or take a walk if there's no window to open. Adafruit has a CircuitPython guide that has all the wiring you'll need for something like this. Plus, since a Raspberry Pi is Wi-Fi-connected, you can bring it into Home Assistant to report the CO2 levels to your smart home and use the information to either log the levels or trigger automations. Raspberry Pi Zero 2 W Brand Raspberry Pi CPU Quad-core 64-bit ARM Cortex-A53 Memory 512MB of SDRAM The Raspberry Pi Zero 2 W is super tiny and super affordable, but it packs enough computing power for a variety of DIY projects. You can use it to create a handheld retro gaming console, for Klipper/Mainsail, a super compact home or media server, and more. Your Raspberry Pi is the perfect Home Assistant companion This week, I wanted to show something a little different when it comes to Raspberry Pi projects. Each project has the ability to integrate with Home Assistant in a unique way. The shop dust collection uses the Pi to either run Home Assistant directly or expose a relay to Home Assistant. The IR blaster uses Home Assistant as a way to make non-smart home theater gear smart. The CO2 sensor lets you use Home Assistant as both a database and an automation trigger depending on how much CO2 is in your office. The Raspberry Pi is capable of so many things that sometimes it's as if the Pi has to be the whole project itself. When, in reality, sometimes it's better to just let the Pi be a small part of a bigger project.
3 Raspberry Pi projects that make Home Assistant more useful this weekend (July 17 - 19)
Full Article
Original Source
Read the full article at Howtogeek →KhanList aggregates and links to publicly available news content. We do not host full articles from third-party sources. Always verify important information with original sources.