
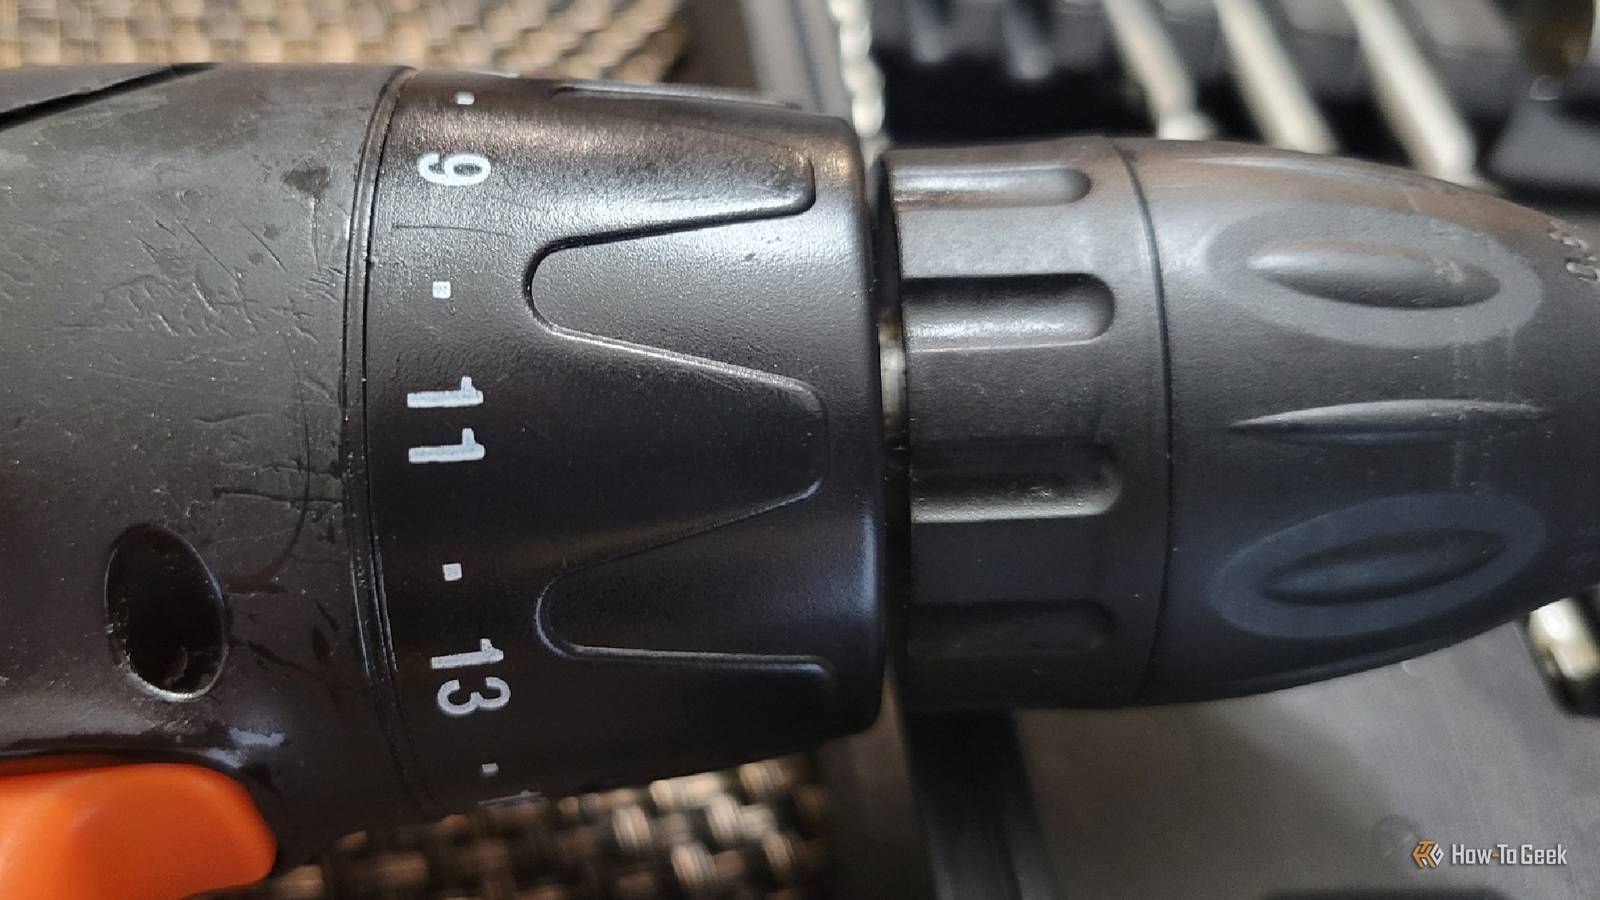
Published Oct 14, 2026, 6:30 PM EDT Aggy is a veteran writer and editor in the technology and gaming space. Having served as a Managing Editor for high-traffic digital publications, alongside being an editor and consultant for over a dozen sites. Aggy's published work spans a wide and respected array of tech and gaming outlets, including WePC, Screen Rant, How-To Geek, Android Police, PC Invasion, and Try Hard Guides. Beyond editorial work, Aggy's direct experience in the tech sphere extends to app development. Aggy has published two games under Tales and is always eager to learn and do more. He also likes working on computers and researching in his spare time. He knows about Windows, Linux, Audio, Video, and much more. Most of us have ruined a project by driving a screw half an inch too deep into drywall or snapping the head right off a brass fastener. It is easy to blame a cheap screw or an overeager trigger finger, but most of the time the problem is the collar right behind the chuck that you've been ignoring. I once added a wooden beam to my bed for extra support, and I had to buy a new beam because I didn't realize how important the clutch was. Once you know how that collar works, you'll have a lot more control over your drill, and it could save you a lot of money. The numbered ring does an important job It's this ring that controls your power When I first saw the numbered collar behind the chuck on a drill, I was pretty confused. That's something that I never really cared to learn more about until my curiosity got the best of me. There are plenty of people who never bother to find out because it seems unnecessary. But you really do need to know it to use your drill the right way. That collar sets how much force a cordless drill or driver puts on a fastener. It's on every cheap DIY drill and pro-level tool I've seen. It is a mechanical torque limiter that stops driving the screw before you strip it or wreck the material you're working on. When you turn the collar, an internal follower slides forward or backward along the tool's axis. That motion squeezes or relaxes a heavy spring in the gear case. The higher the number you turn to, the more that spring gets squished. That spring tension is what keeps the drill turning. In the gearbox, hardened steel balls rest in small pockets on the face of the ring gear, and push rods press on them with the spring's force to keep them there. While the screw isn't hitting much resistance, the balls keep the ring gear locked in place, so the planetary gears turn the output and power goes right to the chuck. Once the screw tightens and resistance passes what the spring can hold, the balls pop out of their pockets, and the ring gear spins free inside the tool. From there, the chuck will stop turning, and you get that fast clicking noise as the balls hop over the pockets again and again. One thing to keep in mind is that the numbers on the collar aren't tied to a real scientific measurement. They aren't Newton-meters or inch-pounds. They're just a scale for that one tool. A 10 on one brand has nothing to do with a 10 on another brand, or even a different model from the same company. They just tell you how tight the spring is on that one drill. You need to find the right setting Dial in your tool for the working To pick the right clutch setting, match it to the material and screw you're using. For delicate jobs like mounting cabinet hardware, installing switch plates, or driving screws into light framing, use a low setting. I usually use one through three, so I don't crush soft materials or snap small screws. Softwoods usually do fine in mid-range settings, so think fives through sevens. Dense hardwoods, MDF, or sheet metal need higher settings to pull the joint tight. You might go up to ten or higher, depending on your drill. Wood can vary a lot from one board to the next, so most pros don't guess. They do a quick test. Start low and drive a screw into a scrap piece of the same material. If the clutch slips before the head is flush, bump the collar up a notch or two and try again. Keep at it until the clutch clicks off right as the head seats perfectly. When it is perfect, you know that's your number for that job. This can take time, but it's worth it because you'll run into fewer problems. A few things can change which setting works best. Longer, thicker screws have more thread and create more friction, so they need higher settings than short, narrow ones. Flat countersunk heads need more force to pull flush than pan heads. Drilling pilot holes before driving, which you should always do in hardwoods and MDF anyway, cuts friction a lot and lets you use a lower setting for the same screw. And remember that the gear selector matters here too. Basically, the clutch releases at roughly the same torque in either gear, but low gear (Gear 1) gives the motor enough torque to actually reach the higher clutch settings, while high gear (Gear 2) may stall or overshoot first. That's because low gear multiplies the motor's torque before it gets to the clutch, but the clutch still lets go at the same point. Going easy on the trigger as the screw nears flush helps too, since slowing down cuts the momentum that can make the fastener overshoot. When you're drilling holes instead of driving screws, switch to drill mode if your power drill has that. The drag from cutting through material will trip the clutch and stall the bit mid-cut if you leave it on a screw-driving setting. Drill mode locks out the ratcheting mechanism and sends full power straight to the bit, so it's worth the switch. The clutch will not fix every problem Some jobs need different tools Your battery's charge level affects the clutch more than you'd think. A fully charged battery spins the motor fast, which builds rotational momentum in the gearbox. On a hard joint, that momentum can push the screw past your clutch setting before the spring kicks in. As the battery drains, that overshoot gets smaller, so the same clutch setting drives a little softer the longer you work. As mentioned before, the clutch also isn't calibrated. Since the numbers don't match from drill to drill, you need to be really careful with a new one. On top of that, the settings can drift over years of heavy use as the pockets wear down and the spring loses tension. You could always skip the clutch altogether, work in drill mode, and feather the trigger by feel. Or you can just grab an impact driver for most screw driving. The problem is that feathering the trigger depends on your reaction time and experience. When a screw hits a hard joint, it happens in a split second, so the motor hits full torque before you can react. That's how you strip pilot holes, chew up bit tips, snap screws, and run into other problems. Impact drivers drive long structural screws better, but they have no torque-limiting clutch. So they'll over-torque small machine screws and crush soft materials. I've even heard of them shearing brass hardware. A clutch stops the screw at the same point every time, whether you're paying close attention or not. Start using it early and get comfortable with it so you don't ruin your projects. Don't neglect this important part of your power drill The clutch won't solve every fastening problem on its own. Motor speed and battery charge will still affect how it behaves, but that's no reason to ignore it. You will always need a couple of test drives into scrap lumber before trusting a specific setting on delicate trim, but it's worth it.
The power drill setting that beginners overlook (and pros use constantly)
Full Article
Original Source
Read the full article at Howtogeek →KhanList aggregates and links to publicly available news content. We do not host full articles from third-party sources. Always verify important information with original sources.