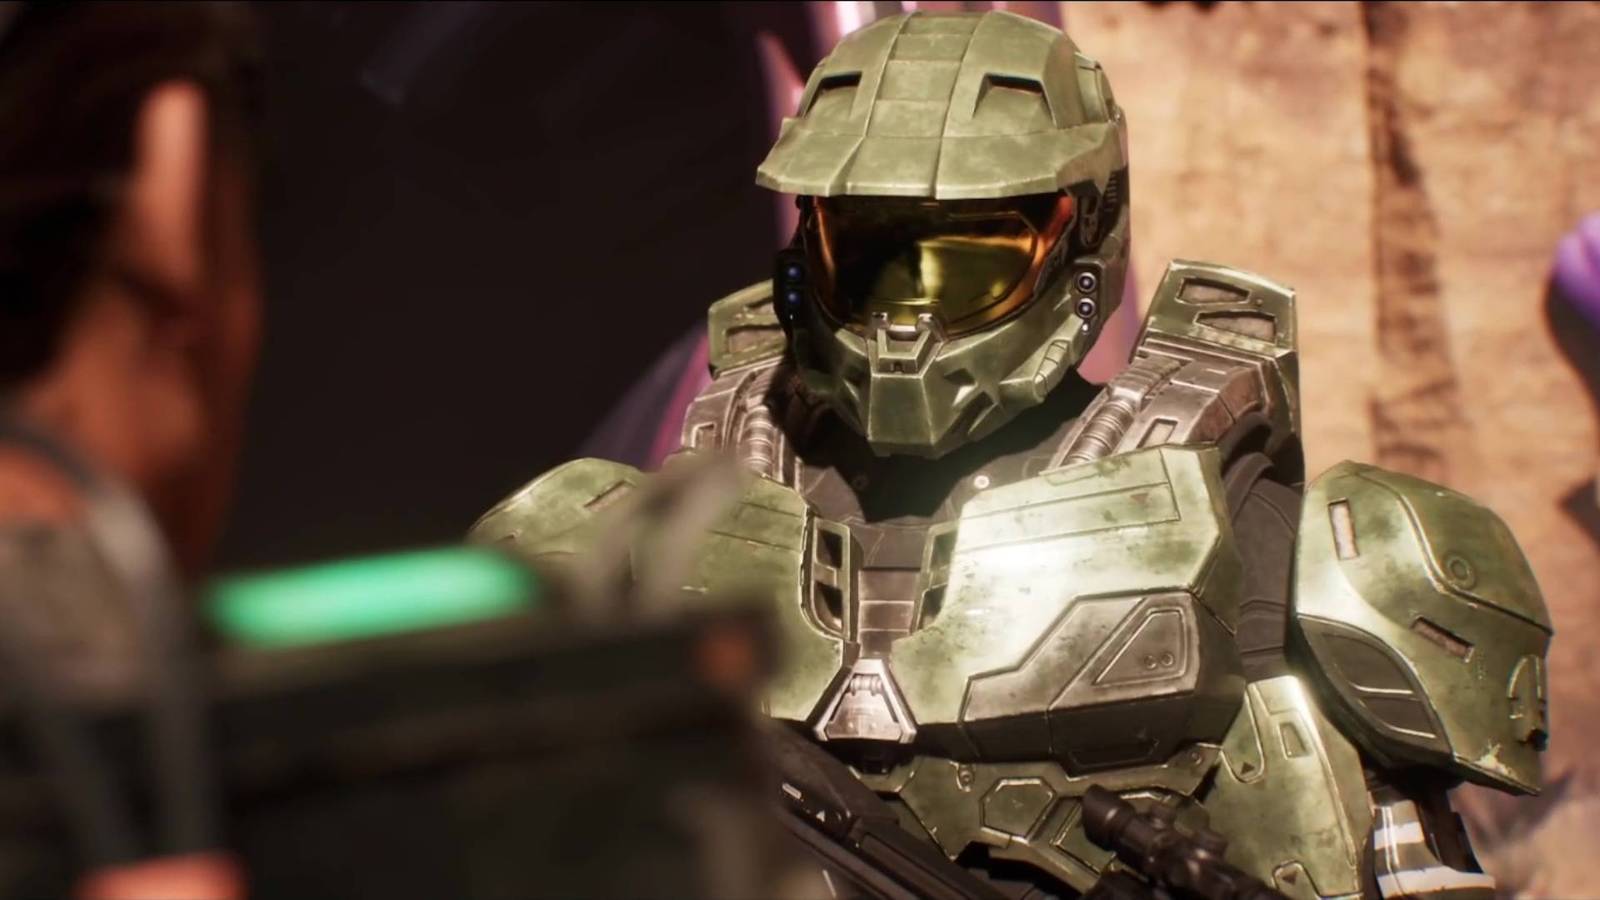
The skulls and terminal locations during "The Most Dangerous Game" in Halo: Campaign Evolved must be found as you help Williams find and rescue more captured UNSC marines. After leaving the Triumph of Tolerance during "Boarding Action," you'll be inside a dome, which, as you might've guessed, is full of Covenant enemies. And if you've already played through this mission without finding a single skull, don't feel ashamed: these three are some of the trickiest skulls to find in the whole game. Here's how you get the three skulls and one terminal during "The Most Dangerous Game" in Halo: Campaign Evolved. Skull 1: Temperamental Description: Allies will attack the player more quickly if the player kills a friendly. Objective: Multiple This is the only skull in the game that has multiple steps throughout the level, so while it's the first skull you can start acquiring, you won't actually find it until much later on in the mission. It also means that if you're jumping in at the various rally points to get skulls, that won't work here, as you need to play through most of the mission in one go. Essentially, there's a specific golden elite in the distance at various points throughout the level. This elite is invincible, but you can break its shields. If you break its shields every time you see it, you'll earn the skull. Simple, right? The first time you'll see the elite is when your objective is to "survive and explore the Hunting Reserve." After finding Williams and killing the enemies lying in ambush, you'll go around a large cliff to find a lot of tall trees. To the right-hand side at the back of this area is a ledge, with the golden elite watching over. Equip a long range weapon and shoot it until its shield breaks. You'll be able to see the elite again in the section immediately after this one. Clear the enemies then make your way to a big purple bridge with a bunch of Covenant everywhere, and a wraith on the other side. The invincible elite is at the very back of this area, to the left of the wraith, in front of a large door. Shoot it from afar and break its shields before it escapes through the doorway. (The second skull is also in this area, so scroll down to find out how to get it before coming back to the steps for this skull.) Before you see the elite for the third time, you'll be able to grab the terminal, so scroll down if you haven't found it yet. The second you step back outside after rescuing the marines and finding the terminal, Johnson will shout that he has eyes on a Covenant HVT (high value target). This is the chap you need to shoot again. Look up and to the left to find him, standing on a ledge. He's easier to spot this time though, because he'll be marked with a red icon on your HUD. Destroy his shields for the third time. When you've killed all the enemies in this area, look at the tall Covenant structure in the middle with the blue light coming out of it. If you've completed the steps above correctly and destroyed the elite's shields three times, the Temperamental skull will be inside here. Skull 2: Recession Description: Every shot expends twice the amount of normal ammo. Objective: Help Williams to find and rescue UNSC survivors. In the section with the bridge, kill all the enemies, then turn around and go back across the bridge, the way you came. In front of you will be a huge locked door with a tower adorning either side. At the top of each tower is a purple flame with a crate inside. Shoot each crate until it explodes and the door will open, revealing the Recession skull inside. Terminal: Penitent Report Objective: Help Williams to find and rescue UNSC survivors. After rescuing some marines from cells and proceeding through two armories, killing plenty of Covenant along the way, you'll eventually walk up a long slope into a room with huge windows on the left-hand side. To your right will be a doorway. Head through it and into the next room to find the Penitent Report terminal. Skull 3: Ghost Description: Enemies no longer flinch when taking fire. Objective: Clear a path through the Covenant forces. After surviving the banshee ambush and crossing the grav bridge, Williams, Johnson, and Master Chief will have a back-and-forth exchange. Eventually, the door in front will open, revealing an area full of Covenant enemies. We'd recommend clearing this entire area before tackling this skull, as it's a tricky one. The skull is above the door you entered, sitting inside one of the purple flames. However, there are two ways to reach it. If you're capable of grenade jumping, immediately to the left of the door is a raised area you can boost yourself up to. If you've run out of grenades, or you're struggling to achieve this, hug the wall around the corner until you reach a tree and some stalagmites. Jump on the stalagmites, going from ledge to ledge until you climb up the platform. When you're on the raised section, look toward the yellow tree branches and slowly climb up this small section. From here, a standard jump gives you enough height to reach the fire with the skull inside.
'The Most Dangerous Game' skulls and terminal locations in Halo Campaign Evolved
Full Article
Original Source
Read the full article at Polygon →KhanList aggregates and links to publicly available news content. We do not host full articles from third-party sources. Always verify important information with original sources.