
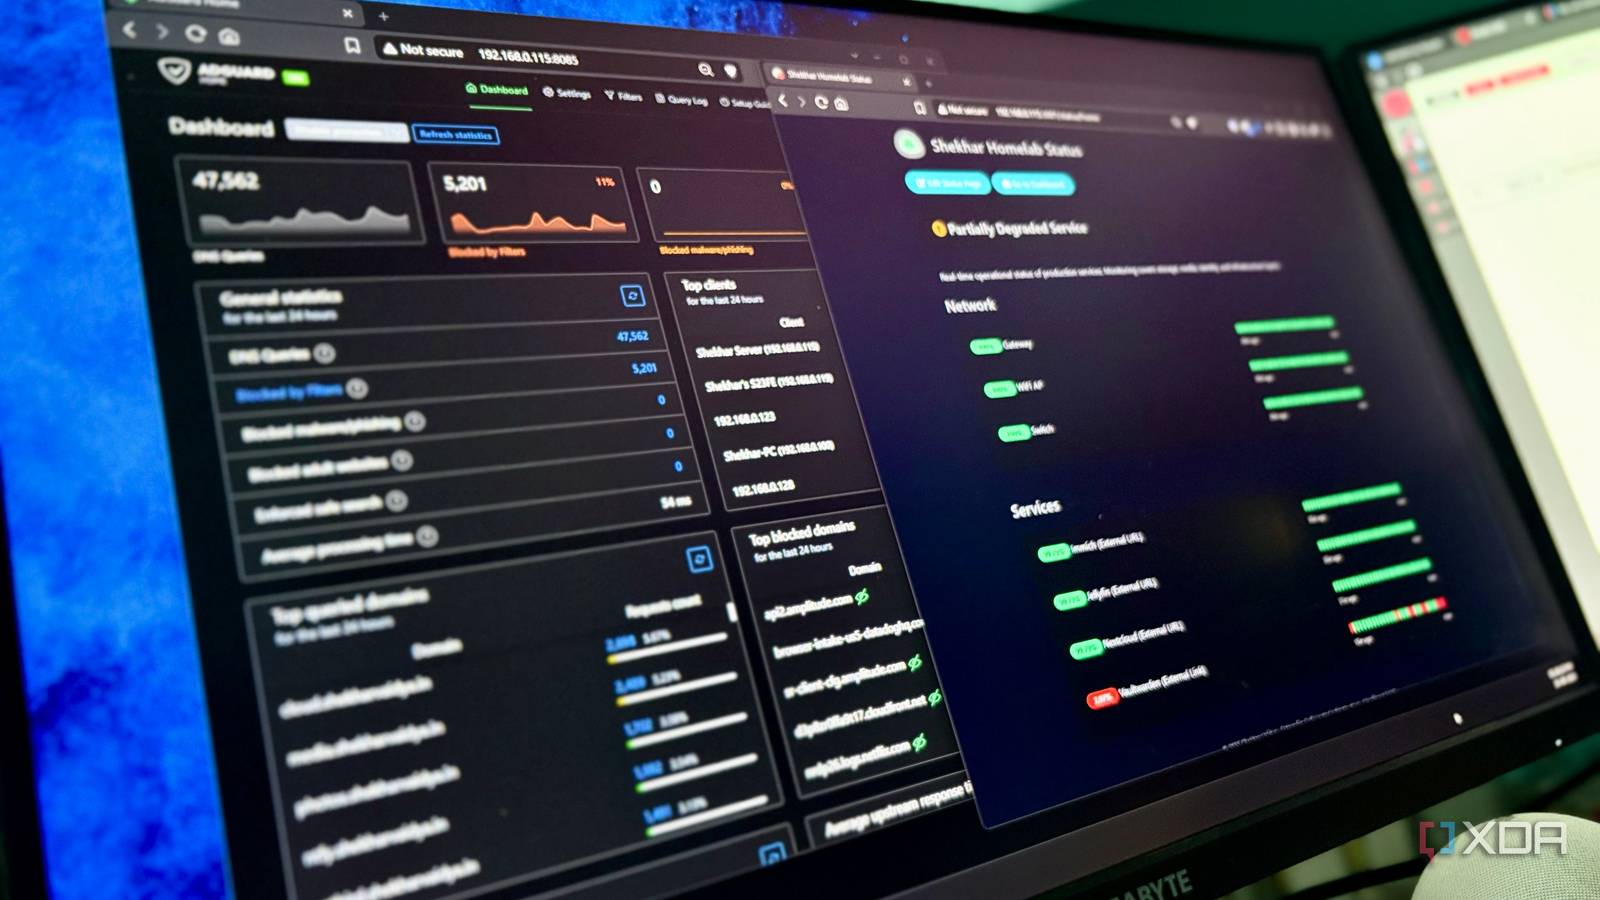
Published Sep 4, 2026, 4:00 PM EDT Shekhar Vaidya is a veteran technology journalist and computer science engineer. He is the founder of TechLatest, where he has spent years providing technical analysis on hardware and Windows ecosystems. Now a Computing Writer at XDA, Shekhar leverages his deep background in NAS, storage solutions, and PC internals to help readers master their tech. Most homelab guides hand you a 20+ container checklist to start with. The initial setup is usually the easy part; configuring and maintaining it is the real task that comes later. And most beginners get frustrated and drop the whole idea. The growth of a homelab should be personal to you and not based on someone else’s stack list. I have been hosting my own services for more than a year now. Whenever someone asks me where to start, I recommend four containers to get started and increase when they need it, and not because somebody suggested it Portainer makes Docker much easier to understand You don't need to learn Docker — you need this instead Whether you are starting with bare metal or a hypervisor, Docker is the most common choice for deploying a service. It is the easiest way to deploy a self-hosted service. But for a beginner, Docker may look like a complex tech stack. Because standalone Docker executes everything on the command line, and honestly, it does look abstract: the containers, images, volumes, and more. Enter Portainer. Portainer is a Docker management tool. It visualizes everything that happens on the command line. Portainer was the only container I deployed manually via the command line. The whole process of deploying and managing containers becomes a minute’s job. For deploying, you need to pick the Docker Compose file from the service’s documentation, paste it into Portainer’s Stack, and just press a button to deploy it. After that, all the information you need to manage the container is already there. More importantly, Portainer helps you understand Docker better, i.e., what each container actually consists of. Portainer Turns Docker's command-line complexity into a point-and-click dashboard you can actually understand. Ad blocking was never the real reason to install it Every other guide will tell you to install an ad blocker, usually Pi-hole. I even went with Pi-hole because I wanted network-wide ad blocking. But within a few weeks, I was so deep into it that I learned about encrypted upstream, compared multiple DNS servers, and discovered native recursive DNS resolution. In the end, I settled on AdGuard Home (AGH) with Quad9 DoH. I won’t go deep into each decision; otherwise, this list will turn into a feature. But let me explain a little bit more about my current setup. AGH, along with network-wide ad blocking, monitors network activity, filters each request from each device, and tells me what each device is talking to. And by "network-wide," I mean one implementation on my dual-WAN router as a default DNS server so every device under that network uses it automatically. You might be thinking, "I already use an ad-blocking extension on my browser and an app on my phone, so why AGH?" Fair question. First, you need to install those extensions and apps on each device. Second, a browser extension only filters ads after they reach the browser, but DNS-based services like AdGuard Home and Pi-hole block them at the DNS level, before they even reach your device. AdGuard Home Network-wide ad blocking that quietly teaches you DNS along the way. Jellyfin gives your homelab something you actually want to use The moment your homelab stops being a hobby and starts being useful This one container should be the reason why you even thought of getting into homelabbing. For me, it was Jellyfin, so I am suggesting it. But for you, it can be something you already have in mind. It can be a Google Photos alternative like Immich or a self-hosted file-sharing service like Nextcloud. The options are endless, and it totally depends on your use case. For me, Jellyfin made my homelab a self-hosted media server. It helped me organize my media files and stream them to my family. Not only that, but it also taught me about storage, permissions, volumes, transcoding, networking, and client access. I repurposed an 8-year-old business laptop as my home server (Core i5-6300U, 12GB RAM, and 256GB SSD), so it was a broader lesson for me. A homelab becomes much more motivating when at least one service solves a problem you care about. Jellyfin iOS compatible Yes Android compatible Yes A self-hosted media server that gives your homelab an actual reason to exist. Uptime Kuma tells you when something goes wrong The container that stops you from adding a fifth In the beginning, I mentioned starting a homelab is easy; managing it is the tough job, and this one lightweight container helps you ease the process a little. Sooner or later, you will realize that self-hosted services can stop working without you immediately noticing. This is the harsh truth: a container like Jellyfin can be down for hours without you even noticing. Uptime Kuma solves that, to some extent. It is a monitoring layer for checking whether the hosted services are reachable. It pings services at regular intervals to check uptime. I always recommend running the monitoring layer on separate infrastructure to cover the blind spots, but in the beginning it doesn’t matter as much. There are many more monitoring tools available, such as Datadog, Grafana, and Prometheus, but those are advanced tools, and for a beginner homelab, those are overkill. An uptime monitoring tool shows that running a service isn't the same as operating a service. With just this one tiny layer, it rounds out the starting four. Uptime Kuma Key highlights Open-source monitor A lightweight monitor that tells you the moment something breaks, before anyone else notices. Everything else can wait A four-container homelab you understand is a better starting point than a 20-container homelab you copied. Each of the four containers has its own dedicated job. One helps you manage the homelab, one improves your network, one gives you something useful to actually use, and finally, the last one helps you keep track of everything. These four aren’t a compromise; they’re sufficient to start with. You aren’t supposed to deploy a service just because you saw it on somebody’s stack. As your needs grow, you can explore others, but that should be a choice, not a necessity.
Start your homelab with just these 4 containers, not the 20-container checklist everyone recommends
Full Article
Original Source
Read the full article at Xda-developers →KhanList aggregates and links to publicly available news content. We do not host full articles from third-party sources. Always verify important information with original sources.