
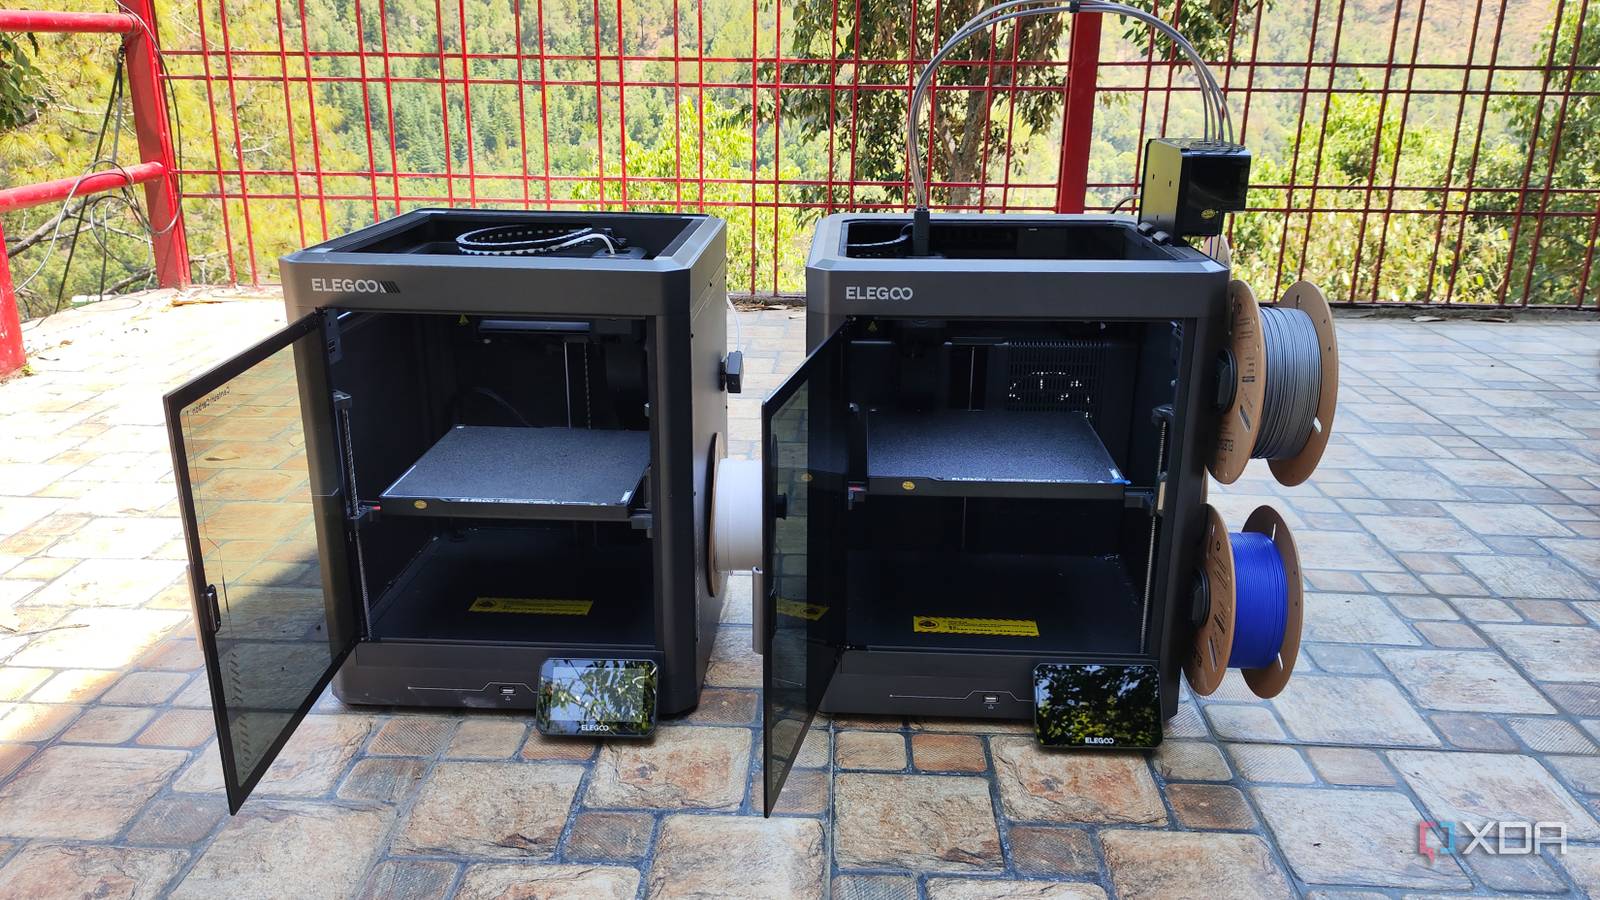
Published Sep 11, 2026, 3:30 PM EDT Ayush Pande is a PC hardware and gaming writer. When he's not working on a new article, you can find him with his head stuck inside a PC or tinkering with a server operating system. Besides computing, his interests include spending hours in long RPGs, yelling at his friends in co-op games, and practicing guitar. When I got my first FDM 3D printer, I didn’t care all that much about filament purge. Sure, the printer would leave randomly extruded bits of filament to prime the nozzle, but I was more concerned with failed models, as they were the primary source of filament waste for my setup. Multi-color printing, however, is a completely different story, and it wasn't until I tried using an AMS-like module that I finally realized why 3D printing enthusiasts have mixed feelings about these setups. So, I’ve spent the last couple of months trying out all sorts of optimizations and tricks to limit the amount of waste generated when turning multi-color 3MF files into tangible models with my single-nozzle 3D printer. Among them, splitting large prints into smaller models that I could print separately delivered the best results. Depending on their layers, larger models can easily have thousands of swaps When it comes to consumer-tier FDM printers that support multi-color modules, you’ll typically find single-nozzle options, which need to constantly purge the melted filament out when switching colors. Essentially, once the printer encounters an instruction for a color swap, it doesn’t print the new filament until the old one is fully flushed out. Otherwise, your models would have different colors bleeding into different layers, ultimately ruining their aesthetics. The problem is that typical multi-color prints have several color swaps, to the point where a particularly large model like a cosplay prop can require the filament to change thousands of times. This ends up with piles of 3D printer poop that’s practically useless for the average consumer. Heck, even the pigments of the filament rolls can influence the amount of melted plastic that gets tossed out through the purge chute. Dark-to-light transitions, for example, generate a lot of filament poop, as the darker pigment can leave noticeable tints on the lighter colors and needs to be removed completely to avoid grayish edges. And I’m not just talking about a few extra grams, either. I’ve created certain articulated prints where the purged filament alone needed 150+ grams of a PLA roll, while the model barely required 300 grams. As if that’s not enough, you’ll also need a purge tower, which is a sacrificial structure that the 3D printer creates just to calibrate the nozzle for a smooth color transition. This, in turn, produces even more filament waste, and turning it off runs the risk of filament swaps ruining your print. Of course, converting any old functional part into a purge tower helps, but I’ve had some prints where I needed such a large model to calibrate the color swaps that I ended up needing more filament for it. Not to mention, the color changes themselves consume extra time, and you could easily be looking at 24+ hour prints on larger models with constant filament purge every few layers. Splitting large models into smaller prints reduces the filament purge considerably The individual models are quicker to print and don’t need a purge tower My favorite solution to the filament purge conundrum involves breaking down the entire model into more manageable prints that I could print separately and combining them together at the end. And before you strike me down for suggesting it, let me add that I’m well aware that it’s not possible for every model. But if I was trying to print something like a cosplay mask featuring horns and all sorts of colored parts, I’d rather split the parts requiring different colors into separate models. Take the PLA katana I 3D printed for the bard in our D&D group the other day. Rather than spending days and an ungodly amount of filament attempting to print the whole thing at one go, I created the grip and the blade separately with different colors, and then slotted them together. In fact, Printables, MakerWorld, and other model repositories even have STL files with distinct elements that can be meshed together (oftentimes without needing any glue whatsoever). The best part? Such a workflow doesn’t need a purge tower, and I can add as many supports to the individual parts without worrying about my filament wastage spiking due to even more color swaps. Sure, my printer would generate some poop when I switch the filament once it’s done creating a specific element of the larger model, but this color swap occurs only a few times, as opposed to hundreds (or even thousands). Likewise, although my 3D printer spends additional time leveling the bed for each component, the overall print time is often less than half of what it’d otherwise take if I tried printing the entire multi-colored model at a go. But there are some tricks to avoid burning through filament on multi-color prints If you’ve got articulated models that can’t be split into smaller parts, there are still ways to reduce the amount of filament purged by the printer. Flushing into another object is a great way to get a spare model from all the purged material, though enabling this setting might end up spiking the print times. If you’re trying to print a small model, it’s a good idea to create multiple copies instead of just one, as the total purged filament doesn’t scale with the number of models. Elegoo Centauri Carbon 2 Combo $399 $449 Save $50
My multi-color 3D prints stopped wasting filament when I gave up on printing large parts in one go
Full Article
Original Source
Read the full article at Xda-developers →KhanList aggregates and links to publicly available news content. We do not host full articles from third-party sources. Always verify important information with original sources.