
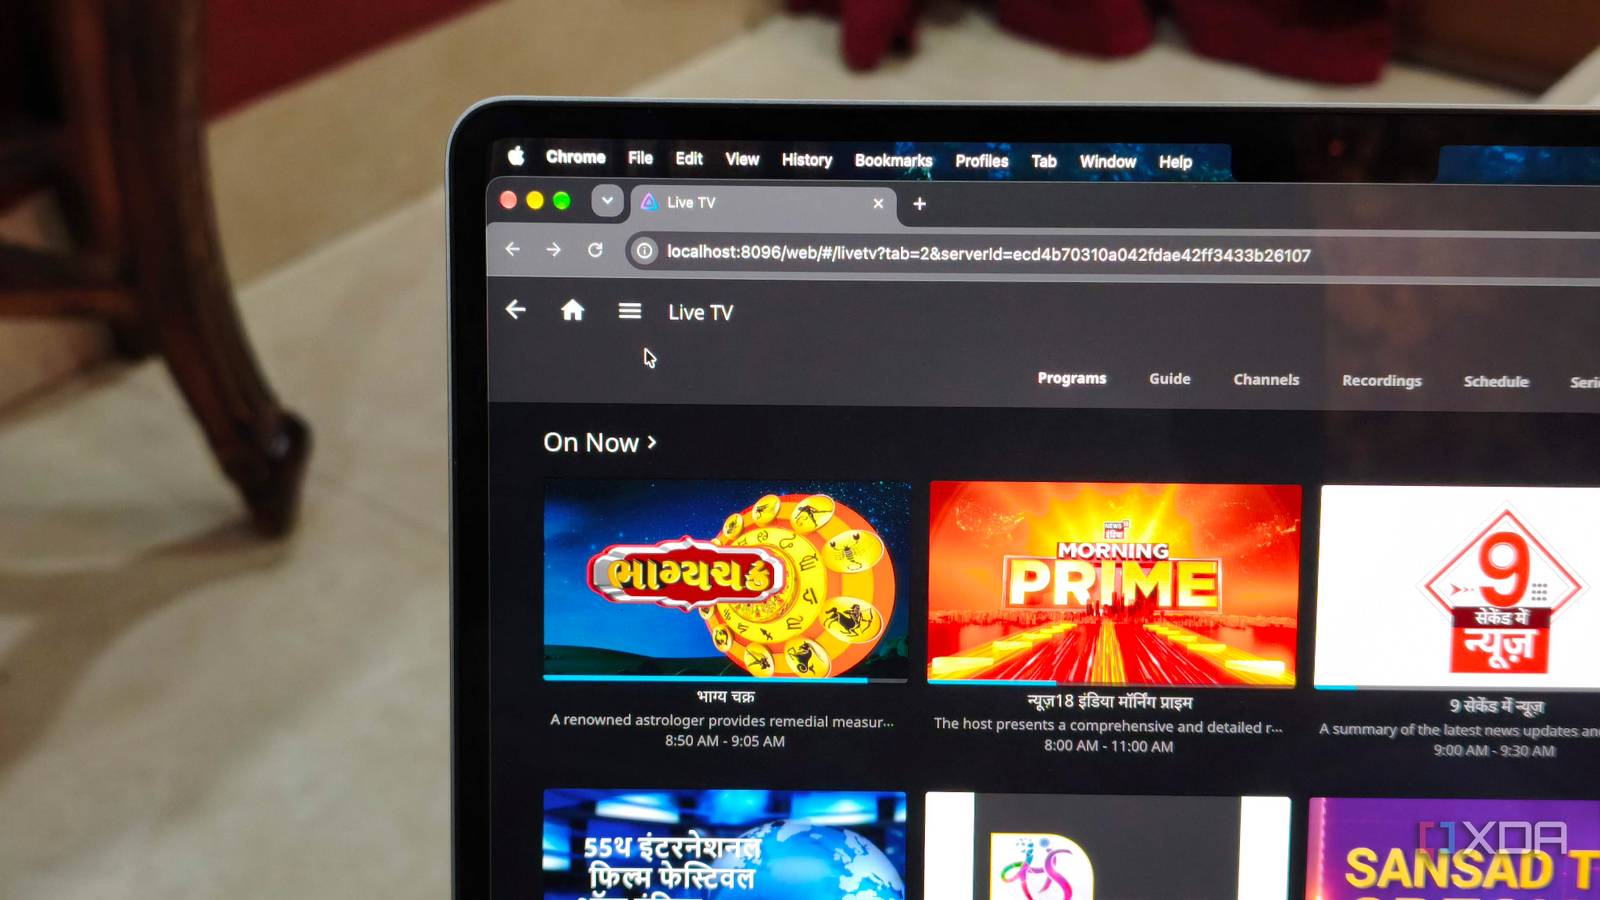
Published Sep 17, 2026, 11:30 AM EDT Anurag is an experienced journalist and author who’s been covering tech for the past 5 years, with a focus on Windows, Android, and Apple. He’s written for sites like Android Police, Neowin, Dexerto, and MakeTechEasier. Anurag’s always pumped about tech and loves getting his hands on the latest gadgets. When he's not procrastinating, you’ll probably find him catching the newest movies in theaters or scrolling through Twitter from his bed. I didn’t think I’d say this when I first cut the cord, but I still miss live TV sometimes. There are times when you don’t want to be overwhelmed by choice and would rather just watch whatever is on. Thankfully, you don’t need much to bring live TV back. Jellyfin lets you add live TV channels to your server without a physical tuner. You can do this by setting up a virtual tuner in Jellyfin using IPTV. Instead of connecting an antenna or hardware tuner, you simply provide Jellyfin with an M3U playlist URL and an XMLTV guide URL. Gather your links You need an M3U playlist You need an M3U playlist before Jellyfin can tune into anything. An M3U file is essentially a list of channels and their stream URLs, along with details such as channel names, logos, and identifiers. Jellyfin supports M3U playlists as a tuner source, so the link can point directly to a remotely hosted playlist rather than a file stored on your server. IPTV lists are everywhere online, with all kinds of content. You just need to find the right one for yourself. The iptv-org repository is a useful place to start because it organizes public streams by country, language, category, and region. It doesn’t host the video itself, and dead links are inevitable, so you’ll occasionally find a channel that refuses to play. The second link is for XMLTV data. This contains the program names, schedules, descriptions, and other information Jellyfin uses to build its TV guide. The playlist will still work without it, but you’ll be left with a list of channels and little indication of what’s currently airing. Ideally, get the M3U playlist and XMLTV file from the same source. Each channel in the playlist usually has an identifier that Jellyfin matches with an entry in the guide data. If those identifiers don’t line up, Jellyfin won’t know which schedule belongs to which channel, and you’ll have to map them manually. Add the virtual tuner to Jellyfin Setting up Live TV Once you have the M3U playlist URL, open the Jellyfin dashboard and go to Live TV under Administration. Click the + icon next to Tuner Devices, select M3U Tuner from the Tuner Type menu, and paste your playlist URL into the File or URL field. You can leave most of the other options at their default values. However, check the Simultaneous stream limit if your IPTV source restricts the number of connections. Setting it to 0 allows unlimited streams, while entering a number prevents Jellyfin from opening more streams than your source supports. You only need the custom user agent and auto-loop options when a stream specifically requires them. Click Save, and Jellyfin will begin importing the channels. This can take a moment. If the channels don’t appear, you can manually refresh the tuner from the Live TV settings page. If you want to organize thousands of channels, filter out regional junk, or combine multiple free playlists seamlessly before sending them to Jellyfin, look into a containerized proxy tool like Threadfin or Dispatcharr. They act as a middleman to keep your Jellyfin server running incredibly fast. Also add the guide and check the channel mappings You don't have the convenience of Live TV yet At this point, Jellyfin can play the channels, but you still have to open each one to find out what’s on. That defeats some of the convenience of having live TV in the first place. Adding the XMLTV feed gives you the familiar channel grid, where you can scroll through the schedule and choose something without checking every stream individually. Go back to the Live TV settings page and find TV Guide Data Providers. Click the + icon, select XMLTV, and paste your guide link into the File or URL field. Click Save, and Jellyfin will begin importing the listings. This can take a little time if your source covers several channels. Once the import finishes, check that Jellyfin matched the listings correctly. Click the three-dot menu next to the XMLTV provider and select Map Channels. You’ll see every channel from the tuner along with its assigned guide entry. If a channel is blank or shows the wrong schedule, click the pencil icon and select the correct entry yourself. You can then return to the home screen, open Live TV, and select Guide to check the results. Jellyfin also uses this schedule to let you set recordings directly from the guide. The data refreshes periodically, although you can refresh it manually from the Live TV settings if the listings become outdated.
My Jellyfin server now streams live TV without a tuner, and I finally stopped channel surfing
Full Article
Original Source
Read the full article at Xda-developers →KhanList aggregates and links to publicly available news content. We do not host full articles from third-party sources. Always verify important information with original sources.