
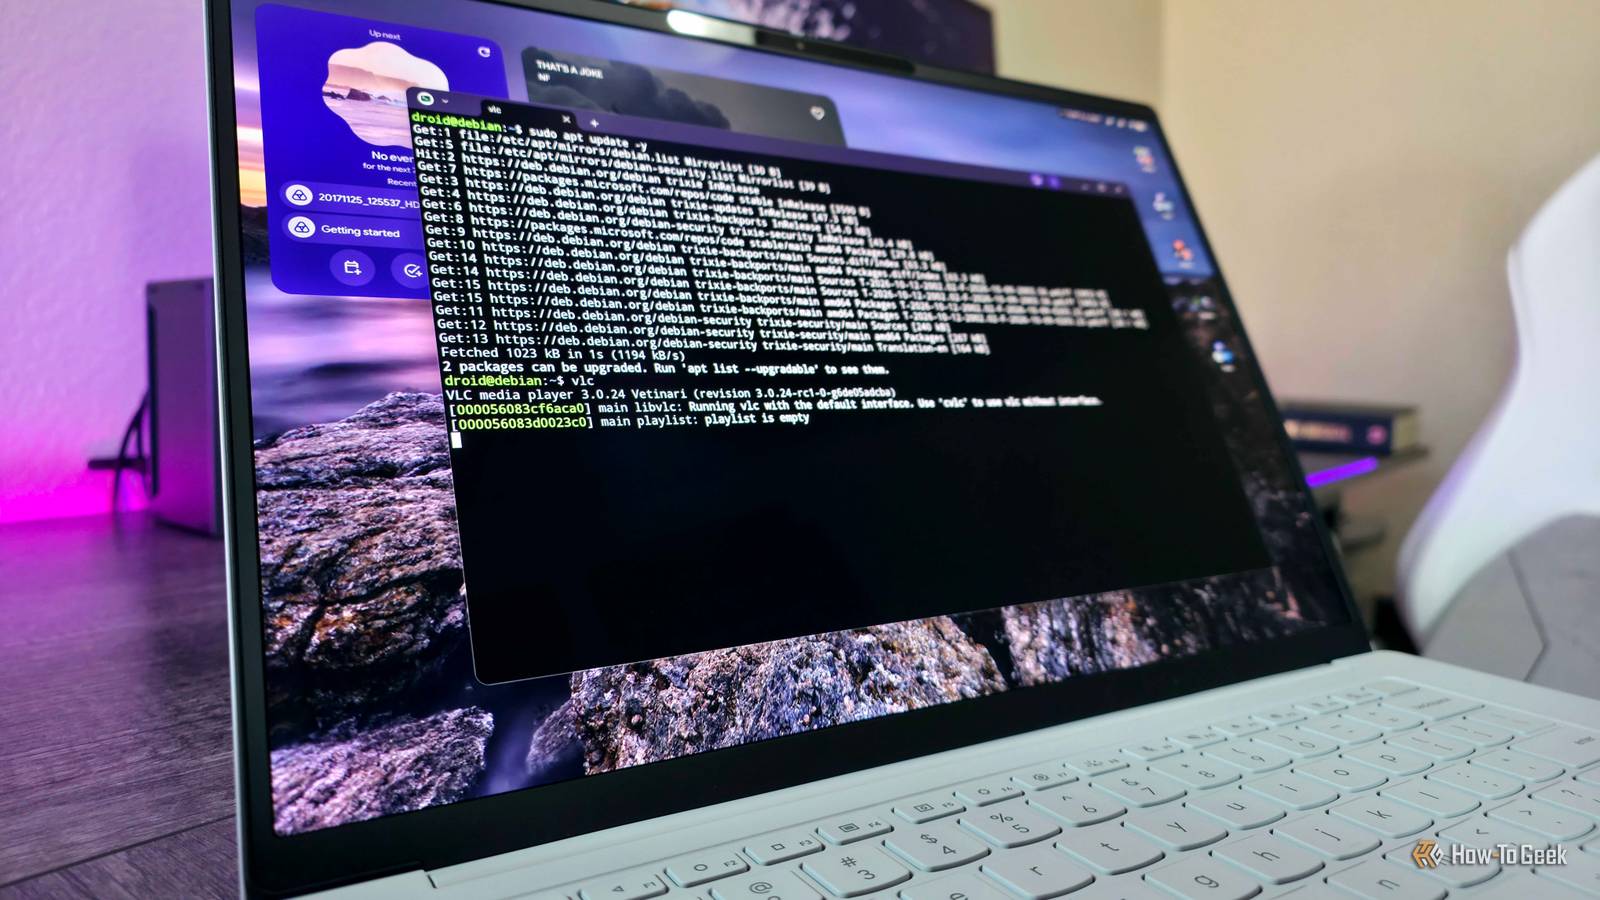
Published Oct 18, 2026, 5:00 PM EDT Zachary Boddy is a seasoned journalist with over six years of experience covering technology and video games, and is now contributing to How-To Geek. Zachary's career began at Windows Central, where their long-running, deep-rooted passion as a tech and gaming nerd fueled thousands of published articles, including reviews, guides, interviews, editorials, and so much more. When Zachary isn't writing, they're playing video games, reading books, listening to music, and spending time with their family, a very food-motivated cat and an exceptionally creative daughter. Sign in to your How-To Geek account Googlebooks are officially here, and one of their most important features is the new Terminal app for installing and using native Linux applications. The feature is targeted at agentic AI usage, developers, and other hardcore users who value working with a command line, and it might be an entry point for Linux newcomers. In this guide, I'll go over the basics of getting the Googlebook Terminal up and running, and how you can install and use Linux apps through that Terminal. Installing Linux apps using the Googlebook Terminal Get up and running with the Googlebook Linux Virtual Machine Before I explain how to install Linux apps using the Googlebook Terminal app, there are three characteristics of Terminal worth noting: this is a Linux virtual machine, meaning it's sandboxed and isolated away from the rest of Googlebook OS (although there is network passthrough, and you can manually grant access to local storage folders); Terminal uses the Debian Linux environment, so you can take advantage of Debian's mature ecosystem and commands; this is a headless environment, which means it lacks its own virtual graphics adapter and desktop interface (but you can still run GUI apps with limitations). Now, before you can even think about installing your own Linux apps, you'll need to set up the Terminal app itself. Open the Terminal app from the app drawer. You will be prompted to download additional data to launch Terminal (and set up the Linux VM folder in Files). Click the Install button to continue. Wait for the process to finish (you should see droid@debian:⁓$ to indicate the Terminal is up and running). Now that Terminal is set up, there are two primary ways to install Linux applications: apt and dpkg. Let's focus on the most modern, powerful, convenient, and recommended option, apt, which can automatically install (and update) the best version of Linux applications and necessary dependencies from official Linux repositories. With the Terminal app open, first run the sudo apt update command to ensure your Googlebook has all the latest information on supported packages and installable apps from the Linux repositories it has access to. Next, run the sudo apt install "package-name" command, with "package-name" replaced by the unique name of the app or tool you wish to install. For example, VLC Media Player is vlc, so you would enter sudo apt install vlc. Whenever you install an application using Terminal, it'll list all the packages it is installing or upgrading, as well as a summary of how much storage space you need and how much data will be downloaded. You can enter y to confirm the installation or n to abort. After you have installed the applications you need, run the sudo apt upgrade -y command to automatically update installed packages and dependencies (and install anything that's missing), to ensure your apps are up-to-date and can work properly. The above process is ideal, but you may encounter a variety of obstacles that you'll need to overcome. Here are some tips and tricks to do exactly that. If you don't know the name of the package you wish to install, you can use the apt-cache search "keyword" command to find local package names, with "keyword" replaced by key terms for that application. Searches can often return a lot of results, but you'll also get short descriptions to help you identify what you're searching for. (separation here?) If you can't find the package name for the app you wish to install or the installation isn't working, you may need to install additional tools or add new repositories. GNU Privacy Guard, installed with the sudo apt install gnupg2 command, is an open-source tool used by many Linux applications for encryption and secure digital signatures, and many companies like Microsoft have their own official repositories for their various Linux apps and tools. Because of the sheer number of Linux applications, you may have to do your own research on what tools to install or how to add new repositories with commands like sudo nano /etc/apt/sources.list, which allows you to manually edit the list of available package sources (if you do need to do this, use Ctrl in combination with the various commands, for writing, saving, and exiting). Alternatively, you can manually download the .deb file for your wanted app and install it that way, which may help streamline this process. For example, you can download the .deb file for Visual Studio Code direct from Microsoft (be sure to download the right file for your device architecture, such as x64 for Intel or Arm64 for Qualcomm). Once you've downloaded the .deb file for the app you want, move it into the Linux VM folder of the Files app to give Terminal access. It may also be helpful to rename the file to make it easier to call upon (instead of something like code_1.142.0-1792035033_amd64.deb, you could rename it to simply code.deb). Once your .deb file is downloaded, moved, and renamed, you can install it using sudo apt install ./"file-name".deb, with "file-name" replaced by whatever you renamed the file to. For example, you could install Visual Studio Code with sudo apt install ./code.deb. Like with the normal sudo apt install process, you'll be given a summary of necessary packages and downloads, and will be asked to confirm or abort with y or n. You may be asked midway through to confirm the installation of the connected repository, like with Visual Studio Code. You also may still require additional tools like GNU Privacy Guard for apps installed this way to function properly, and future updates may not be delivered automatically (so use the sudo apt upgrade -y command periodically). Using Linux apps on Googlebook OS, and other tips Installing your Linux apps is the hard part Now that you've installed your Linux apps, you just have to figure out how to launch and use them. Fortunately, that's usually fairly simple—so I'll share some other tips and tricks for getting the most out of the Googlebook Terminal app while I'm at it To launch an installed app, you simply need to type the app's package name and press Enter in the Terminal. For example, launching VLC Media Player would be vlc, while Visual Studio Code would be code. If you're unsure what the package name is for an installed app, you can use the apt list --installed command to bring up an easy-to-navigate list. When you launch a Linux app in Terminal, what happens depends on the app. Command Line Interface (or CLI) apps will launch directly in the Terminal, and Graphical User Interface (or GUI) apps require an extra step to work. Some apps, like VLC Media Player, support both interfaces, while others are GUI-only, such as Visual Studio Code. If you launch a GUI application, you'll need to click the GUI button next to the three-dot ellipsis menu in the top-right corner of the Terminal. In GUI mode, you can enable different input modes or exit GUI mode through the menu to the right of the three-dot ellipsis in the top-right corner of the Terminal. To be frank, GUI app support is extremely limited and inefficient in the Googlebook Terminal at time of writing, but Google has announced a commitment to expanded GUI support, including integrating these Linux applications into the Googlebook app drawer. Now for a brief overview of the Terminal Settings for Googlebook. You can open Settings by clicking the three-dot ellipsis menu in the top-right corner of the Terminal app and then clicking Settings. You'll find options to configure the appearance, resolution, font size, system permissions, and even security options here. If you navigate to the Keyboard shortcuts page from the left-hand navigation menu, you can learn and customize various keyboard shortcuts to make using Terminal easier. Navigate to the Shared folders page, and you can give the Linux VM access to select local folders for seamless file access. For example, you can use this setting if you want to give VLC Media Player access to your local Music folder. Navigate to the Advanced page, and you can change the memory allocation for Terminal, which will be especially important if you plan to run GUI applications like Visual Studio Code inside of Terminal. Google is working on adding dynamic memory and storage scaling to Terminal in the future. Also on the Advanced page, you may be able to opt-in to experimental features, as Terminal is in preview at time of writing and Google has plans to add new features over time. In addition to what I've already mentioned, Terminal should be getting USB passthrough support, GPU and NPU hardware acceleration, and virtual machine persistence when you have long-running tasks and need to move away from the Terminal application. The Terminal still has a long way to go, but it's still great to have It's still early days for Googlebook OS, and the Terminal certainly has its bugs, limitations, and missing features compared to other Linux environments and virtual machines (including ChromeOS). Still, Googlebooks have the potential to become more powerful than the Chromebooks they're replacing, and the Terminal can be a valuable tool for people who choose a Googlebook as their next laptop. If you're just getting started with Linux on your Googlebook, then this guide can teach you the basics.
Learn to install and use Linux apps on Googlebook OS
Full Article
Original Source
Read the full article at Howtogeek →KhanList aggregates and links to publicly available news content. We do not host full articles from third-party sources. Always verify important information with original sources.