
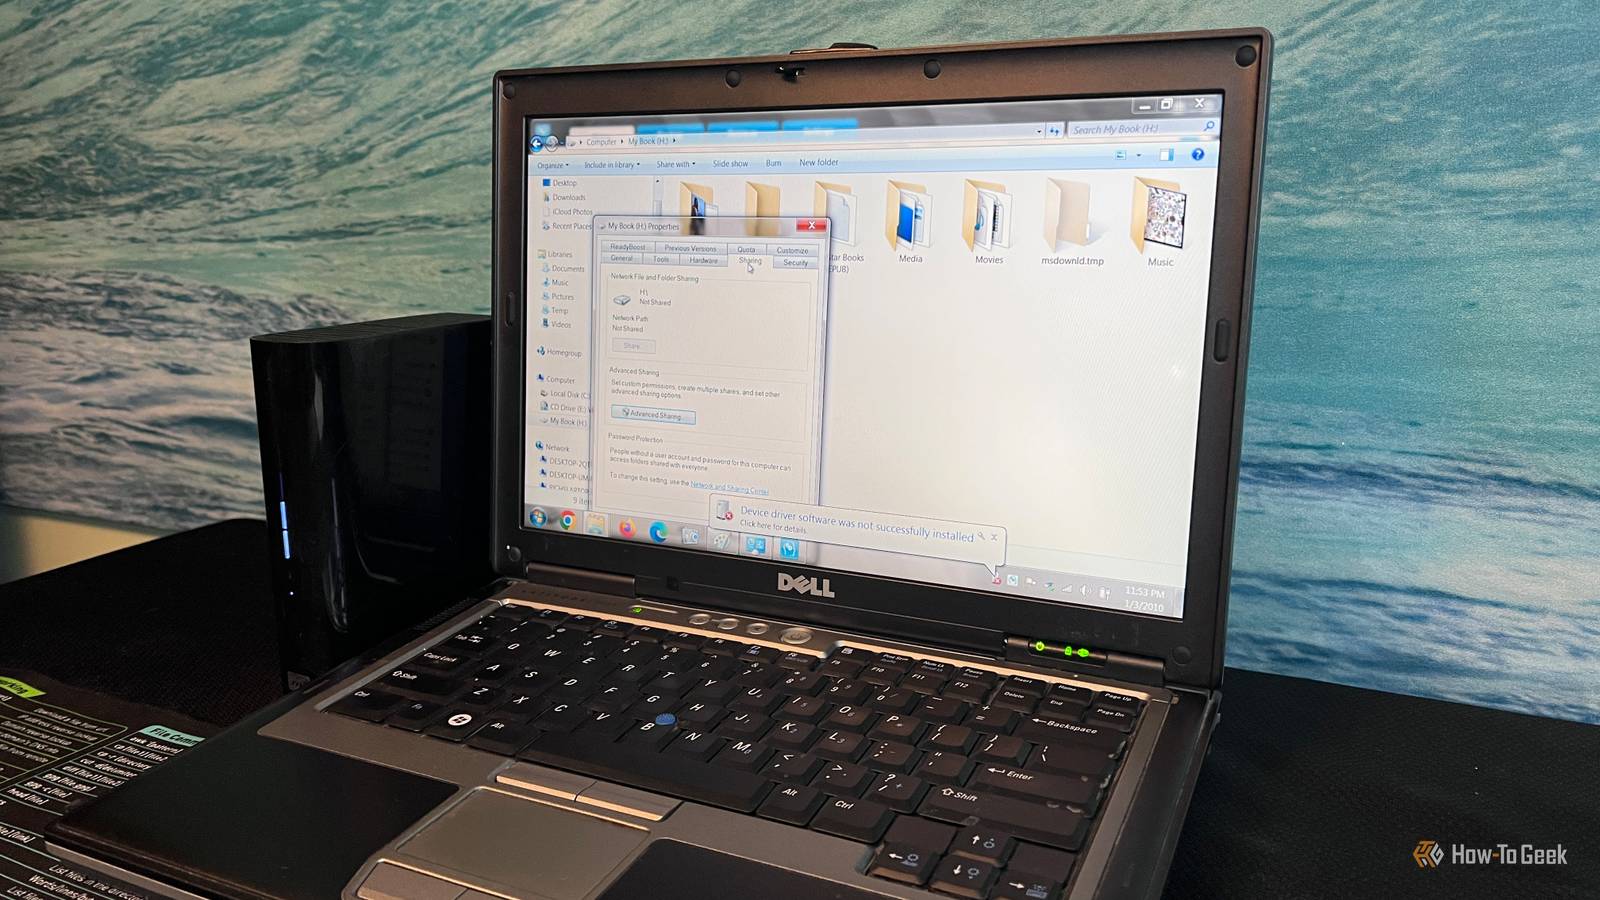
Published Oct 1, 2026, 8:00 AM EDT Rich Hein is a veteran technology journalist with more than two decades covering developer, consumer and enterprise topics. Rich's career has been dedicated to service journalism, connecting readers to content that informs and delights. Previously, Rich was vice president and editor-in-chief for Simpler Media Group, director of audience development for IDG and editor/writer for sites like CIO.com, ComputerWorld, CodeGuru and other tech-centric publications. He's received numerous accolades, including the IDG Summit and Azbee awards and has been covered by Medium for his work in audience development. When not at his desk, Rich lives in Daytona Beach with his wife and three dogs. He enjoys playing guitar, surfing and staying abreast of the latest in tech. Years ago, I built an arcade cabinet from scratch and powered it with a Dell laptop from 2010 running Windows 7. It played games like Halo, Dragon's Lair, and plenty of other classic games. I also used it as a jukebox in my man cave. It got a lot of use over the years, and it lasted a long time, but several months ago it started to feel underpowered for what I was using it for. After looking around on Facebook Marketplace, I found a great replacement. It was a Dell desktop unit that already had Windows 11 installed. Once the switch was made, my old laptop didn’t have much to do. For the next few months, the laptop sat around unused. It still worked, had a great docking station, and had no real issues other than its age. I started thinking about how I could put it back to work. It needed a job that didn't demand much performance. Turning it into a shared network drive that I could access from any other PC on my network seemed like a great way to put this old machine back into service. I had two pieces of old hardware that still worked The laptop became the host, and an old 1TB drive supplied the storage While my laptop worked without issue, it didn't really have the storage space to make turning it into a shared network drive worthwhile. Thankfully, over the years, I have retired several external hard drives, and I happened to have a 1TB Western Digital My Book that was still working. The external drive would hold the files, while the laptop’s job was simply to make that storage available to the rest of my home network. I liked the idea because neither piece of hardware had to work particularly hard. The laptop provided Windows and the network connection, while the 1TB My Book provided storage. It was a simple way to take two pieces of retired hardware that were sitting around and turn them into something I could actually use again. Mapping it on my main PC made it feel like local storage Giving it a drive letter made access much simpler Once the My Book was shared from the laptop, it was easy to browse it from another computer on my home network, but when I mapped it to my main PC, it made that setup even more convenient. Mapping a network drive is really simple. It just means assigning that shared location a drive letter on my main PC, similar to how C: represents the main local drive. All the files are still physically stored on the My Book that's connected to my laptop. Windows is simply giving me a permanent shortcut to that network location. In practice, it just means that I can access the drive without having to browse through Network > Laptop Name > Shared drive. The setup was simple, but it came with a few tradeoffs Keeping the drive available meant paying attention to speed, sharing, and power settings Once I started using it, the biggest benefit was that I didn't have to think much about the setup anymore. I could save files to it, move folders around, or open something directly from File Explorer just like I would with another drive on my PC. The biggest difference was speed. Transfers were limited by the old laptop, the external drive, and my network, so this was never going to perform like a new SSD. For what I wanted, though, that wasn't a problem. I cared more about having a simple place to keep files that I could reach from my main PC whenever I needed them. Setting it up was pretty easy. On my Windows 7 laptop, I made sure I was using my trusted home network, then opened Network and Sharing Center > Change advanced sharing settings and turned on Network discovery and File and printer sharing. After that, I shared the My Book drive and set the permissions I wanted. On my Windows 11 PC, I opened File Explorer, found the laptop under Network, and confirmed I could access the shared drive. From there, I used Map network drive, gave it a drive letter, and checked Reconnect at sign-in so Windows would restore the connection automatically. If the laptop doesn't show up under Network, you can type \LaptopName or \IP-Address directly into the File Explorer address bar instead. Another thing I had to account for was power management. Since the laptop is acting as the host, the shared drive disappears if the laptop goes to sleep or shuts down. I changed the power settings so it stays awake while plugged in, which keeps the drive available whenever I need it. Because this laptop runs an unsupported OS like Windows 7, I keep it strictly isolated to my secure home network and ensure file sharing stays strictly local." This was all the network storage I really needed This setup isn't going to replace a full NAS for everyone, and that's fine. I wasn't looking for RAID, remote access, or a bunch of server apps. I just wanted a simple place on my home network where I could keep files and reach them from my main PC without buying more hardware. For that job, the old laptop and retired My Book have worked out well, and both are doing something useful again instead of collecting dust.
Instead of buying a NAS, I turned an old laptop and external drive into home network storage
Full Article
Original Source
Read the full article at Howtogeek →KhanList aggregates and links to publicly available news content. We do not host full articles from third-party sources. Always verify important information with original sources.