
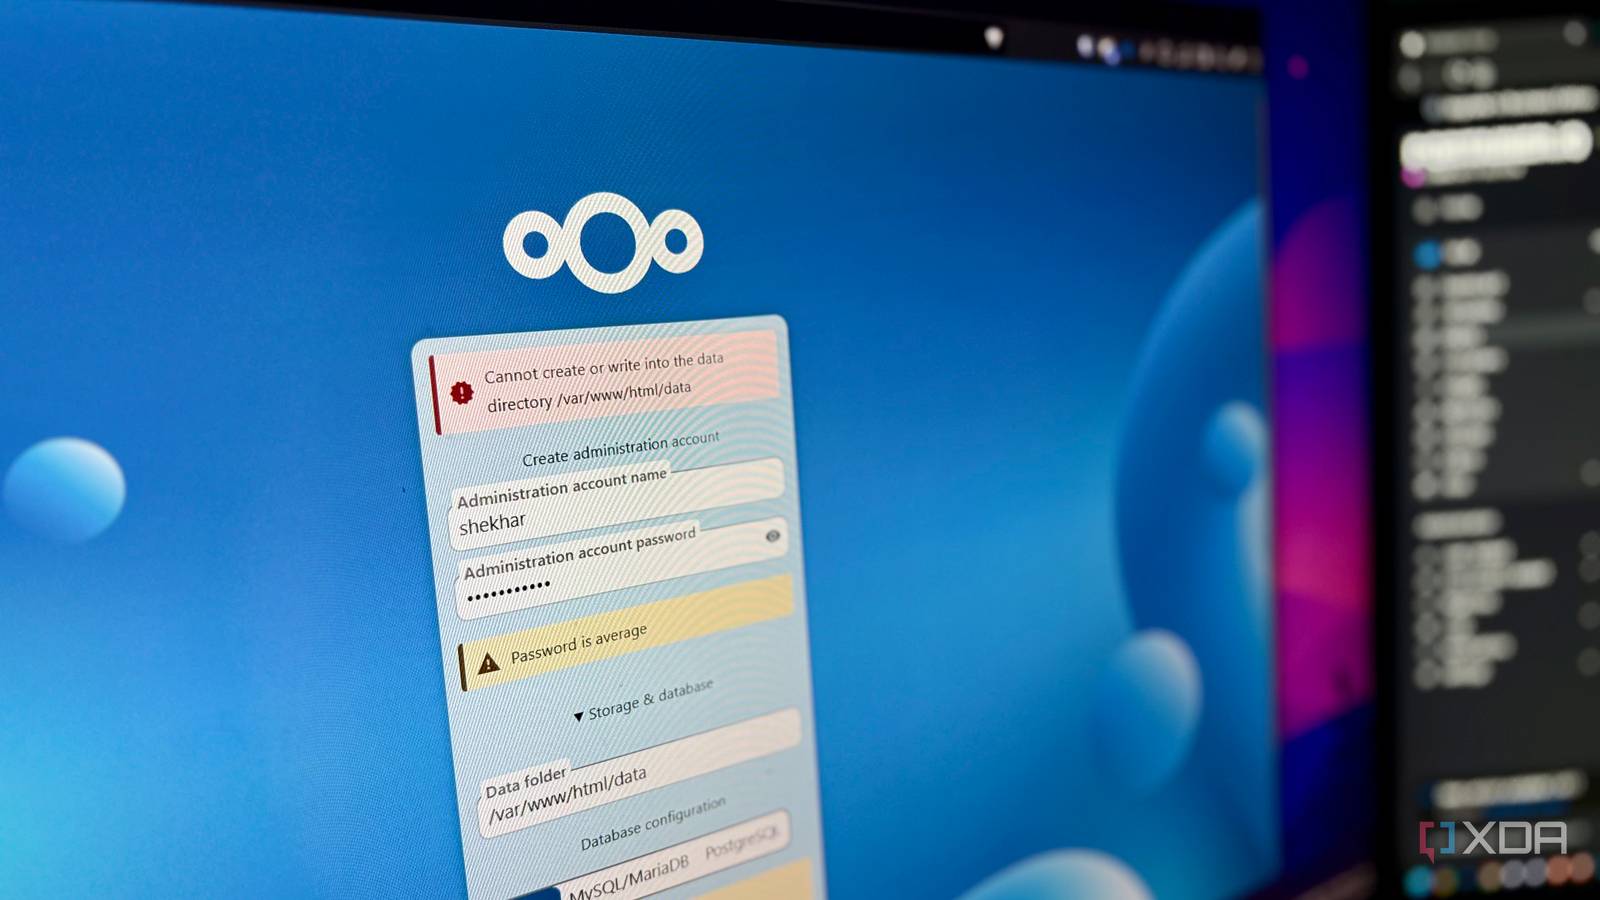
Published Sep 21, 2026, 3:30 PM EDT Shekhar Vaidya is a veteran technology journalist and computer science engineer. He is the founder of TechLatest, where he has spent years providing technical analysis on hardware and Windows ecosystems. Now a Computing Writer at XDA, Shekhar leverages his deep background in NAS, storage solutions, and PC internals to help readers master their tech. Homelabbing looks straightforward, and it is, until you run into something. Since each setup is different, the solutions aren’t always the same, or documented. A similar thing happened to me a few months ago. While setting up Nextcloud on my homelab Debian server, I faced a permission denied error. My setup was a little different because I was mounting my NAS on the server to act as bulk storage for Nextcloud. And the more confusing part was that I already deployed Jellyfin and Immich on the same NAS, and they both worked. I redid everything; still, the issue was there. In the end, the fix was just a one-line change in the compose file. I could write to it. Nextcloud couldn't. If you have been following my homelab journey, you already know I didn’t buy any enterprise-grade hardware to build it. I repurposed an 8-year-old business laptop as my home server, and since I already had a NAS, I mounted it as bulk storage instead of using the laptop’s 256 GB internal SSD. The setup doesn’t end here; it includes other pieces like multiple VPSes and complex networking configurations, which have nothing to do with today's problem, so I am not going to bore you with the details. Coming back to the NAS, I mounted it to the server and used it as bulk storage for services with heavier storage needs, like Jellyfin, Immich, and Nextcloud. As usual, I deployed Nextcloud via Portainer in a Compose file, where the NAS share is a Docker-managed volume using the local driver with the cifs type. It looked simple, right? Yes, it did for me, too. The service deployed, and when I opened it in the browser for the first-time setup, it simply refused to move forward, saying it couldn't create or write into the data directory. I didn’t even think it was a NAS problem, because I had deployed Jellyfin and Immich similarly, and they worked. I even tried creating a file on the mounted directory from the Debian host as root, and that went through fine too. So, the mount existed, the directory was accessible from the host, and yet Nextcloud couldn’t complete the setup. And this led me to dig further. The hours I spent fixing the wrong thing Linux is both straightforward and complex at the same time. I was fairly sure at that time that it wasn’t a mount issue. I still redid the permissions (chown, chmod) on the mounted data directory and redeployed Nextcloud. It didn’t help. I did nothing new, only undo and redo, so nothing actually changed. Once the permissions didn’t change the situation, I thought of moving to the source, the mount itself. And the mount options were the obvious next step anyway, since the volume was using CIFS. I tinkered around file_mode, dir_mode, and even noperm, each with a separate redeploy, but still, I kept landing on the same results. I even rechecked everything on the NAS end, which I knew had no issues, since the same route worked for Jellyfin and Immich. And just to rule it out, I even reset the SMB user's permissions and rotated the CIFS volume’s credentials. I was redoing, step by step, everything that made the other services work in the first place. When these things didn’t work, I pivoted my focus from whether my NAS was writable to the Nextcloud deployment and its configuration. And I ran a simple command, docker exec nextcloud id www-data, to see which UID Nextcloud actually ran as. The output changed my assumption and finally led me to the one-line solution I mentioned earlier. One line told the mount who owned the files The culprit was a number I'd never checked The www-data execution returned uid=33, gid=33. And I never gave that number to my mount. All the fixes I was doing were targeted from the host as root (0), whereas Nextcloud was running as www-data (33). Logically, Nextcloud never had write access to the mounted data directory. Also, I never had to do anything on the NAS share part, it was already working as expected. So, after hours of unnecessary troubleshooting, the simple fix was adding uid=33,gid=33 to the o: mount options. And it wasn't even a whole new line, just two options added to an existing one. The fix worked because of how CIFS mounts work. You can't change ownership on a CIFS mount like a normal local Linux filesystem. Ownership depends on the options used to mount the volume; it inherits the volume’s ownership definition. And when the compose file was deployed with no uid/gid, the ownership defaulted to root. After the change, I redeployed and verified the ownership and permissions; they matched what I defined. Once that was done, I opened Nextcloud’s setup page in the browser, and it finally completed setup without any permission errors. Don't copy my 33 Every time I troubleshoot an issue on my homelab, I learn a different thing, which I carry into my next deployment. I spent hours on directory, mount, and NAS, but the problem was simple, totally different, and somewhere else. The fix was defining who Nextcloud was running as and what UID/GID the mounted filesystem sees. The takeaway isn’t that if you face a similar issue, uid=33,gid=33 would work for you too. 33 worked for me because of the Debian-based Nextcloud image; if it were a different base, for example, Alpine, 82 would be the number. The right approach is to identify the application and then apply the appropriate fix. Nextcloud OS Windows, macOS, Linux Key highlights Self-hosted, open source Nextcloud is a local cloud storage tool with all the features that you need and an equally powerful plugin store.
I spent hours debugging Docker permissions until one number in my compose file fixed everything
Full Article
Original Source
Read the full article at Xda-developers →KhanList aggregates and links to publicly available news content. We do not host full articles from third-party sources. Always verify important information with original sources.