
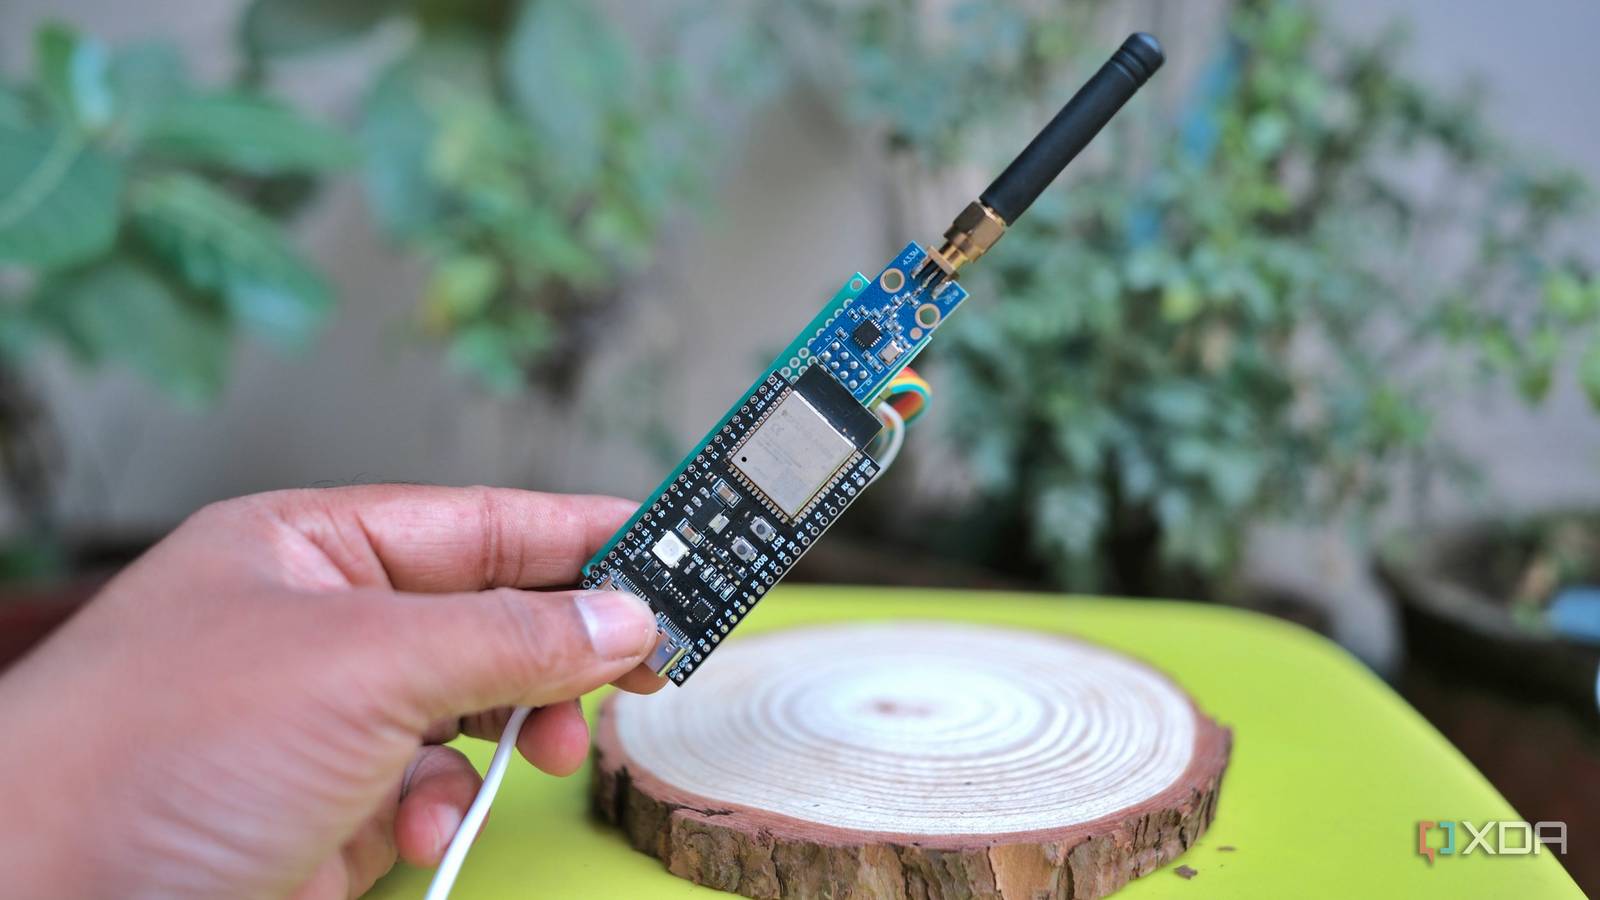
Published Nov 3, 2026, 3:31 PM EST Samir Makwana is a technology journalist and editor from India since past 18 years and his work appears on MakeUseOf, HowToGeek, GSMArena, BGR, GuidingTech, The Inquisitr, TechInAsia, TechWiser, and others. He has written news, features, and gadget reviews for national technology media publications. His passion is to help people with their technology problems and gadget purchases. For that, he has worked for some of the biggest international technology publications, covering news, explainers, how-to guides, listicles, and product-buying guides. He has worked as an editor and managed teams since 2015. His expertise broadly covers computers, smartphones, game consoles, headphones, smart home products, browsers, and apps. When a remote, sensor, or smart-home device acts up, I usually can’t tell why. I can’t tell whether the device is failing, its antenna is poorly placed, or something nearby is interfering with it . An RF analyzer can help investigate these problems by showing activity across different frequencies and the strength of received signals. A benchtop one seemed excessive for occasional experiments. So I built one from the parts I already had: an $8 ESP32-S3 microcontroller and a sub-$5 CC1101 wireless transceiver module. I used an open-source project called BKFZ SubGHz to scan the radio spectrum and view the results in a browser on my computer. This isn't professional-grade equipment, but it gives me an accessible way to explore sub-GHz radio activity around my home. Using CC1101 for RF work that my ESP32 can’t handle The microcontroller sweeps while the transceiver listens The ESP32-S3 is my go-to board because it has enough memory to run code, plus Wi-Fi and Bluetooth connectivity. However, its built-in wireless radios operate in the 2.4GHz band and can’t directly tune into the sub-GHz frequencies used in wireless sensors and remotes. The CC1101 supports these frequency ranges: 300MHz to 348MHz 387MHz to 464MHz 779MHz to 928MHz These are the tuning ranges the module supports, but actual performance also depends on its RF circuitry and antenna. The module reports the RSSI (received signal strength) value, which is the foundation of this project. I can use ESP32 to build a visual representation of radio activity in the selected band after running the receiver across a range of frequencies and recording the readings. CC1101 modules are sold in 433 MHz and 868/915 MHz variants. Their antennas should match the frequency band you want to explore, so check the module and antenna specifications before you buy one. I set the S3 to a frequency (433MHz); the CC1101 swings into action to read the RSSI values. I used the hardware wiring table on the SmartRC C1101 Driver library’s GitHub page, but modified the GPIO pins to suit the S3. ESP32-S3 ESP32-S3 comes with a dual-core Xtensa LX7 microcontroller. It comes in varations up to 16MB of flash memory and 8MB of PSRAM with years of maturity to be ready for a variety of projects. I can see radio activity from my laptop using an ESP32 Setup involves pins, a config line, and LittleFS upload BKFZ SubGHz is an open-source project by brianwalczak that uses the ELECHOUSE_CC1101_SRC_DRV library to control the CC1101. It also uses ESPAsyncWebServer to serve a browser-based interface, with WebSocket communication handling the data exchange. Its Frequency Analyzer scans supported frequencies and visualizes the readings. The project’s README states that any ESP32 will do, but its default pins are set for classic ESP32 boards. However, I used an ESP32-S3, so I had to remap the SPI pins in the configuration files to match my board. BKFZ SubGHz defaults to Bluetooth connectivity, but I switched the connection to Wi-Fi by changing the CONNECTION_MODE definition to CONNECTION_MODE_WIFI. The Wi-Fi interface also needs its supporting files, so I installed the LittleFS Upload plugin for Arduino IDE and uploaded the project’s data/ directory to the ESP32’s filesystem. Then, I flashed the firmware using Arduino IDE. Once the S3 boots, it creates its own Wi-Fi AP called BKFZ SubGHz. I connected my laptop to that network, opened 192.168.4.1 in a browser, and hit Connect to view the interface and graphs. The browser then gives me access to the project’s interface, including its Frequency Analyzer, without requiring a separate mobile app or an internet connection. I walked around my house to see how radio signals changed The same frequency looked different in every room I started the device in a room with no phones or other devices transmitting nearby to establish a baseline. Then I checked the 433MHz frequency, which is common for remotes, doorbells, and wireless sensors. These devices often transmit in short bursts, so a frequency sweep can miss them entirely. That’s what I learned after double-checking my build, since it didn’t show any data initially. So I repeatedly pressed remote buttons while scanning to see whether the receiver picked up their transmissions. The readings changed, although I couldn’t attribute the peaks to the remote presses without identifying the signals and verifying their frequencies first. Moving the antenna around also changed the readings. Radio signals reflect off walls and furniture, so even a small shift in antenna position affects reception. I kept the antenna in the same spot when comparing readings between rooms. This isn’t a replacement for professional RF equipment Short transmissions and interference are difficult to catch The RSSI value estimates received signal strength, not a fully calibrated power measurement. I wouldn’t use this project to certify a wireless device or check regulatory emissions. Beyond missing short bursts, the CC1101 can also struggle with strong nearby signals. Without adequate filtering ahead of its receiver, a sufficiently strong signal can overload the front end and produce unreliable readings. Even for that, you'll need to tweak the original sketch to make it work with your particular ESP32 board and Wi-Fi. As mentioned earlier, an antenna designed for 433MHz won’t perform particularly well at 868MHz or 915MHz. This is another reason to avoid treating the readings as absolute measurements. I only used the analyzer to listen, even though the firmware supports transmitting. Transmission power limits, permitted frequencies, and operating conditions vary by country. I can still check if a remote produces a detectable signal and compare the readings between rooms. A decent setup to troubleshoot the RF spectrum at home This ESP32-based project is best viewed as a hobbyist tool for exploring the sub-GHz spectrum in your home. It takes some tinkering with the wiring and firmware, but you can always buy a ready-to-use instrument, like a tinySA. A dedicated analyzer comes with a display and requires no firmware flashing or custom wiring. That said, it costs more than reusing the components you already own. For my occasional experiments, I’d rather reuse the hardware in my drawer. The ESP32-S3 and CC1101 with an SMA antenna make a compact RF visualizer that I can carry around with a power bank.
I gave my ESP32 a second job as an RF analyzer, and now I'm not buying a dedicated spectrum monitor
Full Article
Original Source
Read the full article at Xda-developers →KhanList aggregates and links to publicly available news content. We do not host full articles from third-party sources. Always verify important information with original sources.