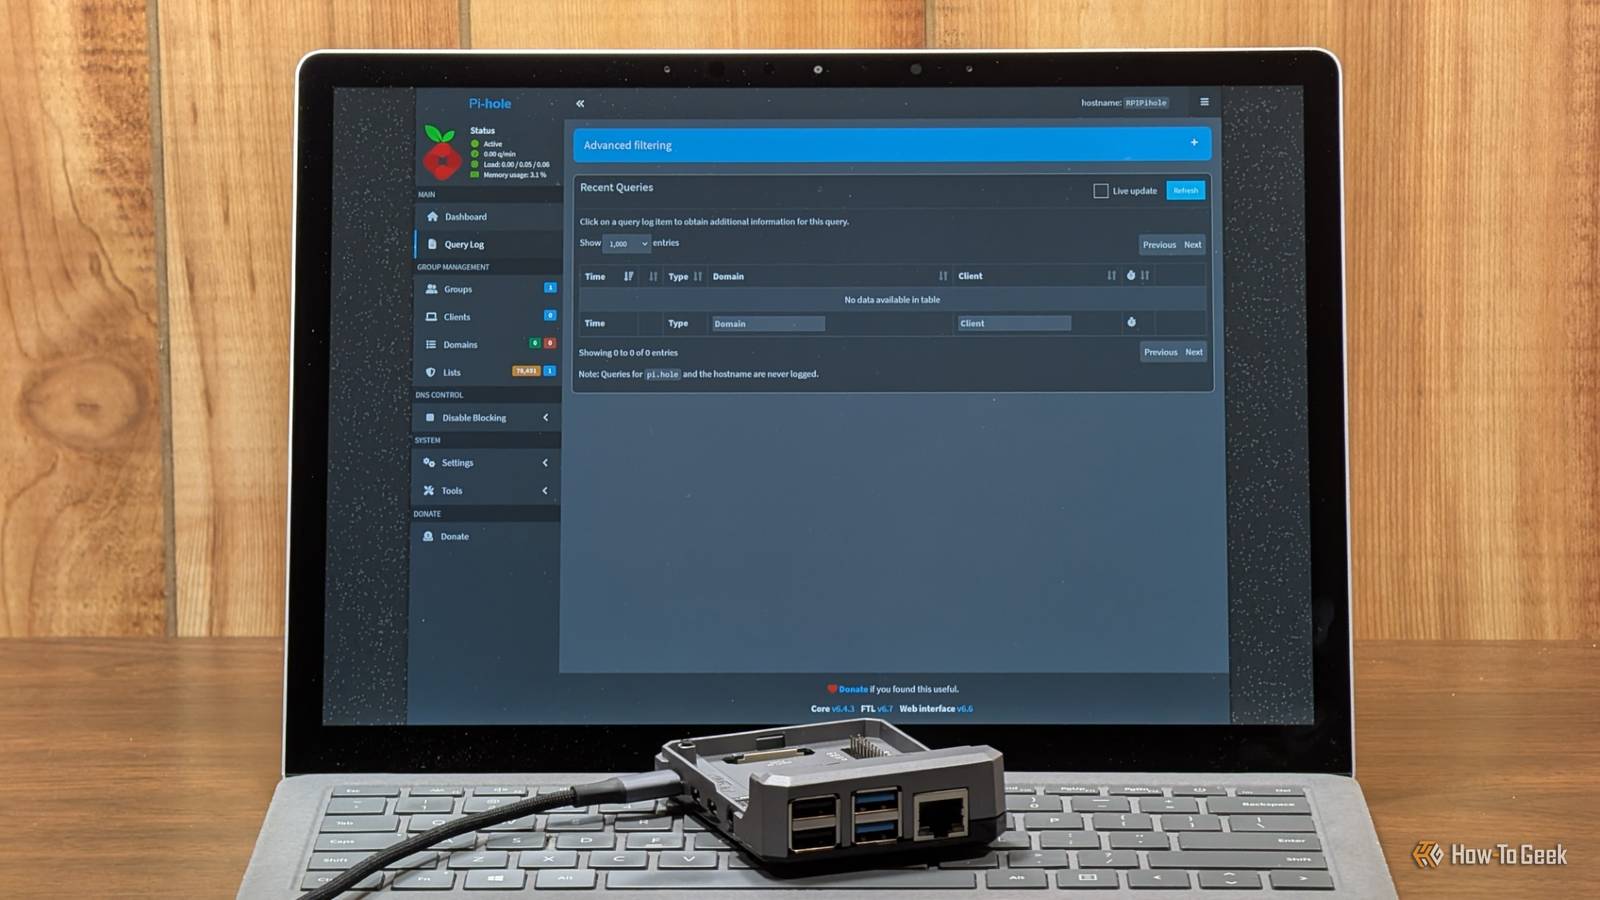
Published Jul 28, 2026, 11:00 AM EDT Nick Lewis is an editor at How-To Geek. He has been using computers for 20 years --- tinkering with everything from the UI to the Windows registry to device firmware. Before How-To Geek, he used Python and C++ as a freelance programmer. In college, Nick made extensive use of Fortran while pursuing a physics degree. Nick's love of tinkering with computers extends beyond work. He has been running video game servers from home for more than 10 years using Windows, Ubuntu, or Raspberry Pi OS. He also uses Proxmox to self-host a variety of services, including a Jellyfin Media Server, an Airsonic music server, a handful of game servers, NextCloud, and two Windows virtual machines. He enjoys DIY projects, especially if they involve technology. He regularly repairs and repurposes old computers and hardware for whatever new project is at hand. He has designed crossovers for homemade speakers all the way from the basic design to the PCB. Nick enjoys the outdoors. When he isn't working on a computer or DIY project, he is most likely to be found camping, backpacking, or canoeing. Almost every device in your home asks, "What is the IP address of this domain?" hundreds or even thousands of times per day. By default, your ISP is the one that provides the answer. In practice, that means your ISP is handed a very tidy list of every single domain you or any of your devices access every single day. In order to get a better idea of what information I was handing to my ISP via its DNS server, I built a small Raspberry Pi DNS monitor to check things out. What does a DNS monitor even do? Every lookup is recorded before it leaves your home DNS is the "translation" step that links a common domain name to the IP addresses computers actually use to communicate. If it fails, whatever domain you were looking up—like howtogeek.com—won't load at all. Normally, that traffic follows a predictable path from your PC to your router and then to your ISP's DNS server. However, you can insert a Raspberry Pi into the process to monitor or change what happens. By inserting a Raspberry Pi as the network's resolver, you ensure that queries pass through hardware you control before they ever go to your ISP. I used Pi-hole, which acts as a DNS sinkhole with built-in blocklists and a long-term query database. AdGuard Home is a similar alternative if you prefer a different interface. Each log line has the timestamp, client IP (which device on your network), domain, record type, and a flag for whether the request was blocked. Since the Pi sees the same kinds of requests your ISP's server does, it serves as a great way to get an idea about what your ISP sees. No privacy policy beats full transparency Generic warnings can't tell you which device is communicating with the outside You can click "I agree" on a privacy policy with your ISP or any number of device manufacturers, but that doesn't actually give you any insight into what kind of data you're sending out or where it is going. DNS records can be extremely revealing. Repeated visits to a specific manufacturer's site, a medical clinic, or a bank can reveal what devices you own, when you think about certain topics, and how much else about you can be inferred from nothing but a list of domains. Raspberry Pi Zero 2 W Brand Raspberry Pi CPU Quad-core 64-bit ARM Cortex-A53 Memory 512MB of SDRAM The Raspberry Pi Zero 2 W is super tiny and super affordable, but it packs enough computing power for a variety of DIY projects. You can use it to create a handheld retro gaming console, for Klipper/Mainsail, a super compact home or media server, and more. A Pi DNS Monitor gives you device-level specifics. You can see if a gadget is connecting to its manufacturer's website and how frequently. Seeing your own browsing habits show up on a table with timestamps—each one revealing something about you—really drives home just how much information DNS records provide. The most surprising thing about my own logs were which devices communicated the most. My smart TV and smart vacuum pinged outside domains constantly. My phone was also quite chatty, presumably because its apps were communicating with analytics domains all the time. On the other hand, deliberate human traffic made up a relatively small—though alarmingly informative—fraction of my traffic. A Pi-Hole DNS monitor also gives you control Above and beyond just seeing what your devices are doing, you can use a Pi-hole to take control over whether they connect at all. You can add specific domains to a blocklist, which means that any device on your network that tries to send a DNS request for that site's address will get nothing back and fail to connect. A Pi-hole is great if you have a ton of IoT devices that are constantly phoning home or if you just want to keep an eye on your network traffic. A Pi-hole will run on almost anything The cheapest Pi will do If you want to build a Pi-hole to keep an eye on your DNS records, try to block trackers, or shut down the telemetry from IoT devices, you don't actually need much. On the hardware side, you need: A Raspberry Pi 4, Pi 5, or Pi Zero 2W A 32GB microSD card (you can use a smaller one if you're careful) A power supply An optional case A microSD card adapter I typically run my Pi-hole on a Pi Zero 2 W because it is tiny and consumes almost no power, but for this specific project I used a Pi 4. You can use whatever you have on hand. Besides the hardware setup, there are a few important things to keep an eye on with the software. First, when you're creating a Raspberry Pi OS Lite microSD card, make sure to enable SSH—you'll need it to connect to your Pi. Second, make sure to assign a static IP to your Pi-hole in your router's settings. This option can be found in the DHCP settings, which are usually under an "Advanced" tab if you have one. If you want to try to get more privacy, you can use DNS over HTTPS (DoH) to connect to a secure DNS server, like Cloudflare, instead of using your ISP's. DNS is only part of the privacy picture It is important to remember that while the Pi proves what your devices ask for, it cannot prove what your ISP actually stores or who it sells your data to. Additionally, some devices on your network use DNS-over-HTTPS (DoH) by default, which is common in modern browsers and increasingly in streaming devices. That traffic bypasses the Pi entirely unless you specifically block those connections at your router. You also need to remember that obfuscating your DNS records with DNS over HTTPS doesn't completely hide your browsing habits from your ISP. Regardless of what else you do, it still sees your destination IP addresses, which it could map to domains on its own. If you want to stop that, then you'll need to use a trustworthy VPN service.
I built a Raspberry Pi DNS monitor to see what my ISP was tracking—and I wasn't prepared for what I found
Full Article
Original Source
Read the full article at Howtogeek →KhanList aggregates and links to publicly available news content. We do not host full articles from third-party sources. Always verify important information with original sources.