
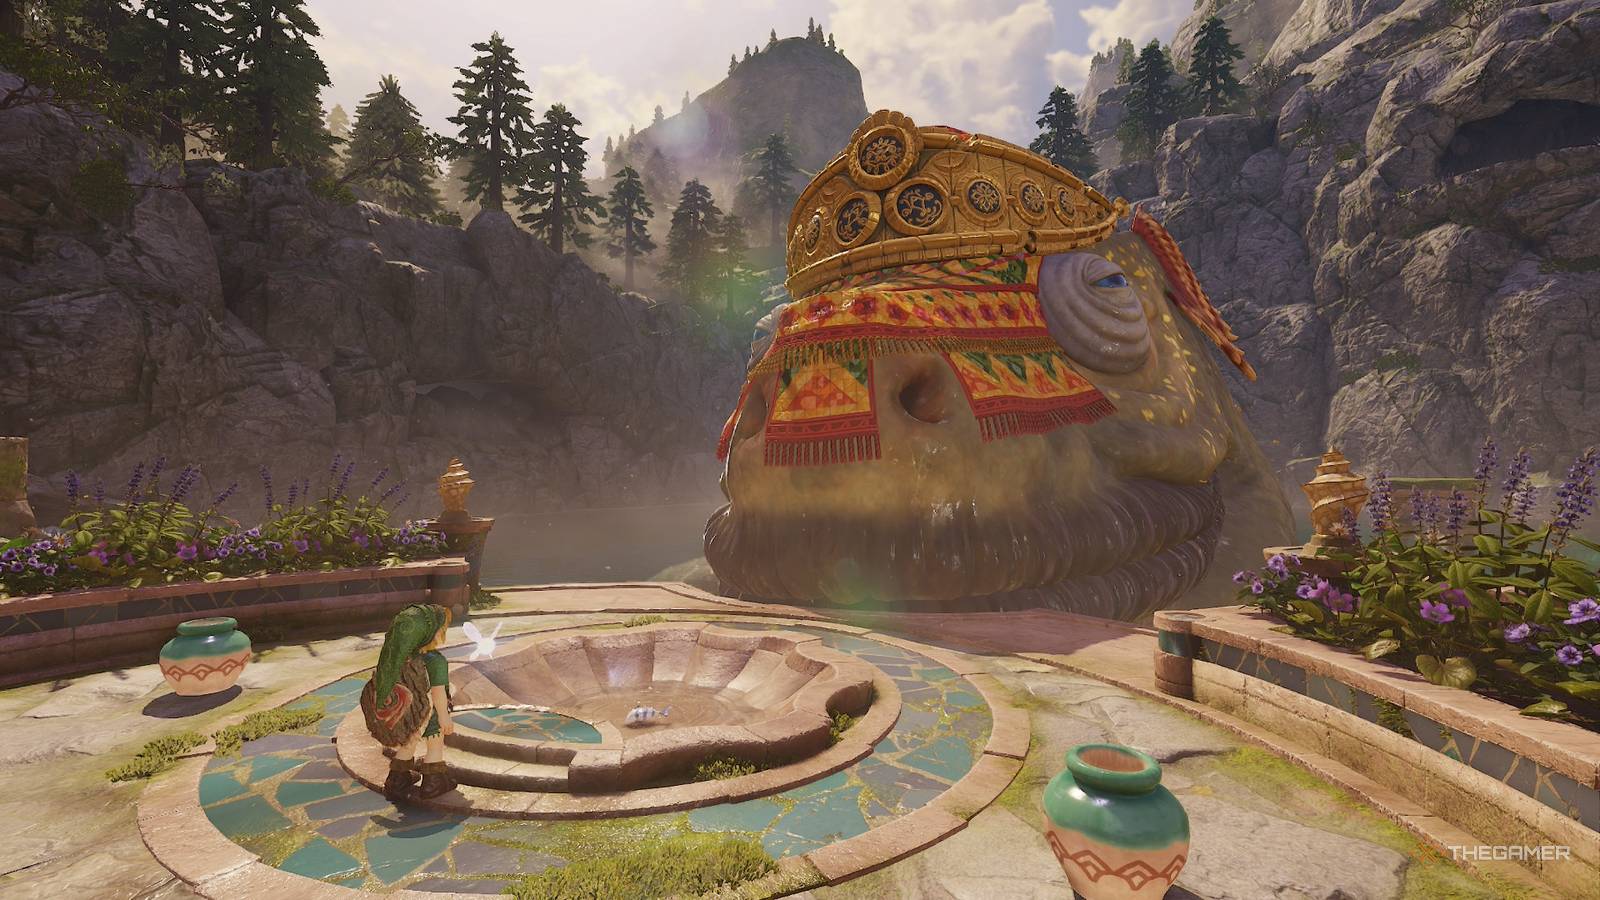
The Legend of Zelda: Ocarina of Time remake has finally been released, which means it's time to once again stop Ganondorf from taking over Hyrule. Throughout this adventure game, you will explore all manner of weird and thematic locations, but none are stranger than the inside of Lord Jabu-Jabu. A massive fish worshiped by the Zora, Lord Jabu-Jabu is the game's third dungeon and can be one of the trickiest if you're a newcomer. So if you're struggling at all, need a refresher, or just want to make sure you don't miss any Gold Skulltulas, here's a full walkthrough of Lord Jabu-Jabu's Belly. Lord Jabu-Jabu Belly Walkthrough After being sucked in by Lord Jabu-Jabu, you will start in this fish's mouth. Before progressing, I recommend equipping the Deku Shield, as there's nothing to burn it up like in Dodongo's Cavern, and you can use it to reflect projectiles. Speaking of, two Octoroks will attack you after taking a few steps forward. Use your shield to bounce their projectiles back at them, instantly killing these enemies. Now, equip your Fairy Sling Shot and shoot the glowing yellow switch on the ceiling to open the door ahead. The next room will introduce you to another new enemy called Biri, which are electrified jellyfish. They will stun you if attacked while floating and are immune to your Deku Seeds. Because of this, you'll want to use a Deku Nut to stun and force them to the ground where they can be safely dispatched. Head through the next door when you're ready. Upon entering, you will discover Princess Ruto, and a brief cutscene will trigger. After refusing your help, she will accidentally fall down a hole. Once you regain control of Link, jump down the hole and talk to her. She will concede to letting you help her, which means you get to carry her around! Why aren't you excited about this? It's a great honor, or so I'm told. Get The Dungeon Map Our first goal is to unlock the Dungeon Map. Grab Ruto and head through the door directly next to her. The next hall will be filled with bubble enemies called Shaboms, which are relatively harmless unless you touch them. Either run past or kill all of them before entering the next room. Jump into the large empty pit with Ruto and toss her onto the ledge on the other side of the room. Step on the glowing yellow switch to raise the water level and swim over to the large chest on the left. Inside will be the Dungeon Map! Be careful, as two enemies known as Stingers will spawn. They are quite aggressive and can be killed via hitting them twice with the Fairy Slingshot. Gold Skulltula 1 — Dungeon Map Room (B1) Your first Gold Skulltula in Lord Jabu-Jabu can be found in the Dungeon Map room. After you raise the water, swim over to the vines directly across from the large chest and climb up to the elevated area. Kill the Gold Skulltula clinging to the wall to claim your prize. Now that we have the map, rejoin Ruta by swimming over to the side you threw her up to, but don't pick her up just yet. Step up to the next hall to cause a Bari to fall from the ceiling. Just like the Biri, they are quite dangerous and cannot be directly attacked without taking damage. Instead, use a Deku Nut for now to stun it and give you an opening to strike. Be careful: when a Bari dies, it will split into three Biri! At the end of the hall, there's another ceiling switch you have to shoot with the Fairy Sling to open. In the next room there will be an Octorok, so kill it and step on the switch to activate an elevator. This will take you back to the throat, so go through the door and bring Ruta to the main chamber where you initially met. In the room where you activated the elevator, there's an underwater tunnel you can swim through that leads to a Business Scrub. Use this to resupply if you need any items! Get The Boomerang Now that we're back where we started, take Ruto across the room and go through the door directly ahead of you (this will be north on your map). Be careful running across to the other side, as there are multiple Bari and Biri that will drop from the ceiling. Additionally, you'll want to avoid all the large pink circles on the ground, as these will open up and drop you to the floor below. In the subsequent room, step on the switch directly to your left and bring Ruto into the room that unlocks. Set her down once the door locks behind you before engaging the four Stinger that emerge from the ground. Play defensively and use your shield to block when they charge at you. Once they hit the shield, strike them twice with the sword to land a killing blow. When all four Stingers are defeated, a large chest will spawn with the Boomerang inside. This will be your main tool throughout the entire dungeon, so toss it around the room a few times to get used to how it moves. When you're ready, grab Ruto and head back out into what we will call the Connection Room. Get The Compass Head back out into the Connection Room and use your newly acquired item to kill both of the Tailparsan in the room. When they're dead, go right and set Ruto down on the switch that's below the large pink tentacle. This will keep the door unlocked, allowing you to enter. Inside, there will be a large pink parasitic tentacle. Lock onto it with Z-Targeting and throw the Boomerang at the thinner section in the middle. This will cause it to take damage, so quickly start strafing in a circle around the room to avoid its counterattack. Once it's done swinging, throw the Boomerang at it again. Repeat this process a couple more times until the tentacle is destroyed. Head back outside, pick up Ruto, and follow the blue tentacle down the hallway you just opened up. In the next room will be the blue parasitic tentacle and a few Biri. Enter the room and focus on dispatching the Biri first, as they can be a real nuisance when fighting the tentacle. Do not stop moving once you start fighting, as the tentacle is relentless in its attacks and is surprisingly fast despite its size. When all the Biri are dead, wait until the tentacle runs out of steam and rests on the ground for a couple of seconds. Use this opening to hit it with the Boomerang before resuming dodging its attacks. Keep this up until the tentacle is dead, pick Ruto up, and head back into the Connection Room once more. Go down the hall and follow the green tentacle this time into the next room. Just like the prior two tentacles, deal with the enemies guarding it before shifting your focus to the main threat. When the green tentacle is dead, take Ruto out and go to the room directly next to the one you just left. Inside, there will be a ton of Shaboms, so use the Boomerang to kill all of them to cause a large chest to spawn that contains the Compass. Defeat Big Ocoto Follow the dissolving green tentacle back to the main room where you met Ruta. A brief cutscene will play that shows a new route opening up with the tentacle's destruction. Use the Boomerang to kill the Bari and Biri that drop from the ceiling and then fall through the hole that has just opened up. Gold Skulltula 2 & 3 — Main Room, Lower Floor (B1) After you drop down the hole, you open up in the main chamber, you will find one Gold Skulltula on the northern wall above you and another in the hall leading northwest. Use your Boomerang to kill both, then throw the Boomerang at the token to bring it back to Link! With the Gold Skulltulas dead, take Ruto and head into the next room to the northwest. This will trigger a brief cutscene where she sees the Spiritual Stone of Water in the center of the room. Toss Ruto up to the stone, which activates the elevator she's on, taking her up to the floor above you. Unfortunately for you, a Big Octo will ride the elevator back down and attack. This is your first real dungeon mini-boss, a theme that will appear in all future dungeons you explore. When the fight starts, equip your Boomerang and throw it at the Big Octo to stun him. This will cause him to become immobile and stop chasing you in a circle around the arena. Quickly run behind him and smack the green blob on his backside to damage Big Octo. If you're not fast enough, don't worry; stay behind him and throw your Boomerang again to stun Big Octo and give you an opening to attack. After you successfully damage him, Big Octo will pop up on the other side of the arena and spawn several Shaboms. Focus on the Shaboms, as you have limited space to move, so it's really easy to accidentally run into them. Continue using your Boomerang to stun Big Octo so you can slash at his weak point with your sword until he is defeated. So long as you manage the Shaboms and keep your distance from this mini-boss, you should have no trouble beating this enemy. When he's dead, step onto the elevator Ruto took and go upstairs. Reunite With Ruto With Ruto gone, we need to find where she has run off to since she has the Spiritual Stone of Water. After you take the elevator, go through the door and approach the two platforms in the room. They will come to life and damage anyone who gets close to them. Quickly use your Boomerang to stun both of them, allowing you to safely cross the room without being hit. In the next room, you will see a floor switch that requires someone (or something) to be on it to keep the door unlocked. Since we don't have Ruto anymore, look to your right to see a small stone box. Run over, grab the box, and toss it up to the upper level where the switch is. Now climb up the vines and place the box onto the switch to unlock the door. The next room has several Biri in it and a large column on the right side. Kill the Biri with your Boomerang and use the vines to climb up to the top of the column. Gold Skulltula 4 — Outside The Boss Room (2F) You can find the last Gold Skulltula in Lord Jabu-Jabu right outside of the boss room where the large column is. After defeating the Biri, you can find the spider clinging to the vines on the column, so use your Boomerang or Fairy Slingshot to kill this enemy. Now just climb up and claim your token. While on the column, look towards the northwest wall to see a yellow switch behind the wall. Throw your Boomerang through either the right or left hole to curve it around the wall and strike the switch. This will cause the door to open, allowing you into the next room. The final room before the boss fight has no enemies and just some pots. Make sure you have your Boomerang equipped before going inside! Defeat Barinade Introducing Barinade, the main boss of this dungeon. Unlike the previous two dungeon bosses, fighting Barinade is mostly about just whittling away at its defenses to expose the vulnerable core body. Barinade is also the most dangerous foe you've faced so far, as it has multiple attacks, many of which can strike you at range. When the fight begins, keep your distance and equip the Boomerang. Barinade will begin firing laser beams from its upper tentacles, so staying on the move at all times will ensure that it always misses. Just like the three colored parasitic tentacles you encountered before, your first goal is to destroy the tentacles attached to the ceiling. This is done by hitting the exposed, white colored sections of the tentacles with your Boomerang. You can do this by either locking onto to each tentacle and throwing your weapon at it or just manually aiming the Boomerang by holding down the left trigger. I personally prefer the latter since it's easier to hit them while on the move. Once all three tentacles have been severed, Barinade will take exception to this and launch several large, electrified jellyfish around it. These will begin spinning around the main body and are completely immune while their electrified shields are active. Keep your distance and focus on avoiding the spinning jellyfish for now. Eventually, Barinade will tire itself out, and all the shields on the jellyfish will vanish. Seize this opportunity and destroy as many of them as you can with your Boomerang. You can use your sword for this; however, there's a chance of the jellyfish shocking you if their shield activates while you are attacking them! Keep in mind, once the jellyfish lose their shields, Barinade will start firing its lasers at you again, so stay on the move while attacking! After all the jellyfish are dead, Barinade will rip itself from the ground and begin charging at you at a high speed. It will be completely invulnerable while charging, so just run away from it to ensure you aren't hit. Once Barinade slows down, throw the Boomerang at the main, glowing orange body of the boss. This will stun it, causing the shields on the jellyfish to vanish. Just like before, take out as many jellyfish as you can before it resumes attacking. With all the jellyfish destroyed, Barinade will finally be vulnerable to your attacks. In a final, desperate attempt to defeat you, Barinade will begin spinning around the room and firing lasers. Hit the main, pink body of Barinade with your Boomerang to stun it, causing the boss to fall to the floor. Now run over to Barinade and start whacking away with your sword until it recovers. Back up and use the Boomerang again to stun the boss, allowing you to strike it once more. Keep repeating this until Barinade is dead, signaling your completion of the Lord Jabu-Jabu's Belly dungeon!
How To Complete Lord Jabu-Jabu's Belly In The Ocarina Of Time Remake
Full Article
Original Source
Read the full article at Thegamer →KhanList aggregates and links to publicly available news content. We do not host full articles from third-party sources. Always verify important information with original sources.