
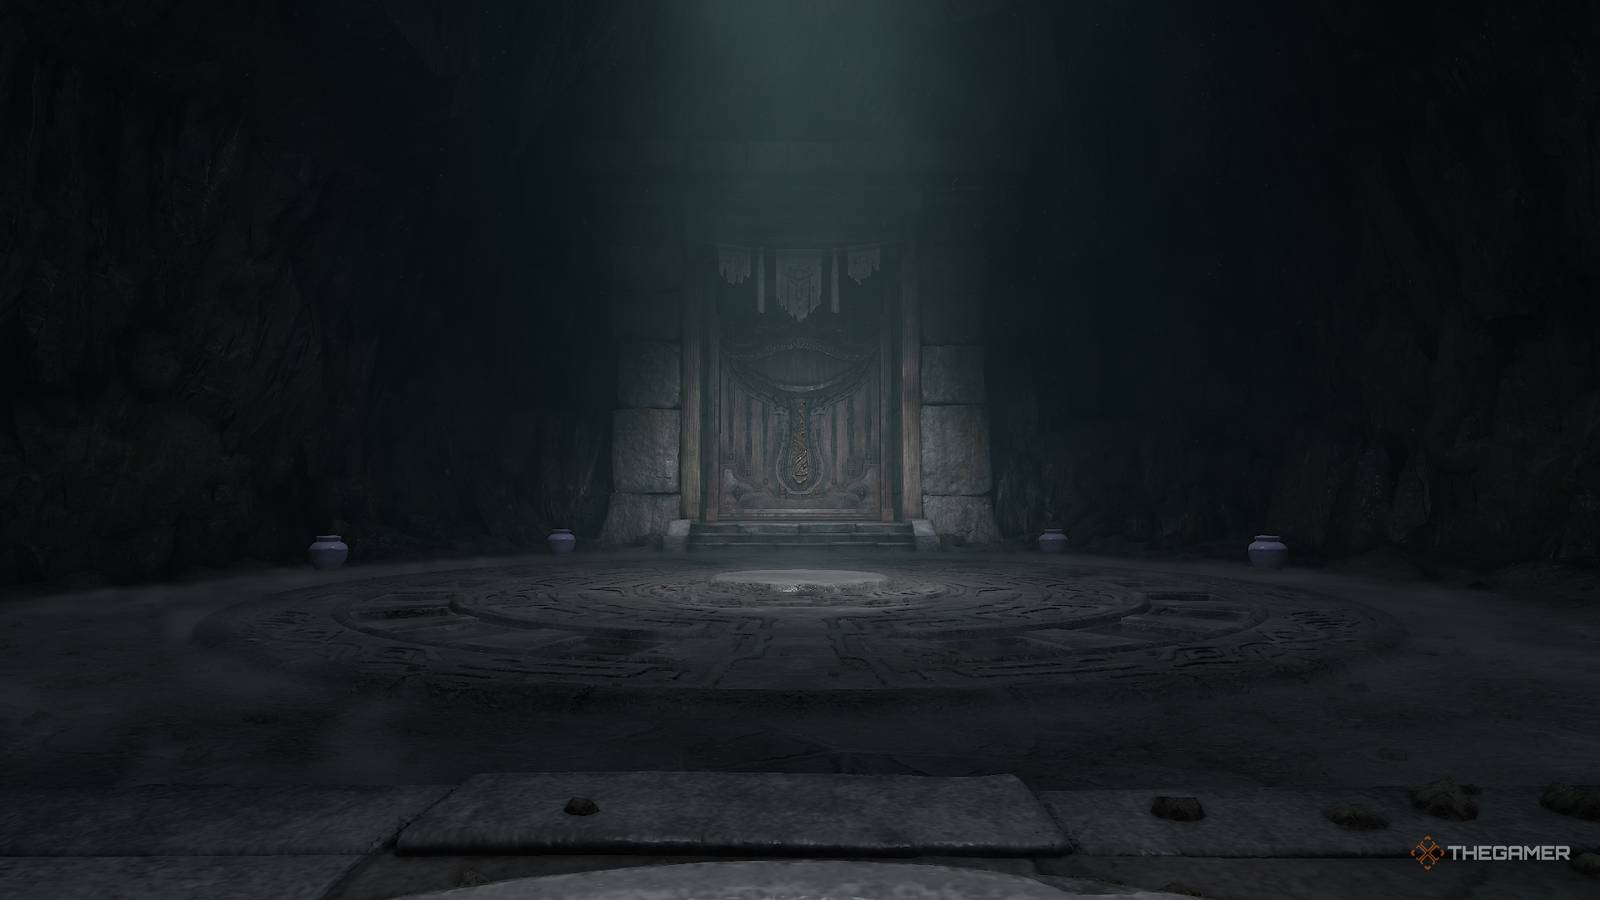
The Legend of Zelda: Ocarina of Time remake has finally been released, so equip your Fairy Bow, sharpen the Master Sword, and get ready to fight through numerous thematic dungeons to save the land of Hyrule. One of these dungeons is the very spooky, Shadow Temple, which is located in Kakariko Graveyard. A place that relies heavily on deception and unseen traps, it can be tricky for those who haven't played it before. If you're struggling to beat the Shadow Temple, Bongo Bongo, or just want to find everything in it, here's a complete walkthrough of this dungeon. Shadow Temple Walkthrough When you arrive in the Shadow Temple via playing the Nocturne of Shadows, you will enter into a large empty room with a locked stone door in front of you. Use the Lenses of Truth to see a massive circle of torches. Walk into the center of them and use Dim's Fire to light them all at once. This will unlock the door, allowing you to progress. Go down the hall, take a right, and use the Hookshot to cross the gap. Walk through the wall by the golden plaque and enter the room with a creepy bird statue in the center. Activate the Lenses of Truth and look at the podiums surrounding the statue. You will see one with a single skull that has glowing purple eyes. Grab the rod sticking out of the base of the bird statue and rotate it so the golden beak of the statue faces the podium with the glowing skull. This will cause the nearby door to unlock, but you won't be able to cross it just yet! If you have the bird face any of the other podiums, the floor will give out, and you'll be dropped into the abyss. So, no pressure! Get The Dungeon Map Once you've unlocked the door you cannot reach right now, use the Lenses of Truth to see which of the creepy smile walls is fake and go through the door hidden behind it. Go into the next room and then run through the wall just below the talking skull. You'll enter a square room that appears to be a dead end. Again, use the Lenses of Truth and go through the hidden door on the right behind the wall. The door will lock behind you, and you'll need to kill two Keese and a single ReDead. Play the Sun Song to stun the ReDead in place, then quickly run over and kill this enemy before it can attack. When all the enemies are dead, a large chest will spawn with the Dungeon Map inside. Get The Hover Boots Your next goal is to unlock the Hover Boots, which allow you to walk on air for a few seconds. From where you got the dungeon map, head back to room with the talking skulls and then go west through the wall via the Lenses of Truth. You'll enter a similar-looking room, but will be attacked by both a Wallmaster and some Flying Pots. Kill these enemies and go to the northwest corner of the room. Use the Lenses of Truth to reveal another path, go down the long hallway, and enter the room at the end. A Dead Hand will be there to greet you, so equip Din's Fire and run to the middle of the room. Use this magic ability to instantly kill all the hands and draw the Dead Hand out of hiding. Fight it just as you did in the well, smacking its head after it attacks. Keep using Din's Fire whenever it summons all the hands, as this allows you to obliterate every one of them in a single move. When the Dead Head is killed, a large chest will spawn with the Hover Boots inside. Equip these as you did the Iron Boots in the Water Temple. When Link is wearing them, you will be able to temporarily walk on air. Get The Compass Return to the bird statue room and run across the gap with the Hover Boots to the door we previously unlocked. You'll enter a central connection room with a Beamos inside. Kill the Beamos and then blow up the bombabale wall to reveal another locked door. To both your right and left there will be doors hidden behind the walls. Go through the door on the right (south) to enter a room where the door locks behind you. Inside there will be two Gibdo, so play the Sun Song to freeze them in place. Once they're immobilized, kill both of the Gibdo to make a large chest spawn in the center of the room that contains the Compass. After getting the Compass, head back to the central connection room and go north through the other door hidden behind a wall. The next room will have five silver diamonds you need to collect to unlock a gate guarding a small chest. Just like the Ice Cavern, all you need to do is touch the diamonds. The catch is there's a giant scythe trap in the middle that is continuously spinning around the room. Reach The Ghost Ferry Take your time and work your way around the room from left to right. Try to stick to the edge of the room, as the scythe does a full heart's worth of damage if it hits you. After collecting all the diamonds, the door in the room will unlock, allowing you to open the chest and get your first Small Key. Now return to the central chamber and use the Small Key on the locked door. Follow the hallway filled with Skulltulas and guillotine traps. At the end, you will enter a massive cavern with more guillotine traps. Equip the Hover Boots and run to the next part of the broken bridge, then unequip them and cross the rest of the bridge. Once you reach the next larger platform, a Stalfos will appear and attack you. Kill this enemy, then equip the Hover Boots and activate the Lenses of Truth. To the east, you will see a large gap that, with the Lenses of Truth on, will be an invisible platform you can reach with the Hover Boots. Cross the gap, and to the left of the door will be a Business Scrub you can buy some materials from. It mighyt be worth buying a Green Potion from the merchant, as you will end up using a lot of magic in this dungeon. When you enter the next room, stay by the door and use your Fairy Bow to kill the Fire Keese. Then activate the Lenses of Truth to see another massive spinning scythe statue in the center of the room. It will be invisible to the naked eye, so make sure you have the Lenses of Truth on so you can avoid it. Go across the room, kill the Like Like, and then head through the unlocked door. Inside, you will find two chests that each contain a Red Rupee. When you're ready, make your way back to the central cavern. Gold Skulltula 1 — Invisible Scythe Room In the Invisible Scythe Room, after you've killed all the enemies, go through the unlocked door and on the back wall you will see a Gold Skulltula. Head across the rising and lower platforms towards the Beamos and moving spike traps. When you get close to the Beamos, five more silver diamonds will spawn around the room. Ride the rising platform closest to the Beamos to its max height and then jump and grab the first diamond. Then climb up the scaffolding to the left and use the Hover Boots to reach the next diamond. Blow up the Beamos in the center and then collect the three diamonds around the moving spike traps. Your final diamond will be to the north by the large, creepy mouse statues. Activate the Lenses of Truth to see a platform under the diamond and then use the Hover Boots to reach it. Once you've acquired all the diamonds, go through the newly unlocked door. In the next room, there will be two massive spike crusher traps that consistently slam themselves into the floor. This, at first glance, makes it impossible to advance. However, the plaque on the ground mentions a stone umbrella. Use the Lenses of Truth and look to your right to see a hole in the wall with a stone block. Drag the stone block out and push it towards the spike traps. This will stop whichever spike crusher trap it's under from killing Link. Get it close to where the second spike crusher trap is, and then go right, through the hole in the wall. Wait until the next trap lifts itself up, then quickly run out and pull the block under the next trap. Go to the other side of the room to get a Red Rupee from the chest, then bring the stone block to the far end of the room. Climb up the block to reach the next floor of this room, and then use the top of the spike crusher traps as a bridge to reach the other side. Open the chest, and inside you will find a Small Key. Gold Skulltula 2 — Spike Crusher Trap Room Before crossing to open the small chest, you will find the Gold Skulltula high up in the northeast corner of this room. Use the top of the crusher traps to reach the small area where it is, and then use the Longshot to snag the Gold Skulltula. Head back to the large cavern and go north towards the mouse statues. Use the Lenses of Truth to see the hidden platform and the Hover Boots to actually reach it. Unlock the door on the other end with your newly acquired Small Key to enter a room with two ReDeads and give silver diamonds. Use the Sun Song to paralyze the ReDeads and then kill them. Make sure to stick to the outer edges of the room, as there are spike traps hidden throughout the room that you can only see with the Lenses of Truth. With the ReDead defeated, use the Lenses of Truth to see the hidden grapple points you can use to reach all the diamonds floating in the air. Once all the diamonds are collected, the door will unlock. Progress into this newly unlocked door and pull out your bow. Kill the two Fire Keese flying around and the two on the wall at the top of the stairs. Then, equip a bomb and toss it into the top of the large Skull Vase to blow it up and reveal a Small Key. Take the key back to the previous room and go through the locked door. The next area will be a series of tight hallways with massive fans blowing you back. Equip the Iron Boots and slowly make your way down the halls. You'll encounter both spike traps and a Skulltula, so take your time, as the Iron Boots will keep you from being blown away. Eventually, you will reach a gap in the hallway with another fan at the end. Equip the Hover Boots and run across the gap right as the fan stops. Then, switch to the Iron Boots to ensure you are pushed back into the bottomless pit. Gold Skulltula 3 — Fan Room At the end of the hall, cross the gap with the Hover Boots when the fan stops blowing and then use the Iron Boots to stop from being blown away. Turn and face the way you came to find a Gold Skulltula on the bottomless pit wall. Use the Longshot to kill and secure the token. Jump down to the lower level of this hallway to see several fans facing one another. Make your way towards the end, but do not go through the door right in front of you. There's no real reason as it's just going to have two ReDead and a chest with a Business Scrub seed. Instead, look to your left (north) and activate your Lenses of Truth to see a hidden door behind a wall. Equip the Hover Boots and wait for the fan to start blowing air toward the door. Run over the gap, using the fan to increase your momentum and carry you across. In the room, there will be two moving spike traps, Gibdos, and Flying Pots. Kill all the enemies in the room to spawn a chest with... a single Green Rupee in it. Cool. Blow open the bombable wall and use the Lenses of Truth to see a hidden chest that has a Small Key inside. That's more like it. Use the key on the locked door and take the elevator down to the docks. Pull the stone block out on the left to open up a shortcut to the invisible scythe statue room. Then climb onto the dock and step onto the ghost ferry. Gold Skulltula 4 — Docks On the dock, above where you pulled the stone block, you will see a Scarecrow spawn point. Take out your ocarina and play the Scarecrow Song to summon him, and then use the Longshot to pull yourself up to it. Directly to the left of the Scarecrow will be a Gold Skulltula. Step onto the boat and then stand over the Triforce symbol. Play Zelda's Lullaby on your ocarina to cause the ship to start moving. During your journey, you will need to fight two Stalfos that spawn one after another. When they are both dead, the ship will pull up to another dock and crash. Get off the ship before it sinks, and then use Din's Fire or a Fire Arrow to burn away the spider web over the door. Get The Boss Key Go inside, but don't panic when you see the two Floormasters. Activate your Lenses of Truth to see that you're in a large maze. Follow the path around the room and defeat the first Floormaster you encounter, making sure to use your spin attack to ensure that all the smaller Floormasters that break off from the original die right away. Enter the door to the south and immediately activate your Lenses of Truth to see an invisible Floormaster. Defeat this enemy to spawn a chest with a Small Key inside. Key back out into the invisible maze, kill the second Floormaster, then go through the western door if you want to get a Gold Skulltula. Gold Skulltula 5 — Spinning Skull Vase Room In this room you will see three massive skull vases that are spinning around in a circle. Go up the stairs and equip your bombs. Just like before, throw the explosive into each of the vases. One of them will contain a Gold Skulltula and a ton of Rupees. Once the Gold Skulltula is free of the vase, run down the stairs and kill it. Now that we have a Small Key, make your way through the invisible maze and unlock the northern door. When you enter, quickly equip and use Din's Fire to burn away the spike walls that are closing in on you. With them gone, use the Sun Song to freeze the ReDeads. Kill them, and you'll find the chest containing the Boss Key in the corner. Go back to the docks where the ship crashed and approach the one pillar that's still standing. Drop a bomb at its base to blow it up and create a makeshift bridge. If you need a Fairy, go to where the other knocked-over pillar is, look up, and play the Scarecrow song. The Scarecrow will spawn on a platform with a few pots, one of which has a Fairy inside. Enter the next door, activate the Lenses of Truth to see all the invisible platforms and then use the Hover Boots to make your way to the Boss Room door. Defeat Bongo Bongo One of the wildest boss fights in the game, Bongo Bongo is a beast made of shadows that, as the name suggests, fights you on a massive drum. Before the fight begins, make sure you have the Lenses of Truth, Hover Boots, and Fairy Bow equipped. Additionally, the Biggoron Sword is great here since we won't need the shield to block any attacks. When the fight starts, Bongo Bongo will begin rhythmically smacking the drum you are on. Without the Hover Boots equipped, Link will go soaring into the air, which can make it hard to move around. However, we will need to switch the boots off and on throughout the fight, as the sliding and slower movement they produce can make dodging the boss's attacks difficult. One Bongo Bongo stops drumming; one of his hands will no longer glow purple. Unequip your boots and watch for the shadow of the hand on the drum. Dodge the slam attack and use the bow to shoot the hand, stunning it. Bongo Bongo will then remove the shield around his other hand and attempt to crush you with it. Dodge the attack and strike back with an arrow when it's stationary. After both hands have been stunned, activate the Lenses of Truth to see the main body of Bongo Bongo. He will try to sweep across the drum, so use your bow to put an arrow in the big glowing red eye. This knocks him out of the attack, giving you a pretty generous opening to whack away at that eye with your sword. Bongo Bongo will recover from your onslaught and once again begin drumming on the arena floor. Equip the Hover Boots to keep from flying around and watch his hands. When one becomes unprotected, unequip your boots, and wait for it to either slam down like before or it will sweep across the drum horizontally. Regardless of which move it picks, shoot that hand with an arrow to stop it. The other hand will form a fist and get ready to punch you. Wait until the fist connects with the drum and then shoot it with an arrow to force Bongo Bongo to attack you head-on. Use the Lenses of Truth to see him again and shoot the boss in the red eye with an arrow when he charges. Slash at his weak point repeatedly until he recovers and starts drumming once more. This fight is all about managing your Hover Boots, as they will both keep you from being knocked around, but also make avoiding the boss's attacks difficult. Only ever use them at the start, when Bongo Bongo is drumming; otherwise, you will struggle to dodge Bongo Bongo. Additionally, if you get knocked off, use the outer platforms to get back onto the central drum. Upon killing Bongo Bongo, grab the Heart Container and step into the teleportation circle to complete the Shadow Temple!
How To Beat The Shadow Temple In The Ocarina Of Time Remake
Full Article
Original Source
Read the full article at Thegamer →KhanList aggregates and links to publicly available news content. We do not host full articles from third-party sources. Always verify important information with original sources.