
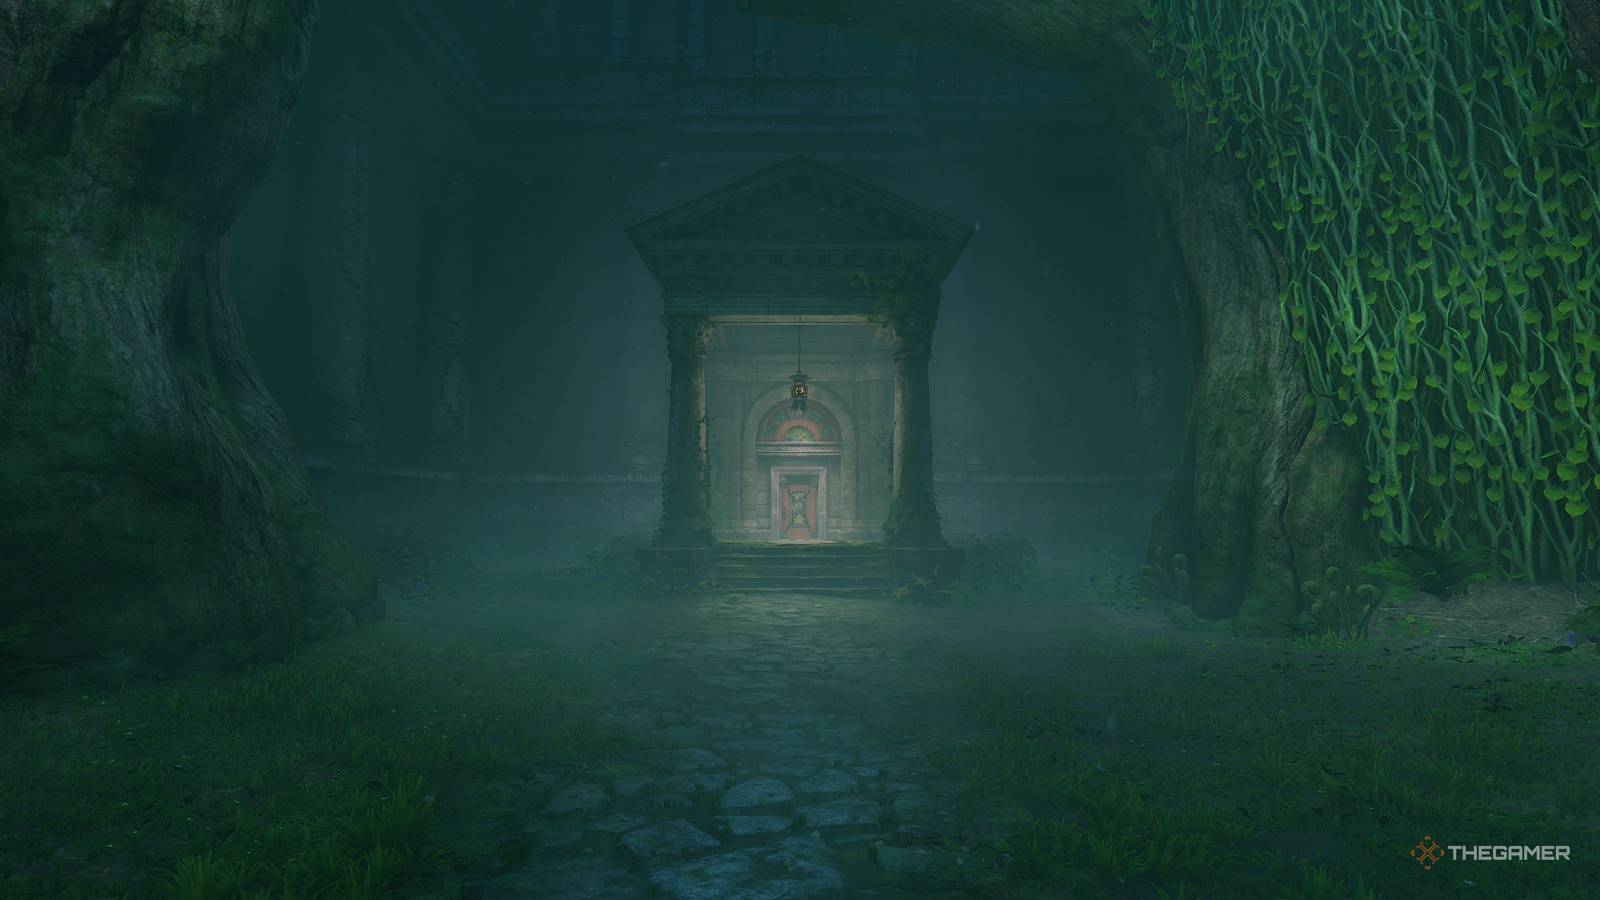
There are a lot of dangerous places to explore in The Legend of Zelda: Ocarina of Time. From Death Mountain to Kakariko Graveyard to inside a giant fish, you'll venture into all manner of thematic locations. One of my personal favorites is The Forest Temple, which is the first dungeon you'll complete as adult Link. However, it's not as easy as it sounds, as the training wheels are completely off. So if you're struggling to beat The Forest Temple, want to ensure you don't miss any Gold Skulltulas, or just want an easy time solving all the puzzles, here's a complete walkthrough. The Forest Temple Walkthrough Upon entering the Forest Temple, you will be immediately attacked by two Wolfos. These are aggressive enemies that strike at you with a three-hit melee combo. The trick to killing them is to perform a backflip right before they attack. This will cause them to miss, spinning them around so they face away from Link and expose the glowing blue weak point on their spine. Kill both of the Wolfos and look towards the door that's chained up with a lock on it. Introducing a new dungeon mechanic you'll need to become very familiar with. Going forward, some doors will have these chains and locks on them, which can only be removed if you find a Small Key. These keys are finite and will be consumed upon using them on a locked door! Look to your right at the large tree with all the vines. Use these to climb to the top and carefully make your way across the flat tree branches to reach the small chest. This will contain a Small Key, which we will use to unlock the door to the actual Forest Temple. Gold Skulltula 1 — Forest Temple Entrance (1F) Our first Gold Skulla can be found at the Forest Temple entrance. At the very top of the tree covered in vines will be a Gold Skulltula. Kill it with the Hookshot and snag the token. Go down the hallway, kill the Skulltula that drops from the ceiling, and enter the Grand Hall. When you arrive in Luigi's Mansion the Forest Temple, four different colored Poes will appear and steal the fire from the torches that match their colors. Each of them will run off to a corner of the dungeon, and your goal is to restore the fire they stole. In the Grand Hall, make your way to the door at the top of the stairs directly across from where you entered. Gold Skulltula 2 — Grand Hall (1F) Conveniently, your next Gold Skullatula can be found near the top of the stairs on the north side of the Grand Hall. At the top of the stairs, turn to your right, and you'll see the spider clinging to the wall. Like the previous one, use your Hookshot to kill and take the token it leaves behind. Going through the next hall will introduce you to a new enemy called the Blue Bubble. This adorable name is given to the giant flaming skull with bat wings, which will attempt to ram itself into you. Use your shield to block the attack, extinguish its flames, and allow you to land an easy killing blow. Once it's dead, go into the next room. Oh look, more new enemies. This time the door will lock behind you, and two Stalfos will appear. These are the most dangerous normal enemies you've encountered so far. Boasting a shield and sword, these skeletons can easily block your attacks and perform big sweeping strikes. The key to defeating them is to wait until one performs a jump attack and dodge it. This leaves them wide open to be hit, but it will take several sword slashes to bring one down. When both Stalfos are dead, a small chest will appear with a Small Key inside. Head back the way you came and return to the Grand Hall. Get The Dungeon Map In the Grand Hall, look for a door with a large blue block in front of it. Stand next to the block, pull out your ocarina, and play the Song of Time. This will cause the block to vanish, allowing you to use the door behind it. Go through the door and kill the Deku Babas while making your way over to the wall on the right. Use the Hookshot to kill the two Skullwalltulas and climb up the vines to the balcony. Look to the wall with the large archways, and you'll see a Hookshot grapple point above one of the balconies. Pull yourself over to it with the Hookshot, kill the Blue Bubble, and step onto the switch to drain most of the water out of the well below you. Jump down the well into the water and run down the path to the chest to get a second Small Key. Climb out of the well and be ready to deflect a projectile from the Octorok in the small fountain. Once it's dead, use the grapple point on the pillar to pull yourself over to the large chest. Open it to find the Forest Temple dungeon map. Exit out the door behind you and step on the switch to raise the gate, putting you back in the Grand Hall again. Get The Fairy Bow Since we cannot use the Fairy Slingshot anymore, we need to find a suitable replacement. In the Grand Hall, make your way to the red-colored side of the room and up the stairs to the locked door. Use a Small Key to open it and head inside. Go down the hall and enter the next room where a Blue Bubble and a third new enemy, the Wallmaster, await. As you run around, you'll notice a colored circle appear at Link's feet. Keep running back and forth until the large, severed hand lands on the ground. If it hits you, the Wallmaster will toss you back to the Grand Hall, so make sure to avoid it! Once the Wallmaster lands on the ground, turn and immediately kill it before the monster can retreat. When it's dead, kill the Blue Bubble and head up the ladder. Now, go down the narrow passage and take the second left. Walk along the balcony until you reach a door with a large block in it. Push the block into the hallway you just ran down so it lines up with the door. Get behind the block and push it down the hall with the triangles on the floor. Once you reach the end of the hall, run along the balcony side again and shove the block a final time so it's under the opening above you. Do not go up to the next floor; instead, go to where the block originally was and climb up the ladder along the wall. Follow the path until you find another block and push it forward into the adjoining hall. Go back down the ladder, run to where you finished placing the original block, and climb up. Go to the block you shoved into the hall and push it towards the second elevated door. Use it as makeshift stairs, then take a right and use the ladder. Kill the two Blue Bubbles and then use your remaining Small Key to go through the locked door. Make your way down the twisted hall and quickly jump across the gap to the door on the right. There will be another Wallmaster, but with such minimal space to move, you're better off just avoiding it. In the next room, there will be portraits of the Red Poe, but ignore them for now. Head down the stairs and through the door to trigger another fight with three Stalfos. I know I shouldn't have to say it, but just to make sure: do not stand in the glowing green poison pit in the middle. Upon killing all the skeleton warriors, a large chest will appear with the Fairy Bow inside. Kill The Red Poe With your newly acquired Fairy Bow, it's time to hunt down that Red Poe, Jo. Shoot the eye above the door you entered through and go back into the staircase. Use the bow to shoot any painting with the Red Poe in it, but keep your distance; otherwise, the ghost will flee. There will be one painting at the top of each staircase and a third over the bottom of the lower stairs. After the ghost is forced out of the paintings, she will retreat to the lowest level of this room. Go down the stairs and draw your sword. Jo's main attack sees her spin like a top in front of you, deflecting all attacks. The trick is to turn away from her to bait this move out, then quickly run out of the way once she starts spinning. At the end of the move, Jo will be dizzy and vulnerable to your sword swings. Do this twice to finally kill Jo and restore the red flame to the Grand Hall. Three more Poes left! Kill The Blue Poe And Get The Compass Open the small chest that Jo left behind to find a Small Key and head back into the room where you found the Fairy Bow. Use the key on the locked door directly ahead of you and go inside. This will bring you to another staircase room where Beth, the Blue Poe, is located. Just like with Jo, use the Fairy Bow to shoot the three portraits that specifically contain Beth in them. This will make her retreat to the bottom of the stairs where you can fight her. Similar to Jo, Beth relies on a spin attack that makes her dizzy if she misses. The catch is, Beth will repeat the spin twice in succession, so make sure to dodge her second attack! Once she is recovering, run over to Beth and start slashing away. Remember, you can goad Beth into attacking by looking away from her. When you do this, she will physically manifest herself, allowing you to turn and attack when she gets close. Upon killing Beth, the blue flame will return to the Grand Hall and a large chest will spawn containing the Compass. Get The Boss Key With her dead, go back the way you came through both the Fairy Bow Room and where you killed Jo. Head down the twisted hallway and go through the door. When you exit the door at the end of the twisted hall, turn around and look over the door. Use the Fairy Bow to shoot the eye switch to reorient the hallway so it's normal. Go down the previously twisted hall and jump down onto the lower floor. A Wallmaster will attempt to grab you, so make sure to dodge its attack and kill it. Once the Wallmaster is dead, open up the very ornate chest to find the Boss Key! Don't get ahead of yourself though; we have some work to do before battling the Forest Temple boss. Kill The Green Poe Jump down into the hole next to the chest, kill the two Blue Bubbles, and proceed through the door. You will emerge on a balcony overlooking the garden where you drained the well. Gold Skulltula 3 — Second Floor Garden (1F) On the second floor of the garden where you emptied the well, carefully walk out onto the ledge to the left of the door. Follow it around the corner until you see the Gold Skulltula in front of you. Use the Hookshot to kill and grab the token. On the balcony, take the first door on the right to enter a small room. Inside will be a Floormaster, which is a troublesome enemy. It will launch itself at you, so block with your shield and strike it down. When it dies, the Floormaster will split into three smaller versions that are going to try to latch onto Link. If they do, the Floormaster will recover and grow to full size. You prevent this by quickly killing all three mini-Floormasters before they can grab Link. A spin attack works wonders here since its large radius lets you hit multiple enemies at once! With the Floormaster defeated, open the chest to get a Small Key, head back onto the balcony, and go through the next door. This will spit you out into the block room. Go back up to where the entrance to the twisted hall is and shoot the eye switch again. This will contort the hall back to its previous state, allowing you to reach where you killed Jo and Beth. You can get a Purple Rupee in the block room on the second floor by shooting the long eye switch. This will drop a treasure chest containing your prize. Head back to the top of the stairs where you killed Beth and go through the door. Go up the ladder on the right and run down the hall with the two Green Bubbles. Kill both of them and use your Small Key to unlock the next door. In this room, you will find a frozen eye switch and an unlit torch. Step on the stone switch to ignite the torch, and then fire your bow through the torch. This will set the arrow on fire, melting the ice around the eye switch. Now shoot the eye switch to contort the blue hallway, go back down the hall, and jump down the hole in the floor to the lower level. In the checkered room, when you get close, the ceiling will begin to rise and fall. Ignore this for now and head to the right and through the door. Push the block onto the ground and then go back through the door to the checkered floor room. Gold Skulltula 4 — West Garden (1F) Your final Gold Skulltula in the Forest Temple can be found in the West Garden. After you've pushed the large block down to make a shortcut, look above you at the small balcony to see a Scarecrow spawn point. Play the Scarecrow Song to summon him and then use the Hookshot to pull yourself onto the balcony. There you'll find the Gold Skulltula. Wait until the floor falls onto the ground and then quickly run to the stone switch on the right. Be careful, as there are several Skulltulas that will fall from the ceiling if you get close, so be on the lookout for their shadows on the floor! Once you step on the switch to unlock the door, wait until the ceiling rises again and go to the small chest to get a few Bombs. Now run to the door once it's safe and go through. In the Poe Room, shoot the large painting of Amy on the wall. She will then cause her image to become split up across five blocks. You need to push those blocks together to form her portrait once again. The catch is that one of the blocks that shows the right side of her head is fake. Look for the image of her head to occasionally move, as that signifies which block is real and which is fake. Once the blocks are pushed together to form her image, Amy will appear and attack. Just like her sisters, Amy will perform a spin attack. Unlike them, she can do it three times in succession. Wait until she gets dizzy from all the spinning, and then attack. Repeat this a second time until Amy is dead, and the green flame is restored. Kill The Purple Poe Go through the door to directly enter a hallway with a portrait of the Purple Poe on the wall. Shoot the painting to force the Poe out of hiding, causing her to retreat into the Grand Hall. Follow through the newly revealed door and jump down to where the torches are to initiate a fight with Meg, the final sister. Unlike her siblings, Meg isn't content just spinning around like a top. Instead, she will clone herself and try to hide among her copies. Stand in the center of the room and look for a Meg that is holding a torch with a purple flame. Pull out your Fairy Bow and shoot this Poe to stun her and force her to vanish. The next set of Megs will all have unlit torches, except the real one, which will still have a purple flame. Just like before, shoot the real Meg with an arrow to make her retreat. Her final set of clones will all look exactly the same and have the same colored torch. This time, you want to pay attention to her movements. As they circle around Link, only one of them will do a little spin. When you see the spin, shoot that Meg with an arrow. If you're not fast enough, she will attack you and then hide back among her clones. The best way to quickly determine which one is real is by positioning the camera so it's looking directly down at you and the four Megs (shown above). Once you hit the real Meg with an arrow, strike her several times with your sword to finally kill her. Reach The Boss Room With all four Poes dead, take the elevator in the middle of the Grand Hall down to the lowest level of the Forest Temple. Grab the horizontal stone pillar on the wall and push it once. This will cause the walls to rotate around the room, revealing a small chamber with a stone switch on the floor. Step on the switch to ignite the torch. Grab the stone pillar and push it again twice to reveal a room with a small chest that contains some arrows. Then push the pillar a third time to reveal a green-colored room with a few pots and a Skulltula. This will also line up the torch with the frozen eye switch. Shoot an arrow through the fire to thaw out the switch, and then hit it with an arrow to unlock the boss's room. Gold Skulltula 5 — Outside The Boss Room (2B) The final Gold Skulltula in the Forest Temple is located outside of the Boss Room. Rotate the room via the pillar a total of four times until the green-colored chamber with the pots is accessible. Go inside and look up at the wall to find the Gold Skulltula. Defeat Phantom Ganon The big boss of the Forest Temple is Phantom Ganon, who is a fake version of the real man. When the fight begins, Phantom Ganon will retreat into one of the large paintings while on horseback. Equip your Fairy Bow and begin looking at all the paintings around you until you find two of them that show Phantom Ganon riding straight at Link. One of these is real, and one is fake. You won't be able to tell who the phony is until he is about to escape the painting. Right before they reach the end of the road, the real one will continue pushing through the painting into the real world, while the fake turns around to ride back to the castle. The moment the real Ganon begins to appear in the boss room, shoot him with an arrow to force him back. If you're too slow, he will jump over you and fire a projectile that deals a decent amount of damage. Repeat this a second time, making sure to shoot the real Phantom Ganon as you emerge from the painting. Where things get tricky is that the third time sees Phantom Ganon appearing in every painting. Keep spinning your camera around once he gets close to the emerging to ensure you can see the real one as it escapes. Shoot it with an arrow to finally force Phantom Ganon off his horse. Put your bow away and draw your sword. Phantom Ganon will float into the air, create a massive orb of energy, and hurl it at you. Instead of dodging, smack the orb when it's close to you with your sword to send it back to Phantom Ganon. He will do the same and return the orb to you. Keep volleying the energy orb back and forth until it eventually hits him. When this happens, rush over to Phantom Ganon and begin hacking away with your sword. Learning absolutely nothing, Phantom Ganon will attempt this same attack again. Just like before, keep returning his serve until the orb strikes him and knocks the boss to the ground. Slash him a few more times before he retreats into the air. This time, Phantom Ganon will not just summon an orb, but will launch himself across the ground in an attempt to skewer you. When he initiates the attack, dodge to the left or right to avoid this move. He may do this move multiple times in a row, so be ready! Eventually, he will summon the orb for you to smack back at him once again. This time, you should be able to kill him before he can recover, so slash away with your sword until the boss is defeated. After a brief cutscene, grab your Heart Container and step into the blue circle, completing the Forest Temple!
How To Beat The Forest Temple In The Ocarina Of Time Remake
Full Article
Original Source
Read the full article at Thegamer →KhanList aggregates and links to publicly available news content. We do not host full articles from third-party sources. Always verify important information with original sources.