
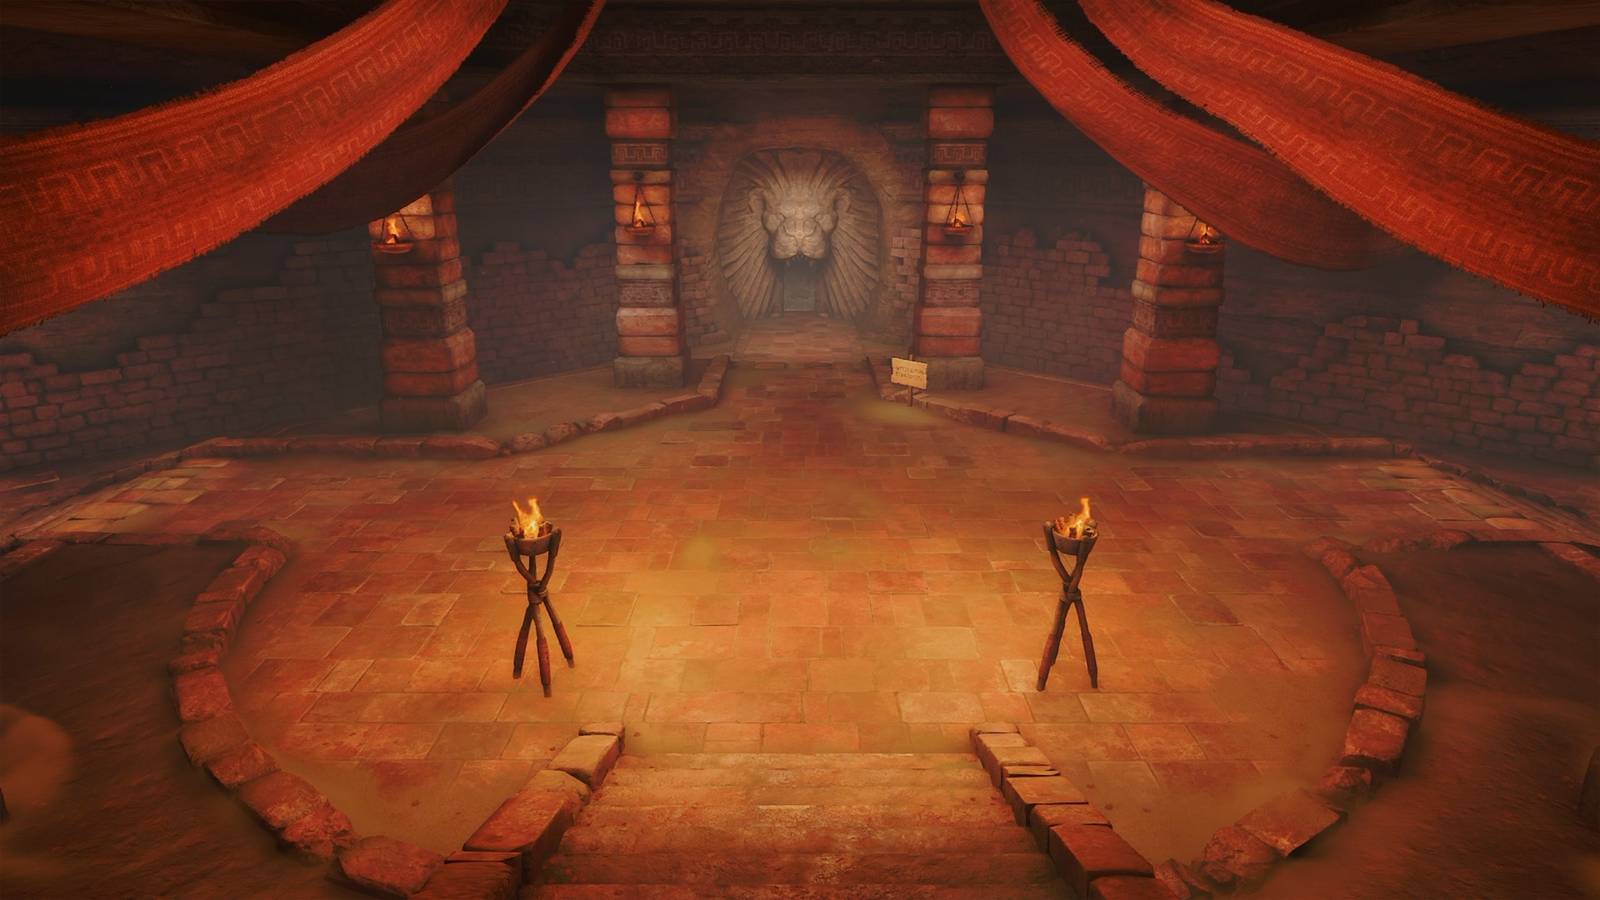
Published Nov 11, 2026, 1:33 PM EST How to get the Ice Arrows Image: Nintendo EPD/Nintendo via Polygon The Gerudo Proving Grounds is an area in Gerudo Fortress where you can test your battle prowess in The Legend of Zelda: Ocarina of Time remake. You can enter after you rescue all the carpenters in Gerudo Fortress, but you do need to pay a 30-rupee fee every time you enter. Inside, you'll find three paths, one to the left, center, and right. On the left and right path, you need to overcome a series of challenges to obtain small keys that you can use in the center path. However, you'll need to accumulate a bunch of items and equipment if you want to make it all the way through. As a reward for completing the Gerudo Proving Grounds, you'll get the Ice Arrows. Here's how to complete the Gerudo Proving Grounds in Ocarina of Time remake. Part 1: Entering the Gerudo Proving Grounds Graphic: Johnny Yu/Polygon | Source images: Nintendo EPD/Nintendo via Polygon The Gerudo Proving Grounds is located just south of Gerudo Fortress and it costs 30 rupees every time you want to enter. You won't have to restart if you leave, but to save some rupees, we recommend grabbing a few healing items and storing them in a bottle, like Lon Lon Milk or fairies. If you just want to get the Ice Arrows and leave, you need the following items: Fairy Bow Goron Tunic Song of Time Hookshot Iron Boots Zora Tunic Megaton Hammer Scarecrow Song If you want to complete the Gerudo Proving Grounds in its entirety, you'll also need the Lenses of Truth and the Silver Gauntlets. Graphic: Johnny Yu/Polygon | Source images: Nintendo EPD/Nintendo via Polygon First, you can open a few chests in the starting room. In front of the central path, you'll see two sets of pillars. Use the Lenses of Truth and look between the pillars on the left, and you'll spot an invisible chest containing five arrows. Then, look toward the main entrance, and you'll see an eye on the wall. You can choose either the left or right path first, and after a certain point, they'll connect if you have the Lenses of Truth or Scarecrow Song. For the sake of this guide, we'll be taking the right path first, because you can get the Ice Arrows after completing the right path. Part 2: Clearing the right path Image: Nintendo EPD/Nintendo via Polygon Head into the door on the right, and you'll find two Lizalfos and a Beamos. Throw a bomb at the Beamos, so you don't have to worry about its laser beams. Then, keep your shield up, and avoid the Lizalfos attacks. Their sword will shine just before they're about to do a jump attack. After you defeat them, a chest containing a small key will appear. Open it, but before heading into the next room, put on your Goron Tunic because it is hot in there. Graphic: Johnny Yu/Polygon | Source images: Nintendo EPD/Nintendo via Polygon In the second room, you need to collect five crystals to unlock the door to one of the adjacent rooms. Collect the crystal at the bottom of the stairs, and jump to the platform ahead of you. You'll spot a familiar symbol on the wall that you first saw in the Temple of Time. Play the Song of Time (A - L - R - A - L - R), which will spawn a few time cubes. Then, jump onto the platform with the button, and step on it to turn off the fire in the corner of the room. Quickly jump over to the time cubes, climb up, and collect the crystal over the fire that we just turned off. Graphic: Johnny Yu/Polygon | Source images: Nintendo EPD/Nintendo via Polygon If you have Longshot, you can return to the platform in front of the stairs, and Longshot to the target on the left side of the door to collect the crystal. If not, you need to jump over to the time cube, and jump to the platform in the center of the room. This jump is a little tight, but it's possible! From here, you can Hookshot to the target and jump back to the platform to collect the crystal. However, be careful of the Red Bubble that appears! For the last two crystals, players who have Longshot can use it to avoid making multiple jumps across the room. For those with Hookshot, retrace your steps back to the center pillar, jump to the next pillar with the crystal, and use your Hookshot to get the last crystal. With that done, there are now three doors to choose from. First, go into the door you just unlocked by collecting all the crystals, which is on the opposite side of the room from the time cubes. Graphic: Johnny Yu/Polygon | Source images: Nintendo EPD/Nintendo via Polygon In this room, you need to collect five crystals to unlock the door, but you won't immediately see any crystals. Instead, you'll find a spot on the ground made up of time cubes. Play the Song of Time (A - L - R - A - L - R) to get rid of them, and the floor will turn into a whirlpool. Jump in and put on your Iron Boots and Zora Tunic. At the bottom, you'll find two Shell Blades and a Blade Trap circling around the center of the room. Step off to the side, and use the Hookshot to hit the inside of the Shell Blades' mouths to defeat them. You gathered one crystal on the way down. The remaining crystals can be obtained by using your Hookshot on the targets, and equipping and unequipping your Iron Boots to swim around the room. Once you collect all five crystals, you can open the chest containing a small key. Just remember to put your Goron Tunic back on after you get out of the water. Image: Nintendo EPD/Nintendo via Polygon Go back to the previous room, and this time, enter the door near the time cubes. There are three chests in this room. The first will have a small key, the one ahead will have Bombchus, and the one on the right will have arrows. Do not use a small key to open the door on the left. Save your keys for the time being. Image: Nintendo EPD/Nintendo via Polygon Head back to the last room, and go into the door with the target above it. In this room, you'll find a bunch of tiered statues, Torch Slugs, and Fire Keese, all of which you've seen in the Fire Temple. Defeat the enemies, and then use the Megaton Hammer to start whacking away the statues. Eventually, you'll find a button under one, which will turn off the fire blocking the chest in the center of the room, and an eye behind another, which will unlock the door to the next room. Open the chest to get a small key, and head into the unlocked door. Graphic: Johnny Yu/Polygon | Source images: Nintendo EPD/Nintendo via Polygon Right after you go inside, turn around, and you'll see an eye above the door. Hit it with your bow, and the rock in the center of the room will rise from the lava. Hit the eyes on the rock, and the lava will lower, revealing a chest containing a small key. A door to the next room will also unlock, but it'll be on the next floor. Graphic: Johnny Yu/Polygon | Source images: Nintendo EPD/Nintendo via Polygon Look at the next floor, and you'll see floating hay, indicating you can play the Scarecrow Song to summon a scarecrow. If you have it, play it and Hookshot to Pierre. Head into the door behind the scarecrow, and you'll find a chest containing a small key. The other door will take you to the left, but now you have enough small keys to claim the Ice Arrows. If you want to get the Ice Arrows and leave, skip ahead to "Part 4: Getting the Ice Arrows". If you'd like to clear out the rest of the Gerudo Proving Grounds, continue on through the other door. Part 3: Clearing the left path Graphic: Johnny Yu/Polygon | Source images: Nintendo EPD/Nintendo via Polygon Put on the Lenses of Truth, and jump through the hole in the wall. In this room, you'll face off against two Wolfos, two White Wolfos and a fake door. Just as the Wolfos are about to swing, dodge backward, because they'll swing so hard that they'll spin around, leaving their backs open to attacks. After you defeat the Wolfos, a chest containing a blue rupee will appear. As for the fake door, you can either leave it, blow it up with a bomb, or break it with the Megaton Hammer. Graphic: Johnny Yu/Polygon | Source images: Nintendo EPD/Nintendo via Polygon Push the black and silver cube with the Silver Gauntlets until it falls. Then, put on the Lenses of Truth, and you'll see an eye on the wall. Hit it to unlock the door, and head inside. Graphic: Johnny Yu/Polygon | Source images: Nintendo EPD/Nintendo via Polygon In this room, you'll find three Like Likes and a fake chest. After you defeat them, put on the Lenses of Truth to spot an invisible chest containing a small key. Then, open the new chest to get a red rupee. There's also a rock wall and an eye in this room. Break the rock wall if you'd like a few more bombs and hit the eye if you'd like a Business Scrub seed. Graphic: Johnny Yu/Polygon | Source images: Nintendo EPD/Nintendo via Polygon Go back to the room where you defeated the Wolfos, and head through the door across from you. You need to collect five crystals to unlock the door to the next room, but there are a bunch of rolling stones and fire walls that make this challenge a bit harder. There is a fire wall directly in front of you and to the right of you. You can't go over the fire wall to the right, but you can go over the fire wall in front of you by Hookshotting to the target on the ceiling. Jump to the crystal in front of you, and then Hookshot to the ceiling in front of the door to get the next crystal. Graphic: Johnny Yu/Polygon | Source images: Nintendo EPD/Nintendo via Polygon Face away from the door, and you'll find a crystal behind a firewall to your right, and a crystal behind bars on the left. There's no way over this fire wall, so head to the left first. Wait for a rolling stone to pass by, follow it to get the crystal, and quickly run back so that you're out of the rolling stone's path. Graphic: Johnny Yu/Polygon | Source images: Nintendo EPD/Nintendo via Polygon For the next crystal, go to the other side of the room with the rolling stones. Wait for one to pass, and follow it to get the crystal. Then, wait for another one to pass and run back to safety. Hookshot up to the platform that you jumped from, and follow the same process for the last crystal in the corner of the room. After you've collected all five crystals, go through the unlocked door. Image: Nintendo EPD/Nintendo via Polygon In the last room, you'll encounter two Stalfos. Watch out for their jump attacks, which happen every time their sword shines. Make sure to jump to the side, and then go in for a few attacks of your own. After you defeat them, a chest containing a small key will appear. Grab it, and go through the next door to return to the starting room. Part 4: Getting the Ice Arrows Graphic: Johnny Yu/Polygon | Source images: Nintendo EPD/Nintendo via Polygon Go into the center door, and unlock the door on the left. Head inside, and turn to the left, where you'll find a climbable wall. The ceiling above the wall is actually fake, so climb up to the top. You'll find a chest containing a small key. Grab it, drop back down, and unlock the next door. Image: Nintendo EPD/Nintendo via Polygon From here, follow the path, unlocking every door and opening every chest until you reach the last chest, which contains the Ice Arrows. The chests along the way will have a purple rupee, a red rupee, and arrows. The Legend of Zelda: Ocarina of Time remake is a little bit different than the original game, so if you need guides to help you through, we don’t blame you. We have walkthroughs for all the dungeons, from the Deku Tree to Ganondorf's Castle. We also have guides for the sillier, in-between parts of the game, like when you have to find Richard (the dog) or Cuccos. For those going for 100% completion, we also have guides on where to find every Piece of Heart, every Gold Skulltula token, and where to plant every Magic Bean.
Gerudo Proving Grounds walkthrough in Ocarina of Time
Full Article
Original Source
Read the full article at Polygon →KhanList aggregates and links to publicly available news content. We do not host full articles from third-party sources. Always verify important information with original sources.