
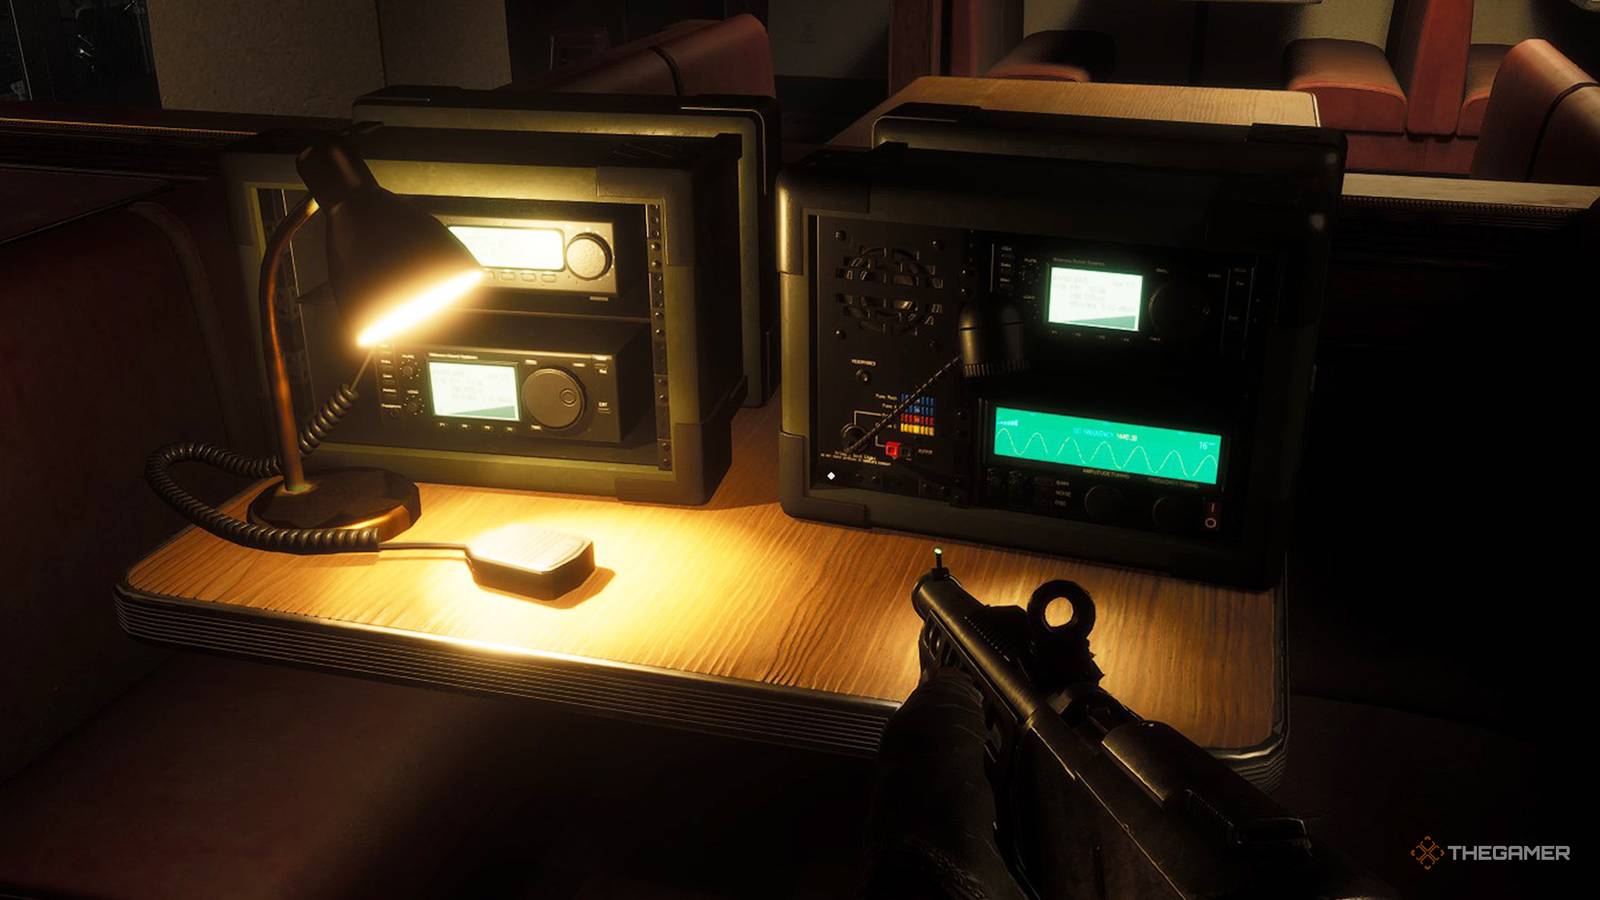
Published Aug 22, 2026, 8:30 AM EDT Steven is a seasoned writer specializing in the video game and technological fields, with years of experience creating reviews, features, and industry analysis. Passionate about the gaming world and its evolving culture, Steven has always wanted to combine his enjoyment of writing and love for gaming in a way that can provide insightful coverage for players and enthusiasts alike. No More Room in Hell 2 is one of the more unique zombie-survival games out there in how its game modes play out, offering a mix between open-world exploration and linear objectives. While each level can have varying complexities or individual tasks that you'll need to get a hang of, understanding the core elements of each mode can drastically help your chances at survival in No More Room in Hell 2. With a total of two game modes currently available in No More Room In Hell 2, you'll be able to choose from playing a more straightforward survival-based mode where you defend an objective against waves of infected, or going through a map and completing a series of objectives before extracting, which offers more room for earning progression materials due to its longer length. How Objective Mode Works The first game mode and main draw of No More Room In Hell 2 comes in the form of the aptly-named Objective mission type, where you and seven other players will be randomly dropped around a set starting area of an expansive game map. Although some of these spawns can be closer together, others will set you far apart from any other players, meaning you'll often have to play it safe and scavenge from the get-go before grouping up. Each Objective mission will take you through a branching number of tasks spread out across the randomly selected map, progressing you further and further towards the main extraction point at the end of the level, while offering chances to extract early at times in between major objectives in case things are going poorly. While the sheer size of several maps in No More Room In Hell 2's Objective mode can be more than a little difficult to navigate at times, you can press Ctrl on PC or Right Bumper on consoles to open up your compass, which will highlight all main objectives in red and subtasks in yellow, while also letting you check your current health status. You can almost always find additional medical supplies within the medicine cabinets of bathrooms, or in the back offices of stores. The biggest learning curve for the Objectives mode comes from the fact that each level has a distinct and unique set of tasks that you'll need to accomplish in order to beat the level, while also having some tasks, locations, and extractions randomized between each playthrough. No More Room In Hell 2 also offers a solo sandbox mode, allowing you to practice objective-style missions on your own without any progression or fear of losing your Responder. Regardless of the map type, however, one thing you'll need to do on every mission is thoroughly check nearby locations for weapons and supplies, especially those around main or subtasks where resources tend to be more concentrated. While resources are spread out fairly well, storefronts, boarded-up homes, and anything military-related are often filled with supplies for you to grab, not to mention CRC ones that aid with player progression. How Survival Mode Works While anyone who played the early access version of No More Room In Hell 2 will already be familiar with the Objective game mode, Survival is an entirely new playable mission style introduced in the 1.0 Armageddon update. Rather than traveling through set locations, Survival mode requires you to hold out and defend a tower of speakers that pull in zombies while active three times across a much smaller map. Failing to complete an objective does not end the mission, as you can try again on the second wave, but failing two objectives will start an early extraction and the loss of mission XP. With a few minutes in between each wave of zombies, you'll want to spend this time gathering as many supplies as possible from nearby buildings while also fortifying the location around the speakers marked by a large plume of green smoke, as even with a fully loaded team, greater difficulties will send in floods of zombies that can't easily be managed all at once through brute force alone. Bringing in explosives from the character selection or searching for them in the wild in between waves can save your team in overwhelming situations. In terms of which defenses you'll have access to, you can often find boards that you should place somewhere closer to where you're able to defend against zombies trying to break in, rather than delaying time farther away, as they tend to get destroyed quickly on their own. You will also come across generators that require gasoline to activate certain traps like an electrical floor panel, which you can find lying around or in bright yellow storage containers. These storage containers will also often contain fuses that can be placed inside panels next to electric doors to permanently shut them, which is helpful to tunnel zombies in one direction and prevents you from getting swarmed from behind. Carrying fuses and fuel canisters will slow you down and have to be held manually as opposed to going into your inventory, making it difficult to do during intense waves. The last trap you'll find can be a bit tricky to use depending on where they spawn, but doesn't require any additional setup, as all you need to do is open the crank on a large, thin container of fuel. Once activated, the container will turn into a stationary flamethrower for a few seconds, allowing you to quickly melt through a horde of infected when timed right. Teamwork Is Essential Regardless of which mission type you choose to play, the most important mechanic you'll want to take advantage of is in the form of your teammates. Being a heavily co-operative game, you won't be able to complete many of the harder difficulties and challenges offered by NMRIH2 alone, with every extra ally you're able to keep alive through sharing resources being a massive boon for later objectives. If you hear a teammate coughing, you'll want to check if they need medical supplies to heal or Phalanx pills to help ward off infection. You don't need to spend the entirety of each match bundled up together, however, as sometimes it is more efficient to find supplies or form groups for smaller tasks in Objective, while Survival mode encourages players to split up to loot and prepare before circling back to defend the shared objective. Both modes also offer an opportunity to extract halfway through missions, which is recommended if you end up getting infected early on or have already lost most of your teammates and aren't likely to make it to the end of the level. Speaking of which, the final extraction helicopter in each is filled with ammunition and supplies that you can use to support your remaining teammates from above while they take turns rappelling up the rope.
Every Game Mode In No More Room In Hell 2, Explained
Full Article
Original Source
Read the full article at Thegamer →KhanList aggregates and links to publicly available news content. We do not host full articles from third-party sources. Always verify important information with original sources.