
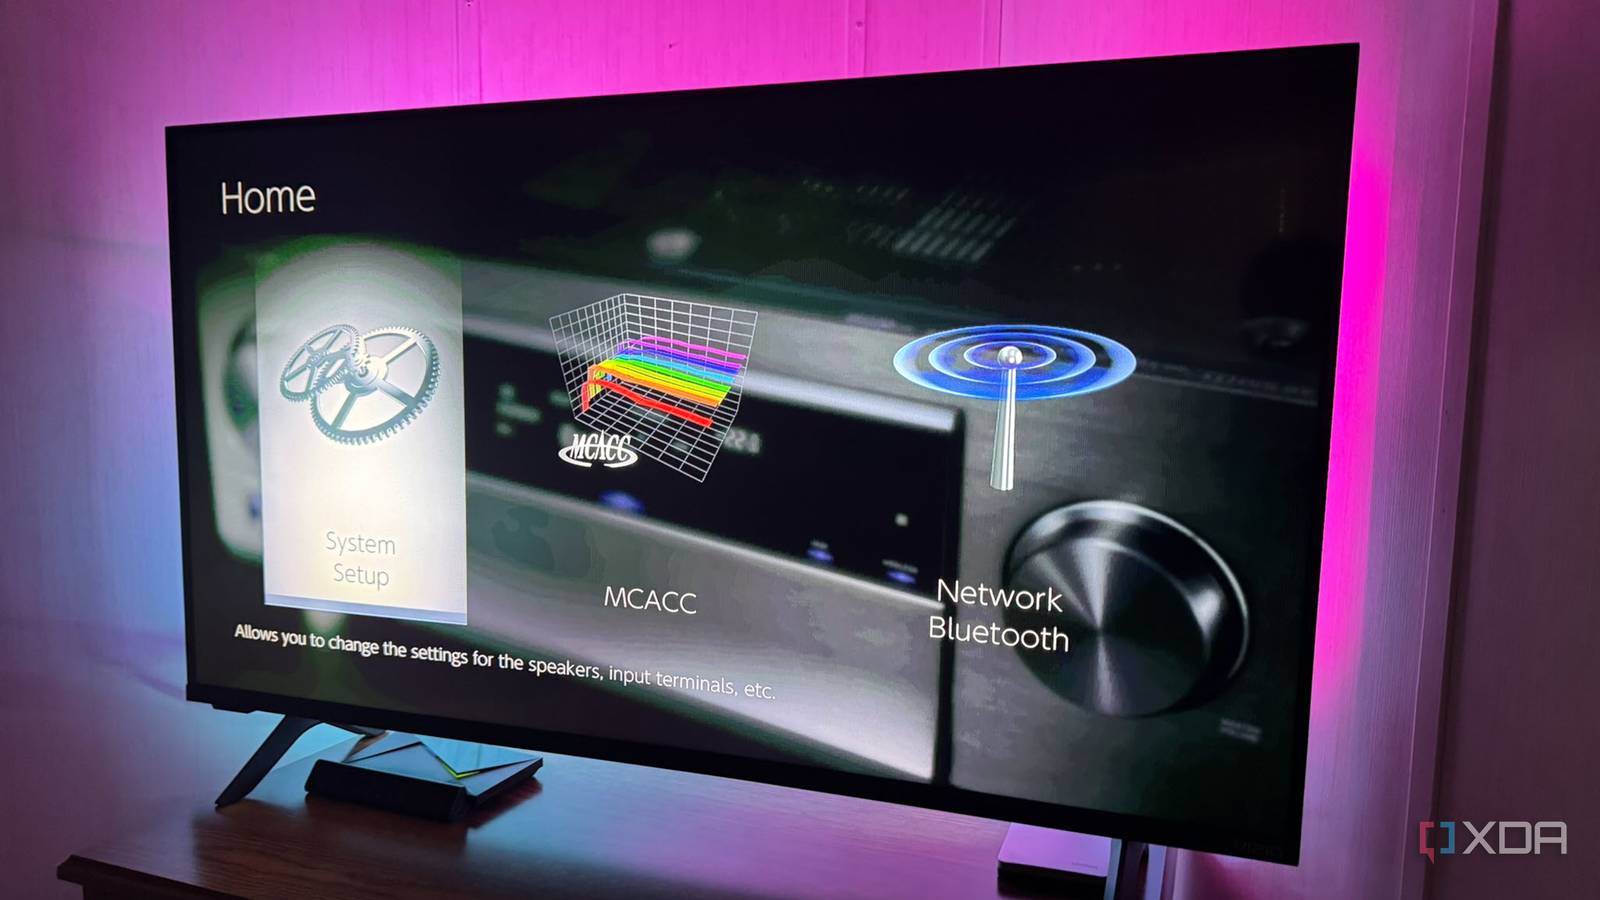
Published Sep 16, 2026, 6:00 PM EDT Based in rural Minnesota, Brian Burgess worked in IT for 10 years before finding his passion for writing about consumer technology. Brian earned his degree in computer and network technology in 2000. He held various IT positions, including help desk support, router installations for IBM, database administration, and other associate network administration roles. He's been a personal technology journalist for 18 years and has written thousands of articles about Microsoft products and services, Android, iOS, streaming, and more. He has written for notable tech sites including XDA, InformationWeek, How-To Geek, Byte, groovyPost, and others. When he is away from the keyboard, you will hear him playing guitar, working outdoors, and watching Star Trek. I replaced my cheap soundbar with a used AV receiver to get a true surround sound experience. The audio for movies and shows puts the soundbar to shame — even though it's old and I used a mix of leftover speakers I had lying around. In addition to the 14-year-old Pioneer, I have a seven-year-old Pioneer Elite receiver. They aren't audiophile systems, but I wanted to get more from the older receivers. You might think your AV receiver is too old to sound good, but the right settings can make an ancient AV receiver sound better and operate like it's new again. Improve your audio input source Check the audio signal settings from connected devices Start by verifying the type of audio signal your receiver is receiving. The receiver can only sound as good as the signal it's provided. Check whether the streaming device or TV is using your surround sound speakers or just turning a two-channel signal into a simulated surround for a soundbar. Even if the receiver expands a downmixed or upmixed stereo signal across all speakers in virtual mode, it isn't true surround sound. Open the connected streaming device's audio settings and make sure it isn't stuck on stereo. Look for options like Auto, Best Available, Surround Sound, Bitstream, or Pass-through. Change it to one of those settings if it is set to Stereo. Start playing the movie or show you know has Dolby Atmos, Dolby Digital Plus, or DTS, and/or something similar. Self-hosted media files should have quality audio if they're ripped correctly. Next, check each option, use the AV receiver's built-in effects, and find the setting that sounds best. Rerun speaker calibration The cheap mic is useful for better sound When I first get a receiver, I use the included calibration mic once to set up the speakers in a room based on where I'll sit at the time and then forget about it. However, keep it on hand, since adding or rearranging furniture changes the room's acoustics. It is also helpful if the initial speaker calibration was done incorrectly or not at all. To improve the sound on an old receiver, find the calibration mic that came with your receiver (or get a cheap one on Amazon). Sit in the middle of the listening area, hold it at ear height, and rerun the calibration process. When I set up my used receiver in the guest room, I didn't think about running it. After I ran the calibration again, the center-channel dialogue was more pronounced, the bass was punchier, and the surround effects were better timed. Calibrating the hodgepodge of speakers I'm using made a major difference in sound quality in that room. It has two Pioneer bookshelf speakers, a Pioneer sub, and old Klipsch speakers for the center channel and rear left and right satellites. Just make sure to hold the mic up at ear level and sit where you or others will listen. Take the load off your speakers Set them to "Small" and check the receiver's crossover I'm not talking about making your speakers smaller, but instead setting them to Small on the receiver and redirecting the bass-heavy frequencies below the crossover to the subwoofer. Your speakers get a break from the bottom-heavy signal and focus on the frequencies they handle best — delivering clear midrange and crisp highs. It also reduces the strain on the receiver, which is pushing bass disproportionately to all speakers, and setting an 80Hz crossover helps the sub do what it is built for. Every receiver is different, but you'll usually find this in the Home > Speakers or System Settings section. After setting the speakers to Small, adjust the crossover to 80Hz or lower. Find the crossover section in your receiver's menu, start at 80Hz, and drop it down from there. Find a setting that sounds the best while playing a movie with Dolby Atmos or a lossless music file, then leave it there. If you are unsure where to change your speaker and crossover settings or find the menu system on your receiver, check the manual. I had to find my older receiver's manuals online on Pioneer's website, and it was worth it. Most manufacturers post their AV receiver manuals on the site as PDFs for download. Update the firmware Get new hardware features and fix bugs Like your router and other tech devices, your AV receiver also needs firmware updates from time to time. Firmware updates can make your old receiver sound new again by adding new hardware features. It can also fix annoyances that affect the sound quality of your receiver and speaker setup. For instance, I updated the firmware on my Pioneer Elite AV receiver and picked up new options in the Channel Levels section of the menu for tweaking speaker volumes. Updating the receiver's firmware isn't a magic bullet that will instantly make the receiver sound amazing, but it's worth checking on older receivers like mine. It improves compatibility and stability, which can improve the overall sound experience. It can also fix HDMI, Bluetooth, and ARC/eARC issues that make the receiver feel outdated. In addition to better sound, updating the firmware can improve the picture signal for a better picture. Keep in mind that on older receivers, the update process can take up to 30 minutes. You also can't use it during the update. But once it's complete, dive into the menu system and see if it adds any goodies. Making an old AV receiver sound new again Just because an AV receiver is old doesn't mean it can't be spruced up to sound better and work better. I would start by recalibrating the speakers, especially if the room's acoustics have changed, or there was no calibration to begin with. Once that's done, set the speakers to Small even if they are tall floor-standing models, adjust the crossover, ensure the input signal from the TV or streaming device is high quality, and update the firmware just in case.
Changing these key settings made my ancient AV receiver sound brand new again
Full Article
Original Source
Read the full article at Xda-developers →KhanList aggregates and links to publicly available news content. We do not host full articles from third-party sources. Always verify important information with original sources.