
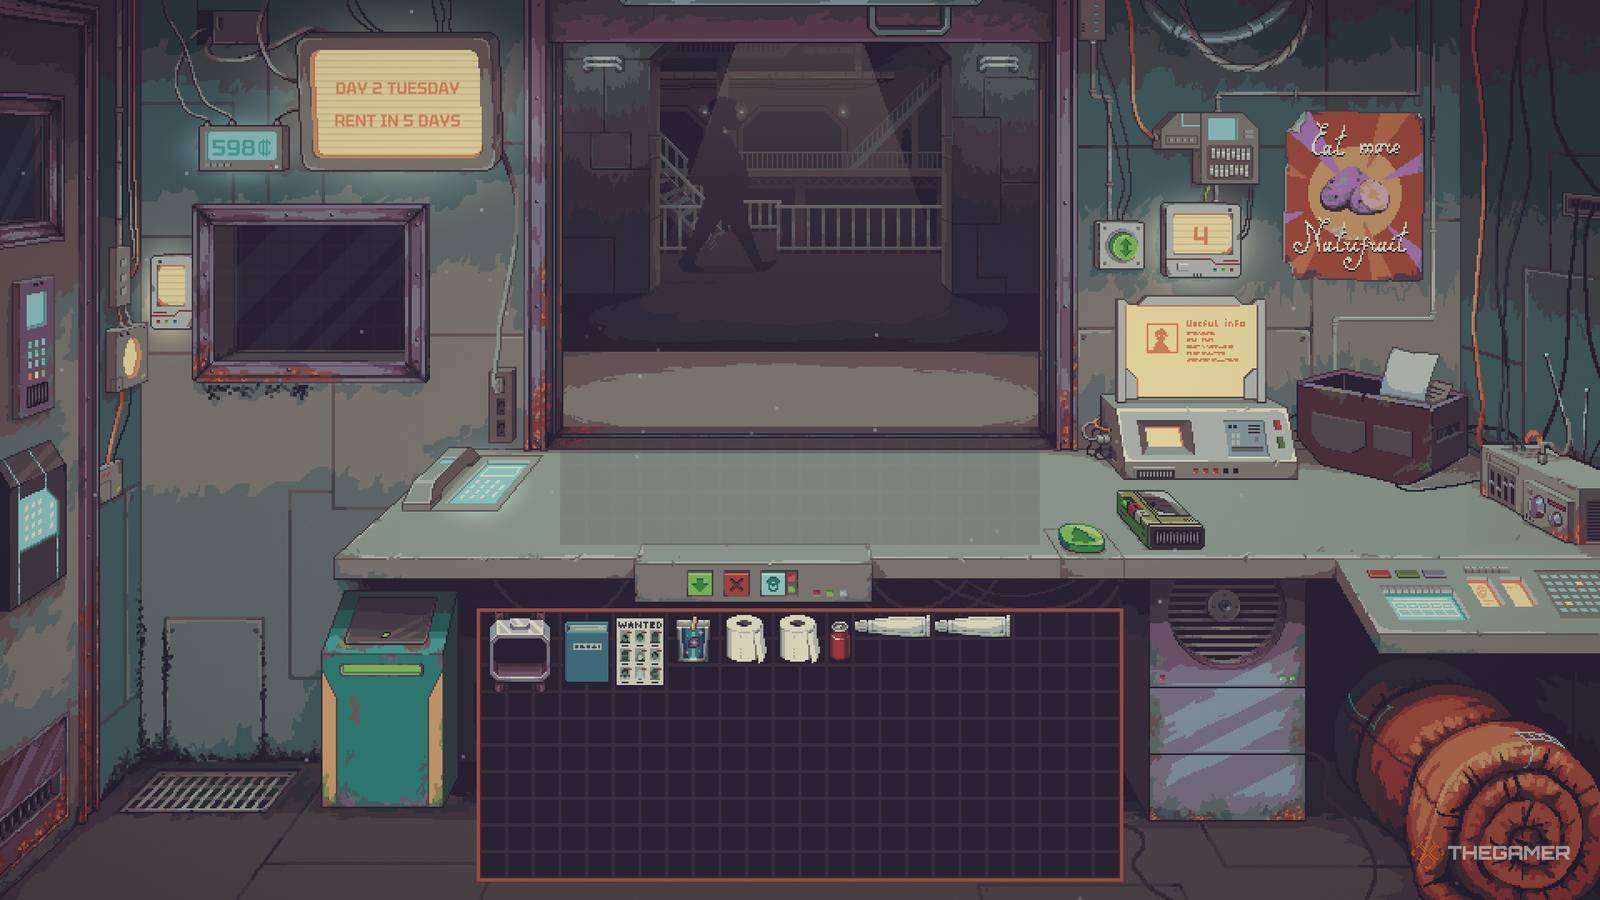
If you've ever wanted to run a somewhat shady business on a busy futuristic space station, then Probably Stolen is the sim for you. Set in a post-apocalyptic society where resources are scarce and people will do anything to survive, you get to run a small general store under the watchful eye of the Republic. Probably Stolen has a lot of nuance to its gameplay that can make it a little confusing to new players. Let me be your inside man for the job and show you a few things that made my playthroughs a bit easier. Focus Your Inventory For The Day There are a lot of options available for you to buy and sell in Probably Stolen, from food and medical items to weapons and contraband, so it can be incredibly tempting to absolutely stuff your inventory with whatever you can get your hands on. That leads to you having a lot of scrap and no one to sell it to — ask me how I know. Instead of buying up everything everyone sells you, find a niche to focus on for the day or for a few days at a time. I recommend at the beginning of the game, you focus on growing, buying, and finding food and drinks; after you've sold through that inventory, built up some money, and had a chance to upgrade your storefront and machinery, you can branch out. It's still a good idea to keep a few items from each category on hand just in case, but being a Jack of all trades will make it harder to scale your income. Be Careful With Bargaining After day eight, you unlock the ability to bargain with your customers; you can either demand they pay you more for goods or offer a discount on your products in the hopes that they'll spend more. This mechanic also affects your reputation — customers you give discounts to will pass that info on to their various factions, as will those who feel robbed by high prices. Your best bet with bargaining is to use it sparingly, and use it largely as a reputation management tool rather than a way to get more money. Give discounts to the faction you want to support or get support from when you're able to. What you lose in money might just save your shop or your life later in the game. If you do want to lean into the monetary aspect of bargains, you'll want to pay special attention to the daily newspaper. The newspaper tells you what's going on in the station that day, which items are hot, and whether there are any items that are expected to be easy to find or more readily available. Items that are in high demand and short supply will be much easier to get a higher price for, while offering a discount on plentiful items can help you move inventory quickly. Because I found it difficult to figure out and the tutorial is a bit unclear: You access the bargaining menu by clicking the tablet, then clicking the speech bubble in the top right corner when presented with a customer exchange. Take Advantage Of The Display Case Your display case lets you attract either buyers or sellers for certain categories of goods by placing either goods or signs inside before your day starts. The number of items you have in the case is a bit less important than the quality and value of the items themselves. The higher value the item you put in the display case, the higher the buyer's budget is likely to be when they come in. I've found that the most useful way to fill the display case, at least in the beginning, is to put up whatever I have an excess of in my inventory (looking at you, Nutri-Fruits). This way, I can guarantee I'll have at least one person ready to buy up the surplus. The inverse is true, as well; if you're really lacking in a category, keeping the sign up can help you rebuild your inventory by attracting a seller. I also found that, on days when I didn't have a stellar inventory, keeping my appraisal certificate in the display case could bolster my funds and let me restock either the next day or at the shops in the evening. This is especially useful in the early game when money is tighter. As the game says a few times but is very easy to forget, your display case needs to be updated before you open the shop window for the day. If you add anything else after the window is open, it won't affect anything until the following day. Take a moment before you open your store every day to determine what you need to bring in and set up your display. This is also a good time to re-sort your inventory, review any new mentor notes, or go over your appraisal guides again. Diversify Your Nights After you close the store window for the day, you have the option to leave the shop and go to a few places that can make the next day a little easier or more interesting. Initially, you'll only have access to the Dumping Grounds, where you can scavenge for supplies to sell, but as the game progresses, you'll unlock the Commissary and Dr. Jackson's upgrade shop, which can both be incredibly useful. The catch here is that you can only visit one spot per night, so you'll need to decide where you want to go in advance. Leaving the shop at night also means that you open later the next day, which means you miss out on a customer in the morning. The trade-off can be incredibly worthwhile, though, if you find something good while scavenging or get an upgrade that improves your shop dramatically. I'd suggest only going out when you have a very specific goal in mind. If you're really low on inventory and don't have the credits to build back up from buyers, then visiting the Dumping Grounds can give you a head start in the morning with more options to sell. Remember to bring a bag with you on your adventure; you start with a small fanny pack, but you can upgrade to larger bags and backpacks over time. I recommend upgrading to the satchel from Dr. Jackson's shop as soon as you can afford it. Always bring a bandage with you, too; if you're injured while scavenging, you have to stop and go home. Bonus fun fact: This game contains a fun nod for fans of Papers Please! Remember our good friend Jorji, whose counterfeits are incredibly obvious, but who is always in a good mood when he comes to the booth? A seller of "definitely real goods" named Georgio bears Jorji a strong resemblance. His wares may not be the best quality, but he can be super helpful on scavenging runs; occassionally, Georgio will offer to go to the Dumping Grounds with you. When Georgio is helping you look, you get three extra chances to search and you never get injured. This service costs 50 credits, and, in my opinion, is most definitely worth it if you need the inventory. Don't Report Every Criminal Right Away Reporting criminals and people carrying contraband to Security will get you a nice little bonus, but it also means you lose reputation with the faction those criminals are working for, which is most often the Revolution. If you choose not to report, though, you can get different perks and bonuses from the various factions, including more and higher quality information, more customers with higher budgets, or a wider selection of inventory goods to buy. Unless you're going for a full Security support run, only report criminals occasionally, if they're causing a problem to you or you're desperate for the money. Keep Appraisals Open The appraisal system is interesting to me. The Appraisal Board comes by on day eight and offers you the role of Novice Appraiser, meaning you can tell scavengers the approximate value of certain finds. Each appraisal earns you a small fee, and if you do your job well enough, you can be promoted and earn higher fees for each item. You can attract appraisal customers to your shop by keeping your certificate in the display case. I keep my certificate on display at all times; there's no penalty for doing this and you can still attract sellers or buyers of other goods with it there. It's a good way to guarantee that I'll make at least a little money every day no matter what my inventory looks like. When you unlock this mechanic, the Board gives you a handbook for each item type you'll be appraising, starting with cybernetic hands and progressing to more complex appraisals as you level up. You also get a magnifying glass to look closely at each item for identifying marks, damage, and other features. I keep this handbook open beside me while I look at the item, so I don't have to memorize the features and their values. Prioritize Your Evening Fees After you close the shop and click the sleeping bag to end the day, you'll have the option to toggle on and off the various services and charges you've unlocked. There's the power fee, which keeps your shop lights on and your machines running overnight (which they won't do if they don't have their own power cells), and after day four, when you meet Joe Wild, the insurance fee, which gives you some credits back if your shop is broken into and you have anything stolen. After day 10, you'll also have to pay a janitorial fee to have your trash taken away to keep your storefront's attractiveness rating up. Generally, at the beginning of the game, you'll want to pay for power and insurance every night. Without any upgrades, a theft could be devastating, leaving you out of your best inventory with nothing to show for it. Not paying for power will obviously make your shop less attractive for customers and might encourage theft, as well. You can get away with paying your janitorial fee every other night, sometimes more if you don't mind losing a few points in attractiveness for a day. If you're really struggling for cash or need to make sure that you have enough for rent on Saturday, you can turn off all three, but I wouldn't recommend doing that for more than one or two nights in a row. If you really want to be independent and stop paying so many fees, invest early in a generator and an alarm system. They're expensive up front but can help shave off those extra expenses in the long run. Stay In Joe Wild's Good Graces Joe Wild will introduce himself on day seven as a man of many talents; he's the Lower Levels' fixer for everything from weapons and contraband to political protection and informant connections. Joe's network will be your upgrade system; he'll give you access to new mechanics, offer ways to get out of tricky situations, and help you upgrade your shop so you can expand. I recommend starting off with the Red Imp Brewery connection. The beer is legal, you can order a new case every week, and it sells for a decent price to quite a few kinds of customers. From there, I'd invest in hydroponic farming, as it's a relatively easy way to get money. Retired Farmer gets you a starting kit with a farm, seeds, water, and nutrients, which can help you get a lot of food to sell quickly if you let the farm run overnight. You should also probably pick up the Water Trading perk and either Gutterflow or Rustwater On Tap so that you can have access to water to grow your crops as well. Water can be a valuable commodity in the Lower Levels, so if you keep purification methods on hand, this can be another great source of income. If you can save up the 1,200 credits for it, you can also buy the Vending Fountain for even more income overnight. If you find yourself trading in contraband quite a bit, the Inspection Early Warning Service can be incredibly helpful to stop you from getting caught during a routine inspection. If you do get caught with something you're not supposed to have, Joe also offers an Evidence Removal service, which can help you get Security off your back. Finally, go for the Dossier upgrade after about day 20. That thing gets packed quickly, even if you store everything as efficiently as possible.
Beginner Tips And Tricks For Probably Stolen
Full Article
Original Source
Read the full article at Thegamer →KhanList aggregates and links to publicly available news content. We do not host full articles from third-party sources. Always verify important information with original sources.