
Published Nov 11, 2026, 7:00 PM EST Joe Fedewa has been writing about technology for over a decade. Android and the rest of the Google ecosystem have been a focus for years, as well as reviewing devices, hosting podcasts, filming videos, and writing tutorials. Joe loves all things technology and is also an avid DIYer and food blogger. He has written thousands of articles, hundreds of tutorials, and dozens of reviews. Before joining How-To Geek, Joe worked at XDA-Developers as Managing Editor and covered news from the Google ecosystem. He got his start in the industry covering Windows Phone on a small blog, and later moved to Phandroid where he covered Android news, reviewed devices, wrote tutorials, created YouTube videos, and hosted a podcast. From smartphones to Bluetooth earbuds to Z-Wave switches, Joe is interested in all kinds of technology. After several years of jailbreaking and heavily modifying an iPod Touch, he moved on to his first smartphone, the HTC DROID Eris. He's been hooked ever since. Long-time Android fans are well aware of the legendary Tasker app, but the experience isn’t limited to phones. The “AutoWear” plugin brings Wear OS devices, such as the Pixel Watch and Galaxy Watch, into the fold. The automation options for Wear OS devices are pretty slim. AutoWear is one of only a few apps that allow for triggering tasks on a connected phone from a watch. It’s a no-brainer to use if you already are familiar with Tasker, but it might be worth learning if you’re not. Tasker crash course Getting to know the terminology Before I dive in, let’s familiarize ourselves with the basics of Tasker. It’s known for being complicated to use, but that’s mainly just because it’s not set up like most automation apps. You’re probably used to creating automations with “triggers” and “actions” — the basic “if this, then that” structure. In Tasker, the “trigger” for an automation is called the “Profile,” and the “action” is called a “Task.” There are also “Conditions” that determine if a trigger should, well, trigger. So, to create an automation, you start on the “Profile” tab and choose a trigger. This can be anything from an app opening, a specific time, device state, and much more. After you choose a trigger for the profile, you’ll be asked to choose a task (action). Again, there are tons to choose from here. That’s a quick and dirty run-through on how to use Tasker. Here’s a simple example automation: Profile: BT Connection Condition: Bluetooth device name = Joe’s WH-CH720N Task: BT Media Play = Toggle Pause When I connect my Bluetooth headphones, the last media session toggles to play, and when I disconnect the headphones, it toggles again to pause. Supercharge Tasker with AutoWear Use your phone without touching your phone The AutoWear plugin pairs with a Wear OS app of the same name. The most obvious thing to do with AutoWear is to run tasks directly from your watch, but that’s not the most powerful thing about it. AutoWear essentially pulls your watch into Tasker and makes it possible to use it in automations. Here’s an example. I keep my phone on silent mode all the time because I’m usually wearing a Pixel Watch or Galaxy Watch. However, on the days when I don’t wear a smartwatch, I want my phone to alert me of notifications. I can use AutoWear to change the sound mode on my phone when the watch is charging (i.e., not on my wrist). To do this, I’ll create a profile with State > Plugin > AutoWear. Tapping the pencil icon lets me choose the state of the watch, which I want to be “Plugged In.” Next, I’ll add the task. Tap the plus button, then Audio > Sound Mode. Select “Sound” from the drop-down menu. To finish things off, I’ll create an “exit task.” This is what will happen when the watch is no longer charging. Back on the “Profile” tab, long-press the task and choose “Add Exit Task.” I created a new “Sound Mode” task that enables “Mute.” For bonus points, I added a time period to the profile. The task will only run during that specific window of time, which will prevent my phone from being put into sound alert mode while I’m sleeping. To do this, long-press the AutoWear State trigger and select Add > Time. Only scratching the surface I must admit that this is just the tip of the iceberg when it comes to AutoWear and Tasker, but it’s a good place to start. When you’re ready for something more advanced, you can venture into the AutoWear app on your phone. This is where you can create custom screens for your watch with buttons to control things on your phone. AutoWear allows for creating completely custom watch face complications and Tiles. The complications can even be configured to automatically swap in and out based on certain triggers. It’s honestly an incredible suite of tools, and that’s why it’s not free. You can try AutoWear for 7 days, but after that it’s only $1.57. Well worth it, in my book.
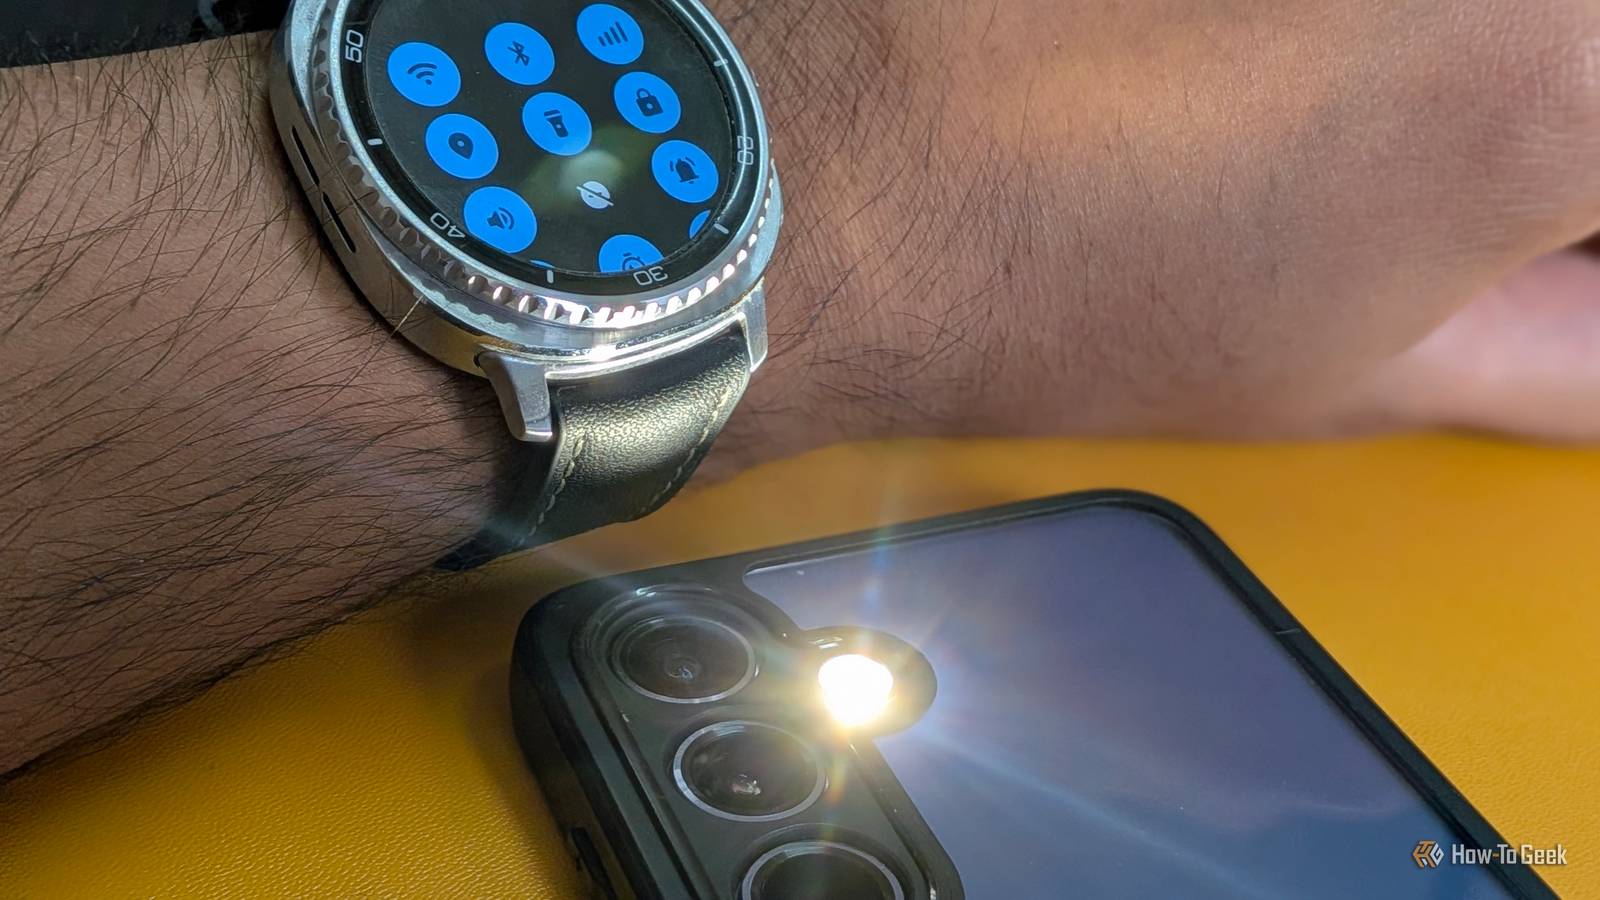
AutoWear lets my Galaxy Watch control my phone, even when the screen is locked
Full Article
Original Source
Read the full article at Howtogeek →KhanList aggregates and links to publicly available news content. We do not host full articles from third-party sources. Always verify important information with original sources.