
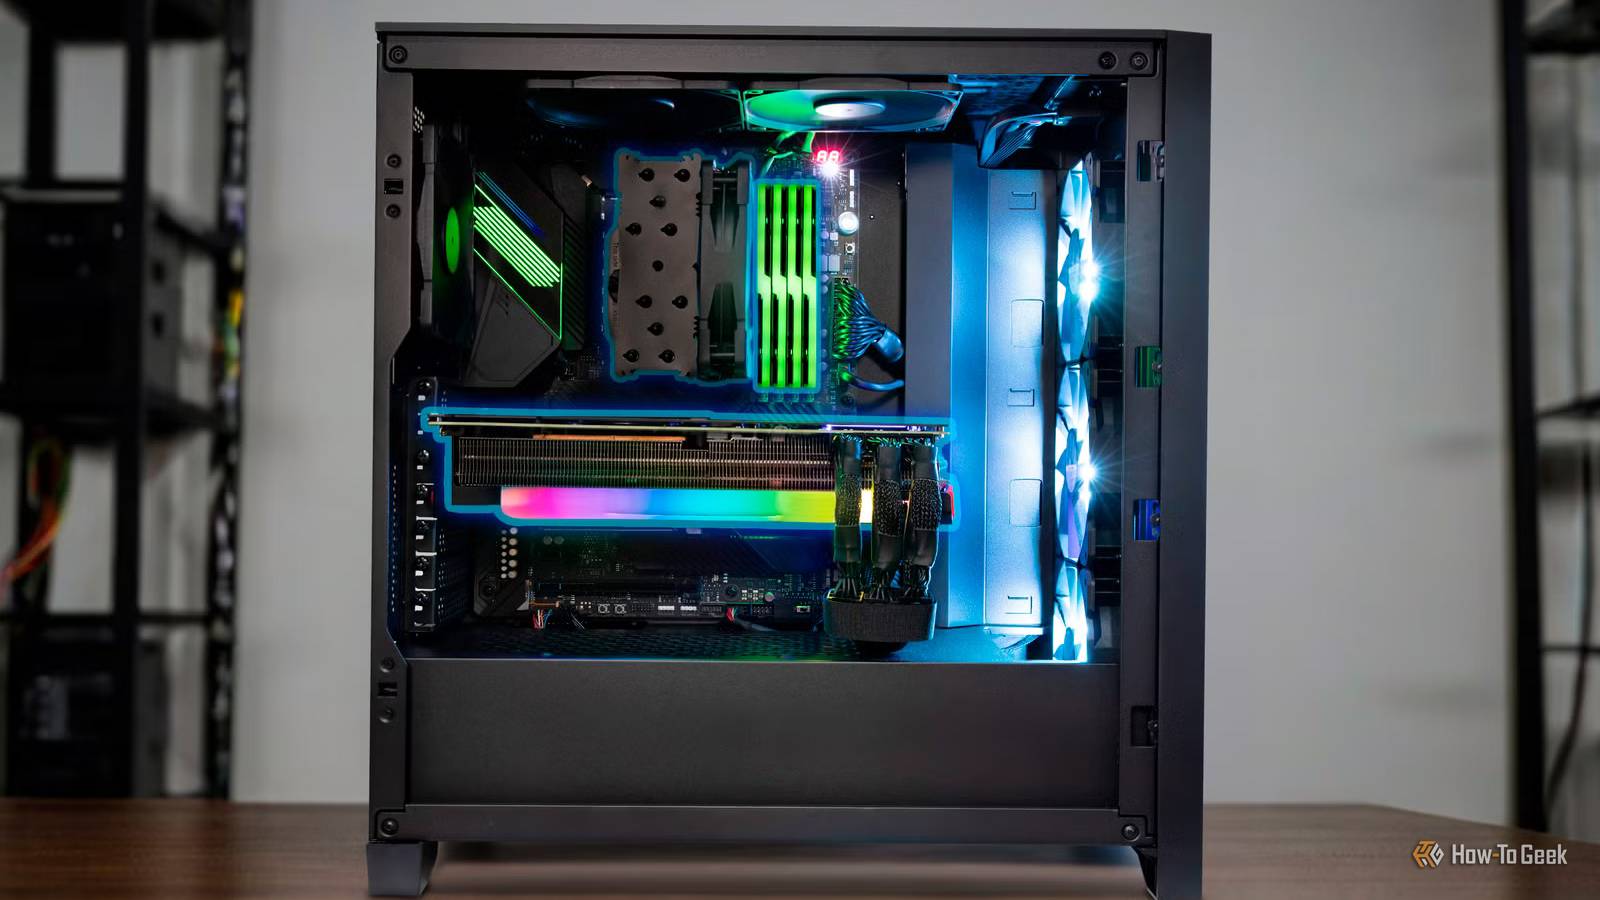
Whether you’ve got a budget PC build or a top-of-the-line gaming or productivity beast, your favorite machine likely has some untapped potential you can unlock by tweaking one component or another. You can not only boost its gaming or compute performance, but also improve the PC’s thermals, make it run quieter, and unlock extra features without spending a dime, or by spending a few dozen bucks at most. You can tune and optimize most components in just a few minutes, directly in Windows or by changing a couple of BIOS options, but some tinkering will take an afternoon or two, or require opening the case and getting handy with a screwdriver. You already overpaid for RAM, now use it right Fine-tuning your PC's RAM timings can net you a neat performance boost If you haven’t already done this, the first thing you need to do to maximize your PC’s RAM performance is to enable XMP (Intel’s standard) or EXPO (AMD’s standard), which are automatic memory overclock profiles that boost frequency and tighten up various timings. Depending on the RAM you have and your CPU and GPU combo, you could be looking at well over 10% higher performance in some games, in both average and 1% low frame rates. Enabling XMP or EXPO is super easy. Just boot into your motherboard’s BIOS, look for the XMP or EXPO profile option, and enable it. On my motherboard (an MSI B550 Tomahawk), there are two XMP profiles right on the BIOS home screen I can easily enable. Alternatively, I can open the OC menu and activate the XMP profile in the DRAM Setting section. If you’re already running your memory with XMP or EXPO but want to squeeze the last drop of performance out of it, you can always fine-tune RAM timings. My colleague Ismar did this and got a small but measurable performance improvement in the games he tested. Nothing mind-blowing, but hey, free performance is free performance. Your PC case is more important than you'd think Maximize its airflow and get better thermals and quieter operation Some enclosures, such as the Fractal Design Torrent, already have the best thermal performance possible out of the box, with their airflow maximized by their default fan configuration. But many other cases can provide better thermals, and all you need to do is add more fans, replace the default ones, or change the fan setup your case came with. What I did years ago with my NZXT H510i, a pretty but quite toasty enclosure, was replace the default fans with a pair of budget Arctic P12 case fans. Not only did my PC start running much quieter (the NZXT fans didn’t support PWM fan control and always ran at full throttle), but I also dropped my then-GPU’s (an RTX 3070) temperature under load from more than 80 degrees Celsius to around 77. Not bad for a pair of fans that cost me about $15. If you decide to follow my route, keep a few things in mind. Firstly, each case has a fan setup where it will provide the best thermals, so look online for the fan setup that generally works best with your case design. Next, you don’t need to spend big on high-end fans. As I’ve said, even a pair of budget Arctic P12s did wonders for my enclosure. Finally, I also recommend installing a fan control app. Personally, I’ve been using Fan Control for years, and I set up a custom fan curve that keeps my case fans at low RPM when the PC is idle or the GPU isn’t under load, ramping them up only when the GPU temperature goes over 60 degrees Celsius, which happens only when I’m gaming. This way, my PC’s case fans are quiet as a church mouse most of the time. Got any open slots on your motherboard? Spare PCIe slots, the right M.2 slot for your SSD, and a few BIOS settings can make a difference Most of us don’t fully utilize our motherboards, and that’s fine. You certainly won’t populate every SATA port and M.2 slot unless you need more storage, and you probably won’t fill your motherboard with unnecessary PCIe add-on cards either. But if you’re in need of something a PCIe add-on card might give you—more USB ports, Wi-Fi, or more SATA ports or M.2 slots—it’s better to spend a few dozen bucks on an add-in card than buy a new board. What you can also do is put your idle USB ports to work. In my case, I needed more USB ports but didn’t want to open my case, so I got myself a USB-C hub and turned my motherboard’s 10Gbps USB-C port that I hardly ever used into four USB-A ports (two of which are 5Gbps), one 5Gbps USB-C port, and SD and microSD card slots. If you haven’t already, you should also enable Resizable BAR, which AMD calls SAM (Smart Access Memory), in your motherboard’s BIOS. It can net your GPU a solid performance boost in some games. In my motherboard’s BIOS, I can activate Resizable BAR by opening the Settings menu on the home screen, going to Advanced > PCIe/PCI Subsystem Settings, and enabling Re-Size BAR Support. Last but not least, make sure your fastest NVMe SSD sits in the appropriate M.2 slot. For instance, if you’ve got a PCIe 5.0 M.2 slot, put a PCIe 5.0 NVMe SSD in it, and reserve the slower slots for slower SSDs. Otherwise, you’ll waste your SSD’s potential because it won’t be able to reach its maximum performance. Gigabyte WiFi 6E GC-WBAX210 The Gigabyte GC-WBAX210 features everything you could want in a Wi-Fi card in 2023: Wi-Fi 6E, Bluetooth 5.2, and excellent Linux support. Your CPU is lounging around when it should be working You can overclock or undervolt the CPU, or put its iGPU to work Modern CPUs are more or less pushed to their limits out of the box. They will boost their clocks as high as their cooler allows them, meaning that the glory days when overclocking a CPU would give you a double-digit performance boost in games are mostly gone. You can still overclock your CPU if you want and get a few percent higher FPS, but I recommend undervolting it instead if you’re interested in tinkering with it and unlocking its full potential. I ran my old Ryzen 5 5600X CPU undervolted for most of the almost five years I owned it, and it not only boosted a bit higher, but also ran noticeably cooler compared to its regular power profile, and the CPU cooler spun at lower RPM. That said, if you’re happy with your CPU’s performance, thermals, and cooler noise, there’s no need to touch anything. If you own a PC with a dedicated GPU and the CPU packs integrated graphics, the iGPU doesn’t have to sit idle. One use case is running Lossless Scaling frame generation on the iGPU, which can decrease frame-gen latency and improve performance because your main GPU won’t have to both render the game and generate frames. You could also hook an extra monitor to the iGPU (just plug it into one of your motherboard’s video outputs), which may require enabling a BIOS option called iGPU Multi-Monitor, IGD Multi-Monitor, Integrated Graphics, Internal Graphics, or similar. You can also use the iGPU for video encoding, allowing you to run a video streaming server off your main PC or offload encoding to it if you’re live-streaming. Avoid a GPU upgrade, push the one you already own to its limit You can overclock or undervolt your GPU as well Similar to modern CPUs, newer GPUs are pushed to their limits out of the box, but overclocking them can still net you up to a double-digit performance gain in games, which is nothing to sneeze at. For example, overclocking the RTX 5070 Ti and the RTX 5080 can increase gaming performance by around 10%, which can be the difference between not being able to hit 60FPS and having a stable 60FPS gaming experience. That said, the silicon lottery is a thing, so your gains might be lower. I did try to undervolt and overclock my RX 9070 XT (undervolt plus an overclock is usually the way to go on AMD GPUs), but since I only got something like 3% higher FPS, I quickly reverted the card to its stock settings. On the other hand, undervolting my previous GPU, a budget model of the RTX 3070 (Gigabyte Eagle), made it much quieter because Gigabyte equipped that particular model with shoddy fans that were loud as heck when gaming. This allowed me to keep the same thermals with much lower fan RPM, which made a world of difference with regard to noise. Combined with the new case fans, the GPU ended up cooler and much quieter under load. Your monitor can do more than you think It’s not a component, but make sure it runs at its full refresh rate, then try overclocking it Before I wrap this up, I also want to mention the monitor. While certainly not a PC component, there’s a good chance you’re not using its full potential. The most common oversight many people make is forgetting to set the refresh rate in Windows to match their monitor’s native refresh rate, which leaves them stuck at 60Hz. Even if you did set this to your monitor’s highest refresh rate, Windows can revert it to 60Hz for various reasons. My Windows machine reverted to 60Hz after I deleted my GPU drivers with Display Driver Uninstaller and reinstalled them, and I used my PC for days before I noticed something was wrong. I've also had Windows drop my main monitor's refresh rate to 60Hz when switching between different monitors, which also took me a few days to notice. Checking if your monitor's capped to 60Hz is simple. Just open Windows Settings, go to System > Display > Advanced display, and see whether the refresh rate is set to your monitor’s highest supported value. If you know that your monitor supports refresh rates higher than 60Hz but there’s no option higher than 60Hz, you might be using an old HDMI or DisplayPort cable. What you can also do on many monitors is overclock their refresh rate. You can do this with an app called Custom Resolution Utility. While I can’t overclock my OLED monitor because OLED monitors generally don’t support overclocking, I did overclock the screen on my MSI Claw 8 EX review unit from 120Hz to 144Hz without issues. Before you do this, scour the web for your monitor’s model and see whether other people have already done it and how much they managed to overclock it. The risks of overclocking your monitor with CRU are minimal, since Windows will automatically revert to the previous refresh rate if you get a black screen, and you can also press F8 to enter CRU’s recovery mode and revert your settings. However, you can still end up with a black screen you can only fix by booting into Safe Mode on your Windows PC and running CRU’s reset-all tool. In other words, overclock your monitor at your own discretion. You paid good money for that PC, so use it to its fullest Since you’ve already paid for it, why not use your PC’s full potential? While you don’t have to do most of what I’ve listed above, you should at least enable XMP or EXPO for your RAM, check whether your monitor runs at its native refresh rate, and install Fan Control and spin up some custom fan curves. Also, don’t forget that PCIe add-on cards exist and that they offer a slew of useful features, like more USB ports, Wi-Fi connectivity, and more M.2 slots and SATA ports.
6 PC components you paid good money for but aren’t fully using
Full Article
Original Source
Read the full article at Howtogeek →KhanList aggregates and links to publicly available news content. We do not host full articles from third-party sources. Always verify important information with original sources.