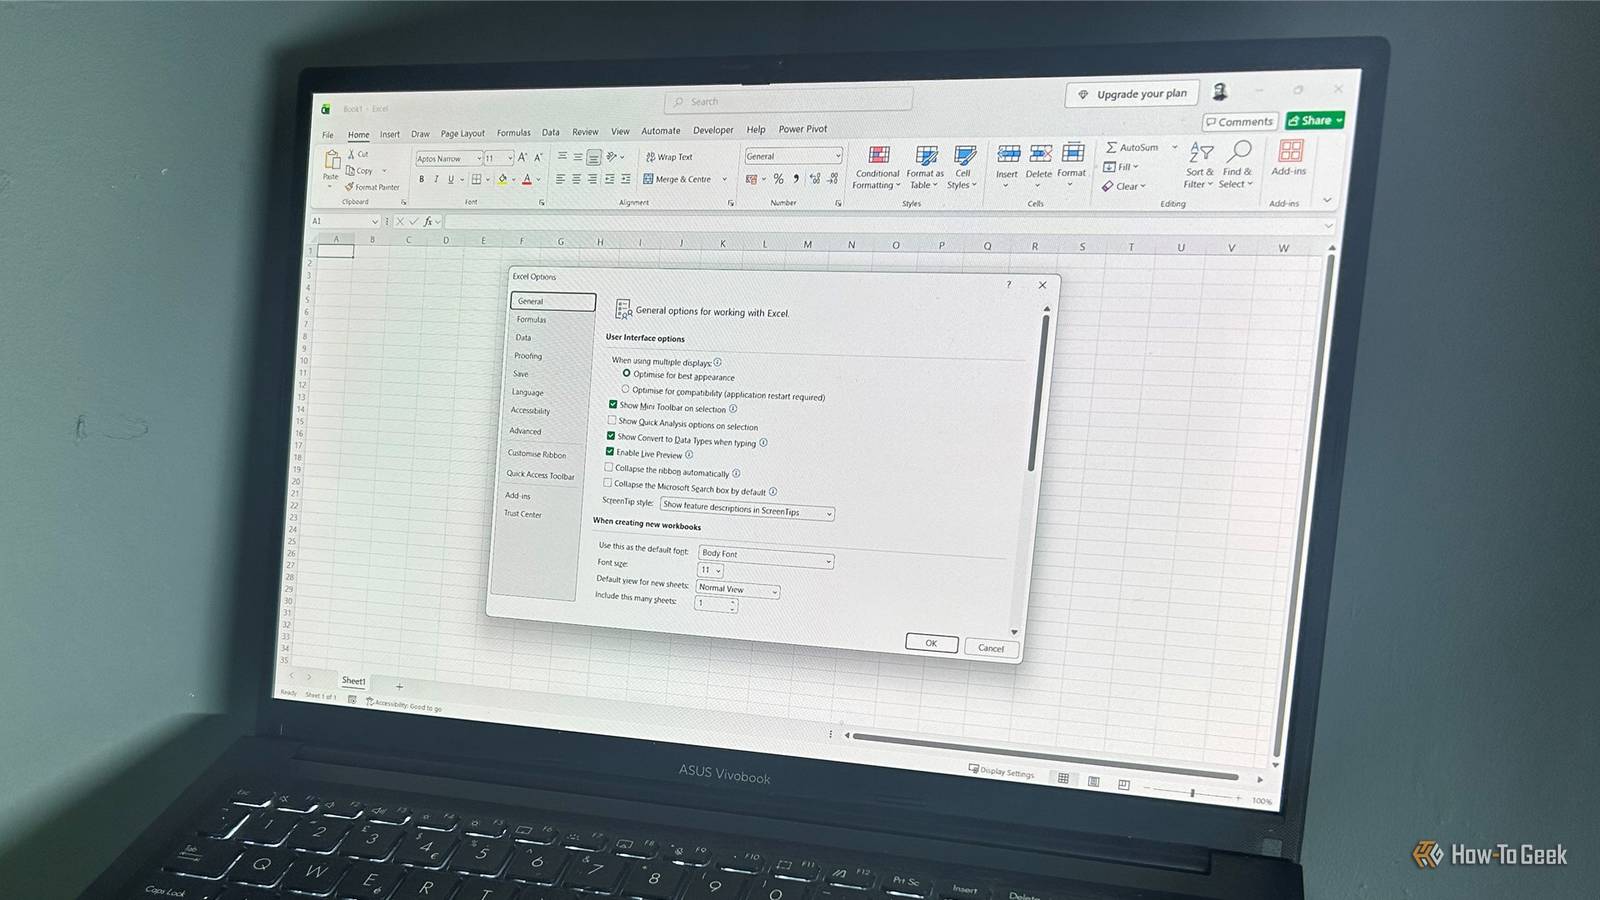
Published Jul 18, 2026, 10:30 AM EDT Tony Phillips is an experienced Microsoft Office user with a dual-honors degree in Linguistics and Hispanic Studies. Prior to starting with How-to Geek in January 2024, he worked as a document producer, data manager, and content creator for over ten years, and loves making spreadsheets and documents in his spare time. Tony is also an academic proofreader, experienced in reading, editing, and formatting over 3 million words of personal statements, resumes, reference letters, research proposals, and dissertations. Before joining How-To Geek, Tony formatted and wrote documents for legal firms, including contracts, Wills, and Powers of Attorney. Tony is obsessed with Microsoft Office! He will find any reason to create a spreadsheet, exploring ways to add complex formulas and discover new ways to make data tick. He also takes pride in producing Word documents that look the part. He has worked as a data manager in a secondary school in the UK and has years of experience in the classroom with Microsoft PowerPoint. He loves to encounter problems in Microsoft Office and use his expertise and legal-level training to find solutions. Outside of the Microsoft world, Tony is a keen dog owner and lover, football fan, astrophotographer, gardener, and golfer. I spent years fighting Excel's default behavior before realizing many of its biggest annoyances could be fixed in minutes. These buried settings changed the way I work and let me customize Excel to behave exactly how I want. Best of all, I only had to change them once, and Excel remembers my preferences every time I open the program. Every setting below is hidden inside the Excel Options menu. To open it, click File in the top-left corner, then click Options at the bottom of the sidebar. From there, open the relevant category in the left-hand menu. Turn Excel's hidden text shortcuts into a typing superpower Customize AutoCorrect to insert text you type constantly I used to think of Excel's AutoCorrect feature as a background tool for fixing spelling mistakes, but I eventually realized it could also serve as a text-expansion system for entries I use regularly. By mapping short, unique text triggers to long phrases, repetitive inputs, or complex terms, you can turn repeated typing into a custom shortcut. For example, typing a short code like "addr" can instantly expand into your full postal address, while "htg" can automatically insert "How-To Geek" whenever you need to mention the site. To set up your own text-expansion shortcuts: Open the Proofing category in the Excel Options menu. Click the AutoCorrect Options button at the top of the pane. In the Replace box of the AutoCorrect tab, type a trigger, and in the With box, type your full text string. Click Add. Select OK to close the menus and apply your new trigger. Now, whenever you type your shortcut, it will automatically expand into the full text you saved. Make every new workbook start your way Set your ideal defaults once I used to spend the first few minutes of every new workbook changing the typeface, font size, worksheet view, and number of starting tabs. Making every new workbook open with your preferred defaults saves mental energy and keeps your files consistent from the first click. To lock in your ideal starting canvas: Go to the General category in the Excel Options window. In the When creating new workbooks section, customize the defaults you want Excel to apply: Use this as the default font: Choose your preferred typeface so every new workbook starts with the right look. Font size: Set the default text size instead of changing it manually every time. Default view for new sheets: Choose your preferred worksheet layout, such as Page Break Preview instead of Normal View. Include this many sheets: Set the number of worksheets Excel creates whenever you start a new workbook. Click OK at the bottom of the window. Every fresh workbook will now start with your chosen font, view, and worksheet settings already applied. Microsoft 365 Personal OS Windows, macOS, iPhone, iPad, Android Free trial 1 month Microsoft 365 includes access to Office apps like Word, Excel, and PowerPoint on up to five devices, 1 TB of OneDrive storage, and more. Make every PivotTable start the way you want Skip the same manual adjustments I build PivotTables regularly, but I was tired of changing the same settings every time Excel created one. I prefer Tabular Form because it puts each field in its own column, making reports easier to read and export. I also usually remove unnecessary subtotals and adjust grand totals before sharing reports. Changing these options manually for every PivotTable was repetitive, so I found a way to set my preferred layout as the default instead. To establish your baseline data summary layout: Open the Data category in the Excel Options dialog. In the Data options section, click Edit Default Layout. In the Edit Default Layout window, customize the PivotTable settings you want Excel to use: Layout Import: Choose whether to use the layout and formatting settings from an existing PivotTable. Subtotals: Control whether subtotals appear and whether filtered items are included in totals. Grand Totals: Decide when Excel should display grand totals in your reports. Report Layout: Choose how fields are arranged, including whether to repeat all item labels. Blank Rows: Add or remove blank lines between items to improve readability. Click PivotTable Options for more customization options. After you click OK in both dialog boxes, every future PivotTable will match your preferred reporting layout. Stop Excel from changing your data behind your back Keep your codes exactly as entered I regularly work with codes that look like numbers but aren't really numbers. Without the right setting, Excel can quietly remove leading zeros or convert long identifiers into scientific notation. For example, an important code like "001234" could become "1234," completely breaking my inventory system. To protect your raw numeric data: Go to the Data category in the Excel Options menu. In the Automatic Data Conversion section at the bottom, uncheck the conversions that cause problems with your data: Remove leading zeros and convert to a number: Prevent Excel from stripping zeros from codes like "001234." Keep first 15 digits of long numbers and display in scientific notation: Prevent Excel from converting long identifiers into scientific notation. Convert digits surrounding the letter "E" to a number in scientific notation: Prevent codes or reference numbers containing "E" from being interpreted as scientific notation. Convert continuous letters and numbers to a date: Stop Excel from turning codes like "JAN-2026" into dates. Click OK. Skip Excel's start-up screen every time Launch straight into work If you always create a blank sheet, navigating through the Excel start screen template gallery is just a needless extra click. You can bypass this landing page entirely and force the app to open directly into a blank workbook the second you launch Excel. To configure your start-up defaults: Go to the General category in the Excel Options dialog box. Scroll down to the Start-up options section and uncheck the box labeled Show the Start screen when this application starts. Click OK. Close and reopen Excel to verify that it skips the template gallery and drops you straight into a blank workbook. Take control of your workflow After years of accepting Excel's default behavior, I finally changed the settings that were slowing me down. These small changes remove daily frustrations and create an Excel setup that works the way I do. Once these settings are in place, you can customize Excel's interface even further before your next project by changing its layout and appearance.
5 Excel settings I changed too late
Full Article
Original Source
Read the full article at Howtogeek →KhanList aggregates and links to publicly available news content. We do not host full articles from third-party sources. Always verify important information with original sources.