
Published Nov 3, 2026, 8:30 AM EST Patrick Campanale has been in the tech space for well over a decade, specializing in PC/gaming news and reviews, as well as maker-focused products to build small businesses. With a start in technology back in 2010 surrounding the Palm/webOS ecosystem, Patrick spent his formative years developing mobile applications as well as blogging for various publications, eventually leading to starting his own website in 2014. After running a technology blog for a few years, he stepped out of that role and into the world of high-end custom PC manufacturing and building, with a focus on YouTube video production and overclocking. Then, in 2017, Patrick joined the 9to5Toys team as an editor/writer/reviewer with over 14,000 articles being published during his time there, ranging from deals and roundups to in-depth reviews on the latest technology, video games, 3D printers, and more. In his free time, Patrick loves to create projects from wood using various robots and methods, including leveraging the technologies of CNCs and lasers. If Patrick isn't working on a computer or playing video games, he's likely in his 2-car garage workshop creating something unique. In addition to all this, Patrick is also the media director at his local church where he feels God has called him to serve, and he loves every minute of it. You can actually do a lot with an ESP32 development board without ever writing a single line of code. From programming LED strips to creating smart home sensors or a network-connected speaker, these five no-code ESP32 projects work straight out of the box using a simple web flasher tool that anyone can use. WLED turns any LED strip into a light show You'll be tweaking effects from your phone in minutes Credit: Tyler Hayes / How-To Geek I don’t know about you, but I hate how many different smart home apps I have on my phone. The mini air conditioner in my office has its own app (called Smart Home), half my smart devices are Tuya which uses the Smart Life app, and then there’s the Eve, Philips Hue, Meross, Govee, and several other brands I have scattered throughout the house. A great project with an ESP32 is to simply make your own smart lighting. Many cheap smart home brands actually already use ESP32s (of some sort) to run their devices, so you can definitely do the same. All you need is an ESP32 dev board, a compatible LED strip (like the WS2812B or SK6812), and a 5V power supply that can handle powering the LED strip itself. From there, just plug the ESP32 into your computer and visit install.wled.me and flash the dev board through your browser. Once it’s live, you can set it up over its own Wi-Fi hotspot, install the WLED app, and then you’re good to go. The WLED project actually integrates with Home Assistant natively, too, meaning that this isn’t just something you need to use another app to control—it can become a native part of your smart home. Tasmota makes a no-code sensor for Home Assistant Pick your sensor from a dropdown and you're done Credit: Patrick Campanale / How-To Geek I’ve kicked around the idea of deploying my own custom-built smart home sensors for Home Assistant quite a few times. I’ve not pulled the trigger on it yet, but, when I do, I’ll likely be using Tasmota’s no-code system for it. There’s a simple web installer to use at tasmota.github.io/install that can directly flash the ESP32 plugged into the computer. Then, once flashed, you get a simple-to-use web UI that lets you configure the GPIO in the web interface. This platform works with sensors like DHT22, BME280, DS18B20, and many others. It’s also possible to set up the sensors using jumper wires only, without having to deal with soldering—though, for permanent deployments, I would definitely recommend soldering. Tasmota’s platform is also natively supported in Home Assistant via MQTT discovery. All you need is a Mosquitto app in Home Assistant and you’re ready to go for bringing these sensors directly into Home Assistant. ESPresense tells Home Assistant which room you're in Your phone or watch becomes the tracker Credit: RoyLeo / Home Assistant Community You don’t actually need dedicated sensors or GPIO pins to use your ESP32 as a sensor in Home Assistant. With multiple ESP32 systems and ESPresense, Home Assistant can actually use your device’s BLE (Bluetooth Low Energy) signal to know what room you’re in. You’ll want one board per room, and it can track either a phone, tablet, or watch’s BLE connection. You’ll start by flashing the boards through the web flasher at espresense.com and setting everything up from there. Then, you can connect the boards via MQTT in Home Assistant and place each sensor in the room that it’s in inside of Home Assistant. The beauty of this project is that it doesn’t require anything extra. Just the bare ESP32 board, and it works on most models, too. The only “extra” you might need is installing a companion app on iPhone for it to work with, but that’s all. Meshtastic is off-grid texting for a few bucks No cell service, no problem I remember back in the day when I was a kid, my friends and I all had walkie-talkies. They reached a few miles and it was a great way for us to communicate without having to call someone on the phone. These days, everyone just uses a phone to communicate—even kids. The problem is, at some point phones stop working for one reason or another. Having lived in Florida most of my life, I have been through several hurricanes and there were many times when the cellular networks were down and we went back to walkie-talkies. Meshtastic is a way to fix that without having to rely on walkie-talkies, and it works just like texting. Meshtastic uses LoRa (Long Range) boards with many being based around the ESP32 system. You can use a normal ESP32 board for Meshtastic as long as you have the other necessary hardware, but going with a pre-built system like the Heltec V3 would be a simpler route for sure. Either way you go, you can just use the flasher at flasher.meshtastic.org to get everything going. You don’t have to code anything here. It just pairs up with a phone app over Bluetooth and you’re ready to go. You’ll only be able to communicate with others who have a Meshtastic system set up within range, and range varies wildly depending on the terrain you live in. But, each Meshtastic node can extend the range of other Meshtastic nodes in the area, meaning you can communicate for miles without any cell service needed. ESP32 LoRa Heltec V3 Device (2 Pack) Dimensions (exterior) 4.5x1.3x.1.1 inches Compatibility Meshtastic Battery life 1100mAh Connectivity LoRa, Bluetooth, Wi-Fi, USB-C These two LoRa radios are Meshtastic-ready so you can hit the ground running in building a mesh network that you can send messages over long distances. They have OLED displays, 915MHz antennas, USB-C connectivity, and Wi-Fi and Bluetooth support. Squeezelite-ESP32 gives old speakers a second life AirPlay and Spotify Connect on a tiny board I have a pair of speakers in my garage that I really want to make smart, and an ESP32 is actually the perfect project for it. All it requires is a WROVER-class ESP32 development board with at least 4MB of PSRAM and a DAC (digital to analog converter) to get going. There are some ESP32 boards with built-in DACs, like the Muse Luxe or the Louder ESP32, but you can also get an I2S DAC breakout board and hook it up to just about any ESP32. Once you have the hardware figured out, this Squeezelite-ESP32 web flasher takes care of the rest. There are a handful of flashers out here, but I’d stick with one that makes the ESP32 do what you want it to. If you buy a Louder ESP32, ESP32 Audio Dock might be a good option to use, too. Squeezelite, works with both Lyrion and Music Assistant (which is an app for Home Assistant), giving you multi-room setups and smart home integration. Once you flash the board, there will be a web UI where you can configure the rest of how the board works, including setting it up to be a Spotify Connect target, pairing over Bluetooth, streaming from AirPlay, and more. Grab a $10 board and start flashing You don’t need to know how to code in order to use a cheap ESP32 development board. It’s actually the perfect place to get started with microelectronics, as it can teach you so much from the hardware side of things (like soldering) without having to worry about debugging code.
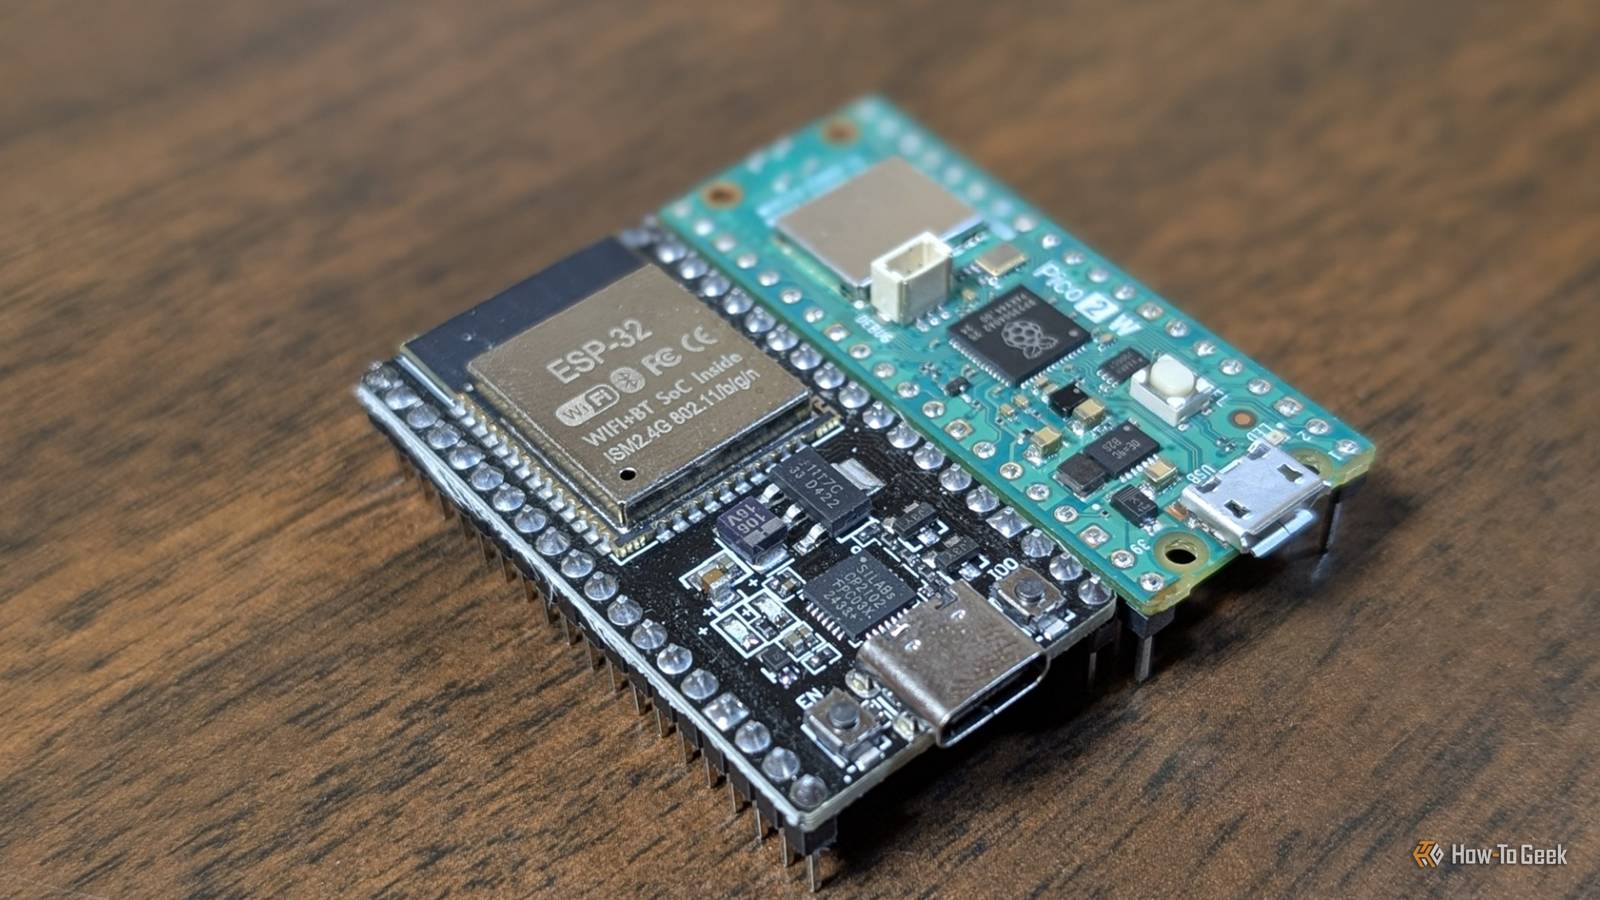
5 ESP32 projects you can set up in a browser without writing any code
Full Article
Original Source
Read the full article at Howtogeek →KhanList aggregates and links to publicly available news content. We do not host full articles from third-party sources. Always verify important information with original sources.