
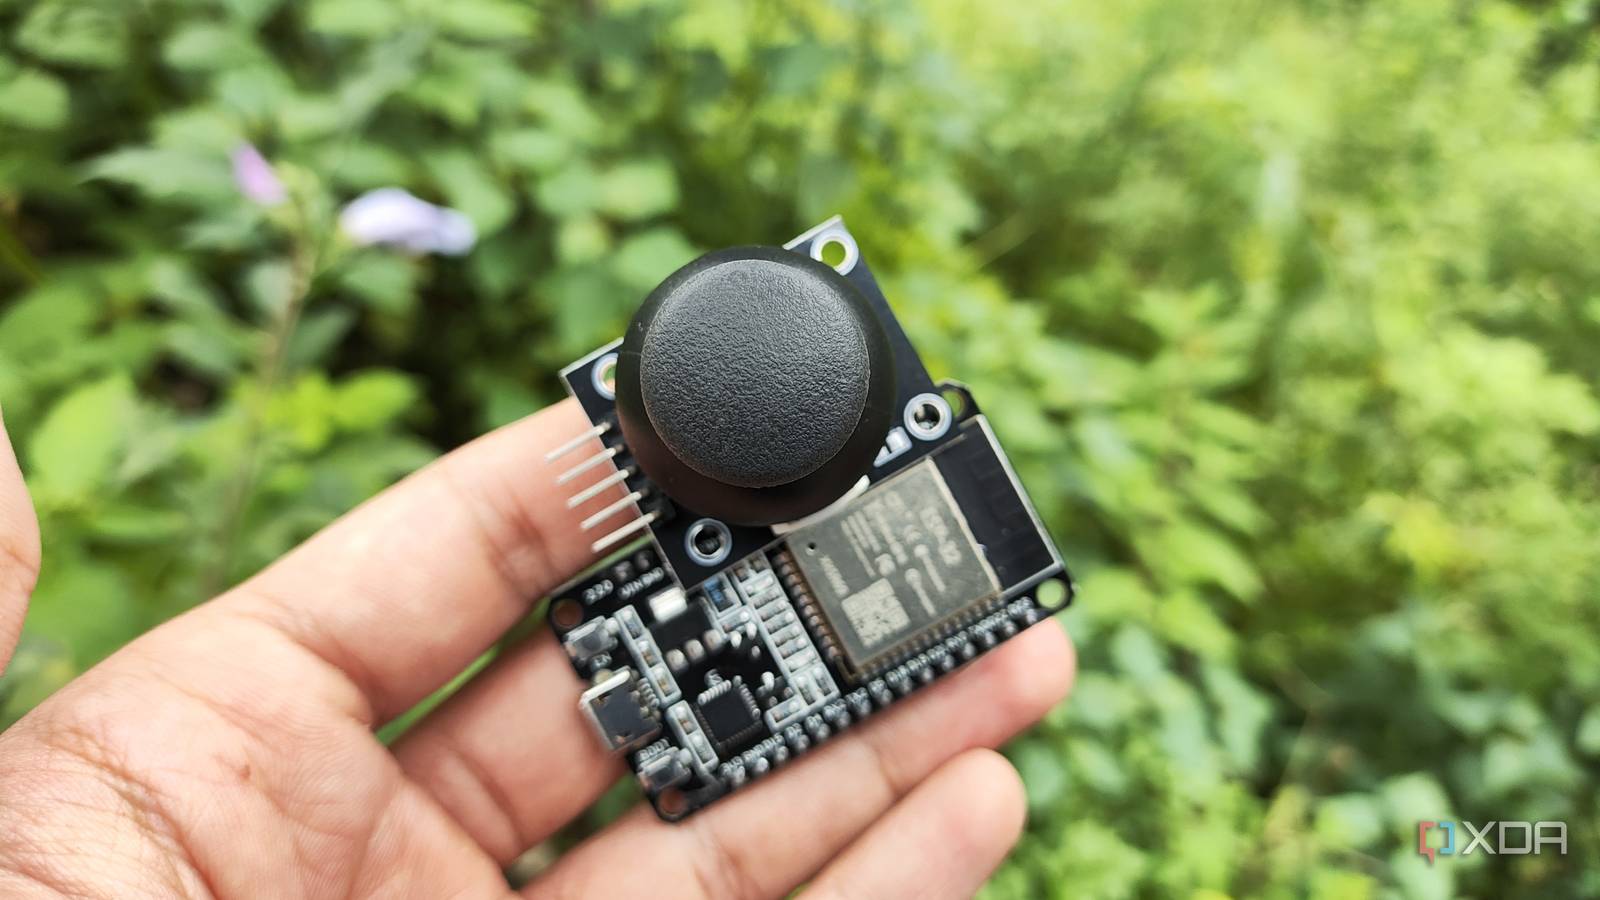
Published Sep 4, 2026, 3:30 PM EDT After a 7-year corporate stint, Tanveer found his love for writing and tech too much to resist. An MBA in Marketing and the owner of a PC building business, he writes on PC hardware, technology, and Windows. When not scouring the web for ideas, he can be found building PCs, watching anime, or playing Smash Karts on his RTX 3080 (sigh). ESP32 is a cheap and tiny microcontroller, but it can do things most people wouldn't expect. It's highly versatile and has onboard Bluetooth and Wi-Fi, making it well-suited to various smart home and networking projects. Besides, you can choose from many different ESP32 boards, depending on the complexity of your project. Some projects don't require days or even a lot of investment, but still deliver enormous and lasting value. You don't need to be an expert to build these projects; you just need the right ESP32 board, some ESPHome configuration, and a single sensor. Bluetooth proxy that extends your smart home's range These DIY proxies can work wonders Building a capable smart home doesn't necessarily mean spending hundreds of dollars on off-the-shelf devices. You can build your own temperature sensors, smart buttons, smart remotes, and smart switches that use Bluetooth Low Energy. To ensure these short-range devices can effectively communicate with Home Assistant, you'll need Bluetooth proxies that can act as bridges. Building a Bluetooth proxy with ESP32 is fairly straightforward. Just add the ESPHome module inside your HASS configuration, install the right drivers, and flash the pre-loaded code on your ESP32. After that, it's just a matter of tweaking the configuration file and updating it to start seeing your ESP32-powered Bluetooth proxy inside Home Assistant. Once your DIY proxy is paired to your smart home setup, you can decide where to position it for the best results. It needs to eliminate the dead zones in your setup, so that your smart home can extend to every corner of your house. You'll need to build multiple ESP32 proxies, depending on the scope of your setup. Smart doorbell without any subscription The underlying functionality is pretty simple Off-the-shelf smart doorbells, such as those from Ring, require you to pay monthly subscription fees. On top of that, your footage is beamed to Amazon's servers, which can be problematic, given the company's track record of sharing Ring footage with law enforcement. You can build your own smart doorbell with an ESP32-S3 board, an OV2640 camera sensor, and ESPHome. The ESP32-S3 can stream low-FPS video and costs only around $10. Even after adding the camera sensor and a button for doorbell duties, this makes for an inexpensive, local-only DIY doorbell. To prevent the camera from overheating, you'll need to make some adjustments in ESPHome. And you can add a PIR sensor to add motion detection to the setup. ESP32-CAM Zigbee bridge to pull all your devices into a single smart home Why buy expensive hubs and smart devices? The standard ESP32 boards can't communicate with your Zigbee or Thread devices, so you'll need the ESP32-C6 for this one. It features Wi-Fi 6 support along with Bluetooth 5, Zigbee 3.0, and Thread 1.3. It uses a RISC-V core running at 160 MHz and has 512KB of SRAM. This package allows you to connect your Zigbee or Thread devices to your existing smart home setup. The ESP32-C6 supports Matter natively, running on top of Thread or Wi-Fi. The ESP Matter SDK makes it relatively simple to build Matter-compatible devices for your smart home. You can essentially use the ESP32-C6 to build a Zigbee hub to integrate most of your smart home devices at a fraction of the cost, since the board costs only around $5. Wi-Fi strength scanner to find the best AP location No need for paid Wi-Fi analyzer apps If you want to build something cool yet useful with your ESP32, a Wi-Fi strength scanner is the perfect beginner-friendly project. All it uses is the Wi-Fi module of your ESP32 board to detect the frames sent out by your router or access points (APs), displaying them in dBm (decibel-milliwatts). You can use this scanner to determine the best position for your Wi-Fi router or any access point. It's not an advanced project, but it can be useful. You can use the ESPHome Device Builder utility to configure your ESP32 to show Wi-Fi stats on Home Assistant. The preloaded template on ESPHome should suffice, once you add the YAML snippet at the end (shown below). You just need to flash the file to your board to create your Wi-Fi scanner. sensor: - platform: wifi_signal name: "ESP32 WiFi Signal dBm" id: wifi_dbm_sensor update_interval: 60s text_sensor: - platform: wifi_info scan_results: name: "Nearby WiFi Networks" id: nearby_wifi icon: "mdi:wifi" Presence sensor that uses nothing but Bluetooth No PIR sensors or cameras involved While many mmWave and PIR sensors claim they can detect continued presence, they can often be tricked by sitting still. A presence sensor powered by ESP32's Bluetooth module, Home Assistant, and ESPHome can solve this problem. You'll need to make some tweaks to the Home Assistant app on your phone to allow it to transmit an energy-efficient iBeacon (on iPhones). You can configure ESPHome to pick up the "UUID" of your phone when it's nearby by exposing a sensor in Home Assistant. You can also add several automations to automatically turn lights on or off, depending on whether you're in the room or not. Any ESP32 board with Bluetooth LE support will work for this project. ESP32 is the gift that keeps on giving Once you pick up the ropes of ESP32 tinkering, it's hard to stop at just a few projects. You'll start seeing more and more opportunities to make ESP32-powered devices and sensors for your home. Whether it's augmenting your smart home, building smart displays, or DIY utilities, there are tons of projects waiting to be explored.
5 ESP32 projects that punch way above their weight
Full Article
Original Source
Read the full article at Xda-developers →KhanList aggregates and links to publicly available news content. We do not host full articles from third-party sources. Always verify important information with original sources.