
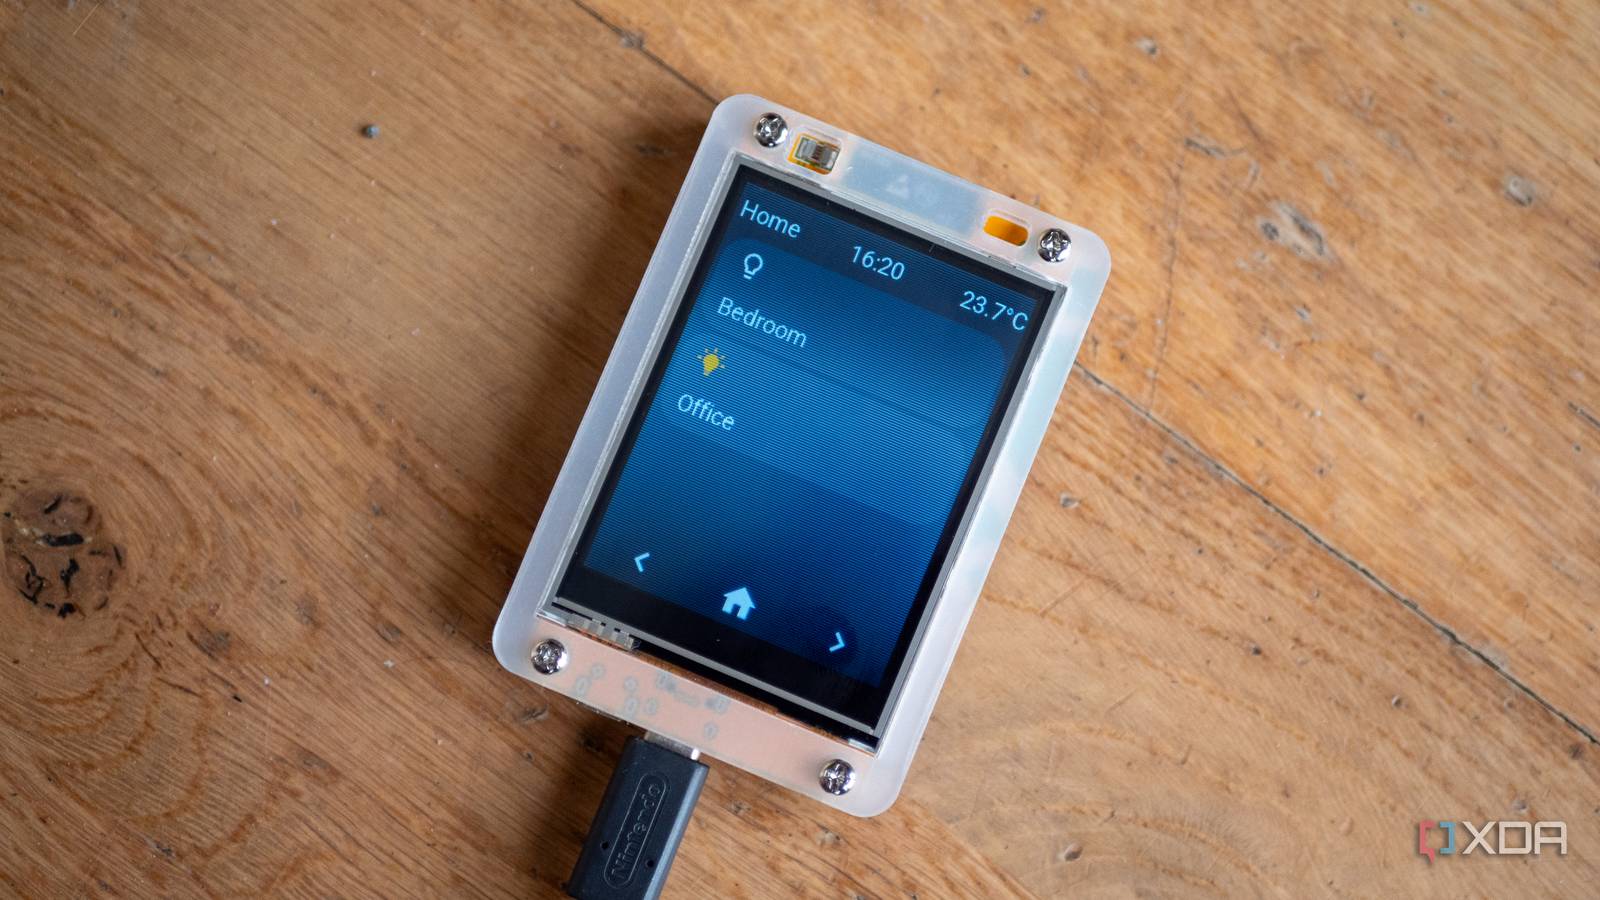
Published Aug 14, 2026, 11:00 AM EDT After a 7-year corporate stint, Tanveer found his love for writing and tech too much to resist. An MBA in Marketing and the owner of a PC building business, he writes on PC hardware, technology, and Windows. When not scouring the web for ideas, he can be found building PCs, watching anime, or playing Smash Karts on his RTX 3080 (sigh). Beginners can get into ESP32 without knowing coding, but that doesn't remove all the friction, especially when connecting the microcontroller to several sensors or a display. The ESP32-2432S028R, or the Cheap Yellow Display (CYD), solves this problem by pre-assembling an ESP32-WROOM-32 board with a 2.8-in color touchscreen, an RGB LED, a microSD card slot, a light sensor, and a speaker circuit. This $15–$20 ready-to-go assembly makes it incredibly simple for anyone to get started with display-based ESP32 projects. The screen is already connected to the board, the touch controller is wired, and the lengthy setup process is reduced to a handful of minutes. All that remains is a minor library configuration tweak before your CYD is ready for the project of your choice. microSD desk photo frame Tiny, minimal, and offline The CYD's microSD card slot is useful for local storage when you don't want any cloud dependency for your ESP32 project. A tiny desk photo frame is one of the most fun uses of the CYD. All you need is a set of images in BMP format stored on a microSD card, which the drawBMP function can easily display on the 320x240 color screen. 20 to 30 images displayed at 10-second intervals give you several minutes of rotating content. You can even use the onboard LDR to program the display to turn off in darkness and wake up when it detects ambient light. The initial setup before you can do any of this involves installing the Arduino IDE, adding the ESP32 board to it, and installing the necessary libraries. You also need to edit the User_Setup.h file inside the TFT_eSPI library folder to specify the display driver and correct pin numbers to be used. You can refer to this ESP32 CYD guide on using the display, touchscreen, and microSD card together. The modifications in this guide will help you in almost all of the projects shown in this article, so it's a one-time exercise that keeps paying dividends. PC system stats monitor It never hurts to have a compact screen with stats Having a neat dashboard that displays useful system stats will interest many PC users. You could pull up your CPU usage, memory usage, last boot time, and almost anything else you want on your CYD. You can use HASS.Agent to send the necessary information from your PC to an MQTT server, which routes it to ESPHome (within Home Assistant) to display it on the CYD. The setup for this CYD system monitor uses the Light and Versatile Graphics Library (LVGL), which provides prebuilt widgets that look a lot better than those you could create in ESPHome. Home Assistant dashboard Inexpensive and versatile You don't need expensive smart home dashboards when you can build one with the CYD for $20–$30. Combined with ESPHome and Home Assistant, the CYD can become a touchscreen dashboard to display sensor readings and control your smart devices. Thanks to the YAML configuration of ESPHome, you don't need any coding to draw simple buttons on the screen to control lights and fans. The LVGL integration makes it even simpler and good-looking. You could expand this concept to display your "Now Playing" tracks on Spotify and the current states of door and window sensors. DIY network security testing If you're in the mood for something more technical, flashing the ESP32 Marauder firmware on the CYD turns it into a DIY network analysis and penetration testing tool. While this may not be a conventional "display" project, the touchscreen display of the CYD means it's an independent testing tool for on-the-go adventures. This project uses the EDP32's radio hardware to test network security, spoof AirTags, spam BLE advertisements, and clone access points. It goes without saying that you should use it only on networks you have permission to test. ASCII aquarium Your personal, reactive, virtual aquarium Credit: POWER-PILL Your CYD project doesn't always have to be productive. You can also have some fun with your cheap display, and creating a dynamic digital aquarium is a great option. The creator clarifies that this is not just a looping animation; it generates fish in real time, and they react in various ways when you tap the screen. ASCII aquarium feels like a living aquarium with reactive fish, floating bubbles, and moving seaweed. You can tap to feed flakes, sync with Wi-Fi to display the time, and capture screenshots onto the microSD card. The fish can also school up and avoid other fish, so you can legitimately spend hours watching your digital aquarium. The ESP32 CYD delivers a ton of value for the price Anyone getting into ESP32 should strongly consider the CYD as a starting point. This affordable, pre-assembled kit allows beginners to create fun and useful projects without getting bogged down by too many setup complexities. Whether you want a dashboard for your smart home or workdesk, a quirky project to pass the time, or a powerful testing tool, the CYD will deliver. ESP32 CYD
5 ESP32 projects anyone can build with the Cheap Yellow Display
Full Article
Original Source
Read the full article at Xda-developers →KhanList aggregates and links to publicly available news content. We do not host full articles from third-party sources. Always verify important information with original sources.