
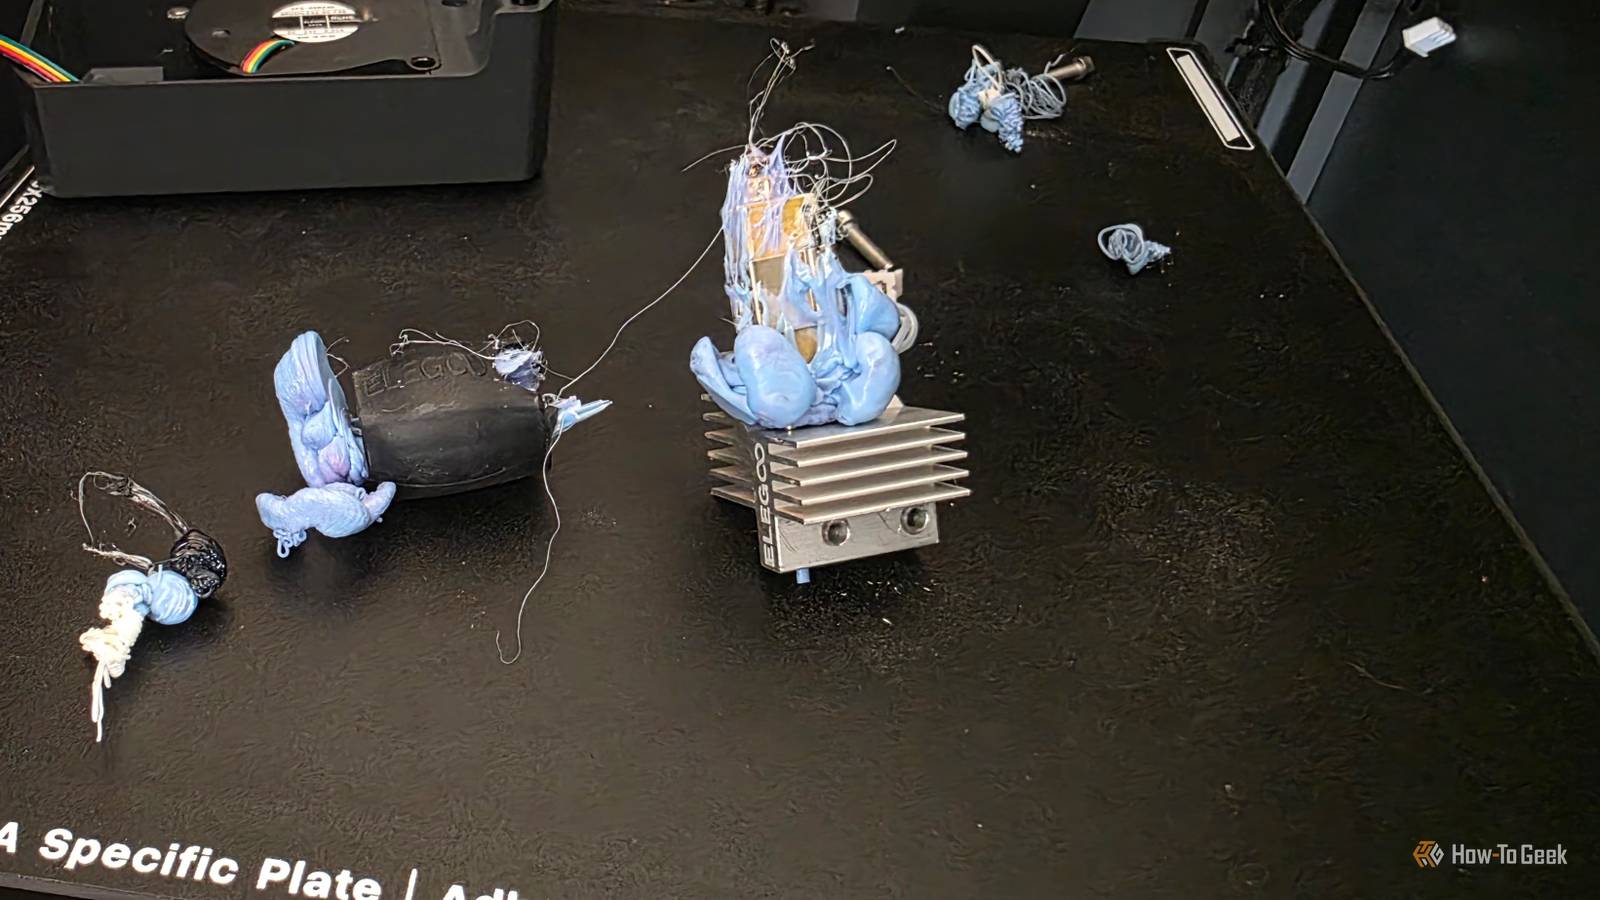
Published Nov 15, 2026, 6:30 PM EST Sydney Butler is a technology writer with over 20 years of experience as a freelance PC technician and system builder and over a decade as a professional writer. He's worked for more than a decade in user education. On How-To Geek, he writes commerce content, guides, opinions, and specializes in editing hardware and cutting edge technology articles. Sydney started working as a freelance computer technician around the age of 13, before which he was in charge of running the computer center for his school. (He also ran LAN gaming tournaments when the teachers weren't looking!) His interests include VR, PC, Mac, gaming, 3D printing, consumer electronics, the web, and privacy. He holds a Master of Arts degree in Research Psychology with a minor in media and technology studies. His masters dissertation examined the potential for social media to spread misinformation. Outside of How-To Geek, he hosted the Online Tech Tips YouTube Channel, and wrote for Online Tech Tips, Switching to Mac, and Helpdesk Geek. Sydney also wrote for Expert Reviews UK. He also has bylines at 9to5Mac, 9to5Google, 9to5Toys, Tom's Hardware, MakeTechEasier, and Laptop Mag. Anyone who has done a substantial amount of 3D printing is no stranger to leaving a long print overnight and waking up to a small disaster. Maybe that's a print chamber full of filament spaghetti, or perhaps your hot end is now encased in a tomb of hardened filament. There are so many horrible ways in which a print can go wrong while you're sleeping soundly in bed, and there's no such thing as a perfect defense against failure. However, there are a few things you can do to stack the odds in your favor. Calibrate your printer first Don't play with an out-of-tune instrument A printer that has calibration issues may start off a print just fine, but as errors accumulate, it can go off course in the later stages of your print when you aren't there. Most modern printers can do automatic calibration. For example, both of my Elegoo Centauri printers feature a "one-touch" calibration feature that takes about 20 minutes and does the PID tuning for the hot end, input shaping, and bed leveling. It's just a few minutes of your life to save perhaps a dozen or more hours of printing energy and filament. Wait until the first layer is done You need a good foundation In my experience, most prints that are going to fail do so during or shortly after the first layer. This is the foundation of the whole print, and if you have bed adhesion issues or warping, it's going to be apparent at this phase. One common mistake is to leave the top on an enclosed printer when printing in PLA, which your printer's manual will tell you not to do. Some prints need a brim to secure the first layer. Sometimes you need to bump the bed temperature up by a few degrees (I usually add 5C) if the weather is cold or the filament you're using is finicky. The bed surface itself might be an issue, though when my first layers fail, my go-to trick is hairspray. Use backup power It always fails at the worst times I live in a country with lots of blackouts, so when I have a long print I use my Ecoflow portable power station as backup for the printer. It doesn't even have to be a proper blackout; even a brief power dip for a few seconds can be enough to cause a power disruption in your printer. By default, most printers will keep the bed warm when the power comes back on, but won't automatically continue the print. You can usually resume from where it left off, but in my experience, you'll end up with a nasty layer shift if the bed was allowed to cool down all the way. Weigh your spool! A filament runout is almost as bad as a blackout When you slice a model in your slicer of choice, it will give you an estimate of how much material the print will use. If you don't have enough filament on the spool, the run-out sensor will activate, and the printer will pause. This is a better situation than a power interruption, because the bed won't go cold, but there is still good potential for the resumption to be a failure point if the printer has been paused for too long. The simplest solution is to weigh your spool before starting the print. That will tell you if you have enough material to complete the job. I've had some spools with weight indicators printed on them, so you can tell at a glance how much is left, but most of the time you will need to bring the kitchen scale over. Ideally, you'll want to subtract the weight of the empty spool for accuracy, but they weigh so little that it shouldn't make a difference for a big job. If you have a multi-material printer, you can usually set it up so that it will automatically load filament of the same type if it runs out during a print. Just ensure that you've activated the feature and have two rolls registered as being identical. Unhappy little accidents There are so many other little things you learn over the years through failure that this list could be 100 items long. For example, I try not to make the first time I ever print something an unsupervised overnight print. Likewise, for a complex print that will use a lot of filament, I first print a scaled-down version that can be completed within daylight hours. If there are any issues with the print inherent to its design, it's going to show up on a smaller scale too. But no matter how much you prepare, failure is always an option. Some modern printers have a camera-based AI-failure detection feature. How well they work varies by brand, model, and what specific failure happens, but it might be worth turning it on for an overnight print. If you don't have a fancy smart printer, you can use Octroprint along with the failure detection plugin of your choice.
4 ways to fail-proof your long overnight 3D prints
Full Article
Original Source
Read the full article at Howtogeek →KhanList aggregates and links to publicly available news content. We do not host full articles from third-party sources. Always verify important information with original sources.