
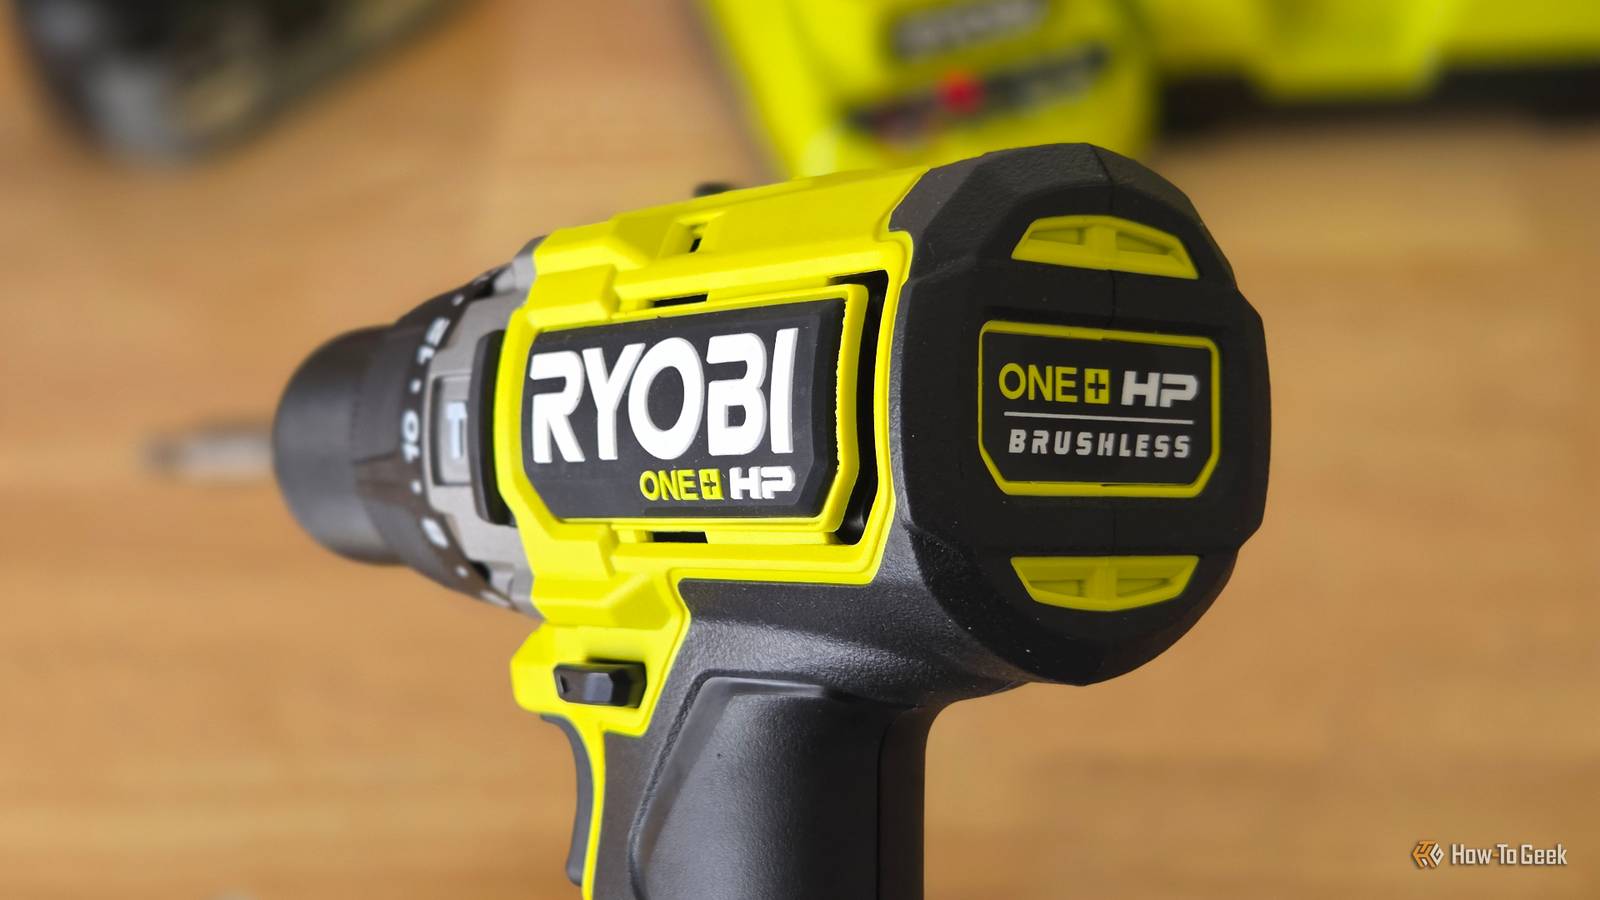
Published Aug 27, 2026, 8:30 AM EDT Cory Gunther is a senior author and Newsletter Editor at Valnet, covering cutting-edge tech, Android, and more for How-To Geek. He's covered Android, cars, and technology for over a decade. When he's not reviewing the latest gadget, you can find him off-roading in his Toyota truck, fixing said truck, or doing something outdoors with friends and family. He's covered CES, SEMA, and MWC and reviewed countless phones, TVs, speakers, EVs, e-bikes, and more. Before Valnet, Cory worked for GottaBeMobile. His writing has also appeared on SlashGear, InputMag, and AndroidCentral. He's written over 9,000 articles. Whether you're a beginner or an experienced DIYer, there's a good chance you often overlook some cordless drill basics. From ignoring the torque clutch to tightening the chuck, here are four everyday mistakes to look out for and avoid. Your cordless drill is likely the most versatile tool in your kit, but a few missteps can strip screws, break bits, or wear out the motor. Get the most out of your tools and your work by following these simple tips. Chucking your bits wrong The chuck is very important As you probably already know, the "chuck" on a drill is the front clamp and teeth that hold your drill bit or screw bits in place. Three internal jaws, or teeth, move inward together and eventually tighten down and grip your bits. As long as you're using the chuck correctly, your tool and bit will be centered, secure, and ready for work. Ensuring you chuck your bits tight is wildly important for the job and safety. If you're like me, you turn the front chuck counterclockwise to open the metal jaws, then insert your bit near the center and start turning the chuck clockwise until it's tight. That's probably the best route, but many people will use the drill's motor while holding the chuck, which will quickly tighten things in place. And that's fine, but always make sure it's straight and properly aligned before use. If you use the motor to tighten things quickly and go too fast, you could end up with a crooked bit, which isn't good. As you can see in the image above, the drill bit isn't centered, and all three teeth aren't holding it tightly in place. That's a recipe for disaster. More importantly, some cheap drills might have a plastic chuck or cheaper steel teeth, making proper alignment and tightness even more important. Those plastic chucks can come loose, so make sure they're right before you start working. Stop ignoring the clutch It's more useful than you think Credit: Cory Gunther / How-To Geek I use the clutch on my drill all the time, but it's one of those things some people either don't fully understand or don't use enough, and only adjust it after making a mistake or not getting a screw tight enough. That row of numbers on an adjustable ring behind the chuck is your clutch, and it controls all the torque (and shut-off power) on your drill. When you twist and adjust the numbers, it'll monitor how much twisting force and force your drill outputs before it slips and stops spinning. This is crucial. The lower the number, the less power, torque, and tightness it'll allow before your drill slips and stops spinning, preventing stripped heads or driving a screw too deep into a wall. The tighter the clutch ring (and the higher the number), the more torque and driving power. Credit: Cory Gunther / How-To Geek If I'm building some furniture or a wood project, I'll start with my clutch on like 5, and then adjust as I go. As soon as I find the perfect clutch setting where it'll spin enough to fully drive a screw flush, then stop, I know I'm good. When you want screws at a specific depth, or you're drilling into tough wood, adjust the clutch to fit your needs. A prime example is delicate work like cabinet hinges, hardware, or decorative screws, where you'll only need a tiny bit of power. Crank it down, be careful, and don't forget to adjust the drill speed if your model supports it. But when you're working with large screws or tough materials, crank it up and "drill, baby, drill." And don't forget that many models have additional clutch configurations. You might see a picture or a drill bit for pure consistent drilling speeds, or a hammer to turn it into a hammer drill, as I have pictured above. Use the clutch. Don't skip pilot holes No one wants cracks or splits Credit: Cory Gunther / How-To Geek Cordless drills are pretty powerful these days, especially models with brushless motors and large HP battery packs. It's easy to use all that power and instantly drive screws into wood and other materials without a pilot hole, but that's a mistake. Just because you can doesn't mean you should. Two of the biggest mistakes I see (and used to make several years ago) were forgetting the clutch or trying to work faster by skipping pilot holes. There's a reason a drill is one of the most popular power tools, and that's because you should be drilling pilot holes with a drill bit, then using the correct bit head and clutch speed to drive screws into that hole. Driving screws straight into dense wood without a pilot hole often splits the material, which is a huge problem if it's behind some drywall in your home. It only takes a second, but it can make all the difference in the world. Using a drill instead of an Impact Driver Similar but very different tools Credit: Cory Gunther / How-To Geek Next up is knowing when to use your drill vs. when it's best to put it down and switch to an impact driver. These two tools look very similar at first glance, but they couldn't be more different. A drill is, naturally, for drilling holes. However, millions of people everywhere use them as a driver, too, which is why most brands market them as drill/drivers. And that's because a drill is perfectly fine for driving screws into walls, wood, or furniture. When you're working with small screws, quick jobs, or don't need tons of torque and power, a drill is totally acceptable. However, an Impact Driver is what you'll want to use if you're dealing with long screws, stubborn fasteners, or tough materials where you'll need high torque. See, while a regular drill just spins, and that's all, an impact driver works by combining a standard spinning motor with an internal hammer and anvil mechanism. When driving an easy screw, it spins normally. When the screw meets tough resistance, a spring-loaded weight slams the bit, giving you extra power and torque. Additionally, most impact drivers are substantially faster than a drill at driving screws and other fasteners into wood, walls, or other surfaces. If you don't own one yet, trust me, buy one already. Ryobi 18v ONE+ Impact Driver Ryobi's 18V ONE+ Brushless Impact Driver is one of the smallest and fastest in its class. Level-up your DIY projects with this versatile tool. Get the most out of your cordless power drill These are some of the common mistakes you might make, but they're certainly not the only ones. As a bonus, don't forget that the right drill bit or screw bit is just as important as how you use the tool. Additionally, buy high-quality bits. Don't cheap out on the most affordable 150-piece driving bit set, as they probably won't be very good or durable. Now, all that is left to do is to get to work.
You're probably making these 4 common mistakes with your cordless drill
Full Article
Original Source
Read the full article at Howtogeek →KhanList aggregates and links to publicly available news content. We do not host full articles from third-party sources. Always verify important information with original sources.