
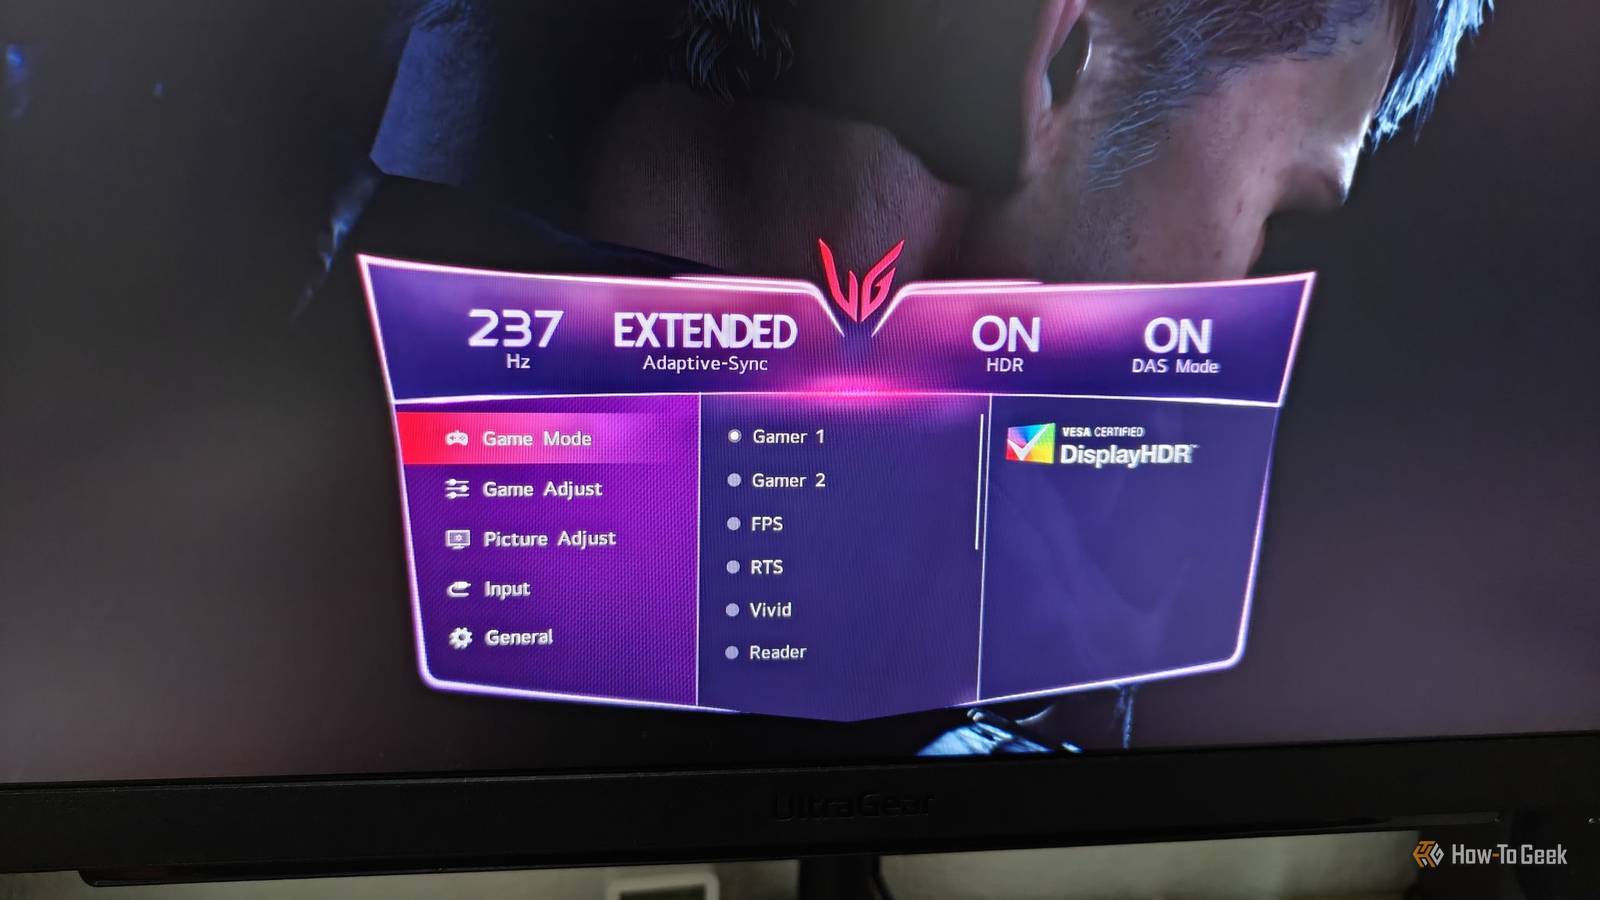
Published Sep 22, 2026, 11:30 AM EDT Ismar is a Senior Author at How-To Geek. He previously worked as a writer, editor, and general manager at a content agency before joining the team in 2023. He began his writing career in 2021 after completing a BA in English Language and Literature. Beyond How-To Geek, Ismar has contributed to Red Stag Fulfillment and Authority Hacker. He has also worked on various SEO projects to help clients improve their search visibility. Ismar has been around Windows PCs since the age of three, so friends and family naturally chose him as the resident tech support. His projects often involve tinkering, such as disassembling mechanical keyboards and gaming mice to mod his beloved gear. He also enjoys pushing hardware to the max through overclocking while staying on a reasonable budget. An avid gamer, Ismar has logged thousands of hours across various genres, including first-person shooters, RPGs, racing games, and roguelites. When he is not at his desk, he is probably exploring other people’s phones to discover their quirks and features or experimenting with the latest AI tools. In his free time, Ismar enjoys spending time with his wife, working out at the gym, playing guitar and bass, cooking gourmet meals, and traveling. Above all else, he’s a proud cat owner. So you recently brought home one of those fancy high-refresh-rate monitors to finally upgrade from your old display and enjoy smoother gameplay and general desktop use. But for some reason, your new monitor that's supposed to be running at 240Hz doesn't feel as smooth as you were hoping it would. Well, as it turns out, monitors don't always run at their maximum refresh rate out of the box — you need to set it up manually. Windows might be defaulting your monitor to a lower refresh rate Find the highest refresh rate in Windows Monitors use a VESA-standardized metadata format called EDID (Extended Display Identification Data), which your monitor uses to communicate its specs to your GPU. Windows can read this data as soon as you plug in your monitor, and more often than not, it's actually aware of the full spectrum of the refresh rates and resolutions your monitor supports. However, Windows doesn't always default to the highest refresh rate available. The exact mode it selects can depend on a variety of factors: the exact monitor in question, GPU, graphics driver, cable, and other parts of the setup. Quite often, Windows prefers to select a lower refresh rate to ensure the display works correctly. For instance, a 240Hz monitor might default to 144Hz, but more often than not, Windows tends to pick the safe 60Hz baseline that monitors have been running for decades. This is because high refresh rate displays require all the right parts to function correctly, and if a single piece is missing, you risk major visual artifacts, like flickering, an incorrectly displayed or distorted image (think of those pink/gray colors you get if the cable isn't all the way in), or, in worst cases, a black screen. If Windows immediately defaulted to the maximum refresh rate with each new display, and something wasn't right about the setup (or the monitor was broken), you could end up with an unusable display output and no easy way to troubleshoot the problem. Starting with a lower, more widely compatible mode just makes more sense. This behavior often happens after a fresh Windows install or when you first install a new monitor, but it can happen for many other reasons too, such as a complete graphics driver reinstall or after messing around with the cables in the back. In any case, configuring the display to the maximum that Windows recognizes is rather straightforward. Press Windows+i to open Windows Settings > System > Display. Select the relevant monitor (if you have more than one), scroll down to Advanced display, and select the maximum refresh rate from the drop-down menu. If you don't see the maximum advertised refresh rate from the monitor's specifications sheet here, keep reading. Check your monitor's ports first Your monitor's ports aren't always equal The first thing you need to check before anything else is which ports on your monitor support the panel's maximum refresh rate at its native resolution. It might seem counterintuitive that a monitor has a port that can't max it out, but this used to be surprisingly common in budget monitors before HDMI 2.1 became mainstream. For instance, the MSI G274QRFW is a 27-inch 1440p monitor that supports a refresh rate of up to 170Hz over DisplayPort 1.4 with overclocking, but it tops out at 144Hz on its HDMI 2.0b ports. Your cable or port might be limiting the refresh rate Everything matters Credit: Ismar Hrnjicevic / How-To Geek The monitor isn't the only part of the chain that needs to work correctly for the maximum refresh rate to be available. Your choice of cable shouldn't just boil down to whether it's HDMI or DisplayPort; the version matters too. If your monitor calls for an Ultra High Speed HDMI Cable for maximum refresh rate support, you need to use one that carries the official certification label. Any cable that lacks this certification may or may not support your monitor's maximum refresh rate, even if the packaging makes vague claims about supporting HDMI 2.1. The same applies to DisplayPort cables, where VESA-certified cables ensure they support the required link rate. This is because the cable has to support the bandwidth your monitor requires to display at its maximum refresh rate and resolution. HDMI 2.1 supports up to 48Gbps of link bandwidth, while DisplayPort 1.4 supports up to 32.4Gbps. As a side note, DisplayPort 1.4 can also use DSC (Display Stream Compression) to achieve higher-resolution, high-refresh-rate modes without sacrificing visual quality. The port you're plugging into your PC matters, too. For starters, make sure you've plugged it into your graphics card (which is usually toward the bottom and horizontal) rather than the motherboard (which typically has display ports near the USB ports). But that's not the whole story. While we've now transitioned into an era of DisplayPort 1.4/2.1 and HDMI 2.1, some older graphics cards that are still around may support lower standards, particularly HDMI 2.0b. A good example is the NVIDIA RTX 20 Series and AMD RX 5000 Series graphics cards, which use HDMI 2.0b and DisplayPort 1.4. DisplayPort 1.4 supports substantially higher refresh rates, making it a much better choice than the ancient HDMI 2.0b ports. If you're trying to get the highest possible refresh rate from your gaming monitor, check which output of your graphics card provides the most bandwidth. Your monitor might support an even faster refresh rate in its settings Credit: Ismar Hrnjicevic / How-To Geek Overclocking a display panel sounds like a somewhat unusual concept, but it's actually not that rare on some nicer gaming monitors. This means that if you bought a monitor advertised to support, say, 280Hz, you might be a little disappointed when you finally plug it in and only see 240Hz in Windows. For example, the Alienware AW2723DF supports up to 240Hz over DisplayPort 1.4 with its default settings, but enabling the monitor's overclocking mode unlocks its advertised 280Hz maximum. The exact name of the setting varies by manufacturer, so check the OSD (On-Screen Display) for options that mention the refresh rate or overclocking, and if you can't find it, check the user manual. Just keep in mind that overclocking technically means you're running the panel beyond its typical capabilities, and even though it's integrated by the manufacturer, it can still cause issues like overheating, flickering, artifacts, and other display problems. Don't settle for less than your monitor can provide If you bought a fancy high-refresh-rate monitor, check every now and then that Windows is still running it at its maximum refresh rate. You paid for all that extra speed, so you deserve to enjoy every Hertz it has to offer. My 240Hz LG monitor occasionally likes to drop down to 144Hz for whatever reason (possibly after some driver updates), and I can tell within a few seconds that something is wrong after booting up my system. Fortunately, the fix is as simple as changing the refresh rate in Windows Display settings.
Your new high-refresh monitor isn't running at full speed—here's why
Full Article
Original Source
Read the full article at Howtogeek →KhanList aggregates and links to publicly available news content. We do not host full articles from third-party sources. Always verify important information with original sources.