
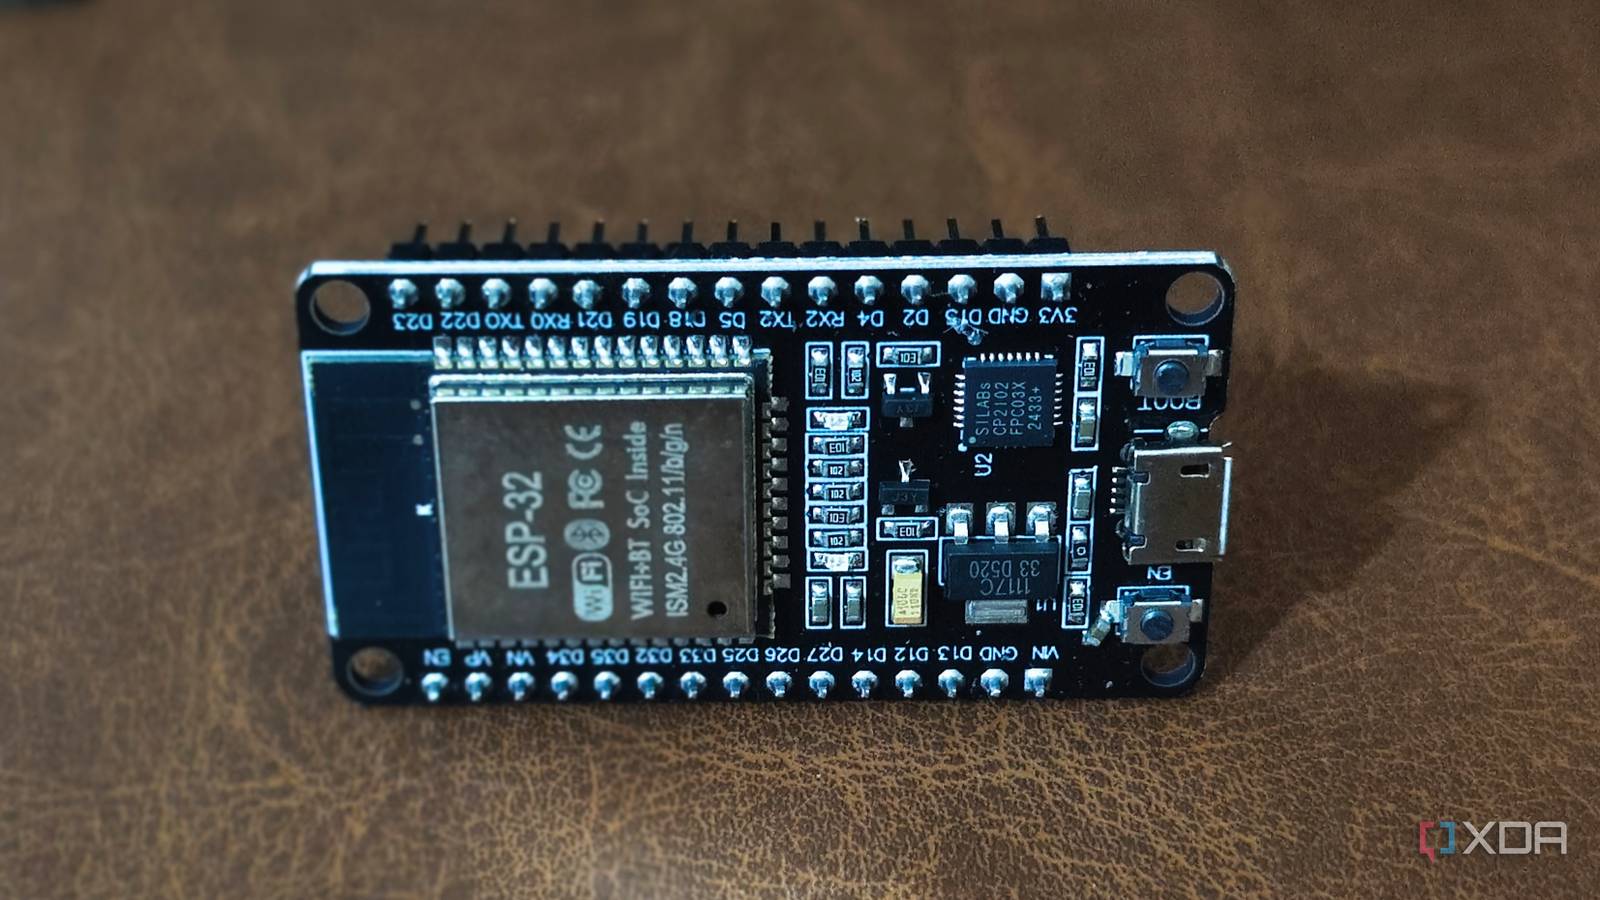
Published Nov 22, 2026, 11:01 AM EST Anurag is an experienced journalist and author who’s been covering tech for the past 5 years, with a focus on Windows, Android, and Apple. He’s written for sites like Android Police, Neowin, Dexerto, and MakeTechEasier. Anurag’s always pumped about tech and loves getting his hands on the latest gadgets. When he's not procrastinating, you’ll probably find him catching the newest movies in theaters or scrolling through Twitter from his bed. ESP32 boards are incredibly versatile, and that's probably why it's so easy to get carried away with them. They're cheap, support Wi-Fi and Bluetooth, and can be used to build everything from simple sensors to robots and DIY voice assistants. I've been experimenting with ESP32 boards for my smart-home setup, and one thing I've realized is that the most useful projects are often the most boring ones. Projects like a room weather station, a plant monitor, or a simple motion detector aren't particularly exciting, but I still use them every day. If you're getting your first ESP32, I'd recommend starting with something similarly simple. Your first ESP32 project doesn't need to be impressive Start with something you'll actually use One of my earliest ESP32 projects was a basic room weather station. I connected a cheap temperature and humidity sensor to the board and configured it to send readings over Wi-Fi to ThingSpeak, a free cloud dashboard. I could check the live temperature and humidity in my room from a browser, and I still use this setup today. I'd recommend something similar if you're just getting started. You only need an ESP32 development board, a compatible sensor, a few jumper wires, and a USB power supply. The wiring is fairly straightforward, and you don't need a display or a dedicated app since ThingSpeak handles the dashboard. Building something like this also teaches you most of the fundamentals you'll need for future ESP32 projects. You'll learn how to connect sensors to the board, upload code, configure Wi-Fi connectivity, and communicate with an online service. If something doesn't work, you have relatively few components to troubleshoot. You can also experiment with different sensors or add more functionality once you're comfortable with the basics. There are plenty of ambitious ESP32 projects involving robots, displays, and voice assistants, but those introduce extra hardware and software challenges that you'd rather take on once you have some experience working with these boards. The boring ESP32 projects are the ones I still use Simple sensors solve everyday problems I also built a smart plant monitor using a capacitive soil moisture sensor. The sensor sits in the soil and measures its moisture level, and the ESP32 emails me whenever the reading drops below a certain threshold. Given how many plants have died under my care, this has certainly helped keep the current batch alive. I specifically used a capacitive sensor — it's better suited for long-term use than cheap resistive moisture sensors, which have exposed metal probes that can corrode over time. You do need to calibrate the sensor and set an appropriate moisture threshold, but the actual setup is fairly simple. Once it's running, it can monitor the soil continuously without any manual intervention. Another project I still use is a motion-activated intruder alert. I connected a basic PIR motion sensor to an ESP32 and configured it to send an instant alert over Wi-Fi whenever it detects movement. The PIR sensor detects changes in infrared radiation caused by movement, and the ESP32 handles the notification. Of course, sensor placement is important because a basic PIR sensor can't distinguish between a person and a pet. Making your ESP32 projects useful in the long run Build something you can forget about Credit: engineeroids Getting an ESP32 project working is fairly straightforward, but keeping it running reliably requires a little more attention. You can use a breadboard with jumper wires for experimenting, but if you're planning to use the device permanently, I'd recommend securing the connections, using a reliable power supply, and putting everything in a proper enclosure. You'd also need to pay attention to sensor placements. If you place a sensor too close to the ESP32, it can report inaccurate readings because of the heat generated by the board itself. I'd also recommend keeping the firmware simple and making sure the board can reconnect automatically if it loses connectivity. ESPHome is a good option if you're using Home Assistant, as it supports hundreds of components and allows you to update firmware wirelessly. I've also used Claude Code to help with ESP32 projects, particularly when figuring out unfamiliar hardware and troubleshooting code. You should also spend some time getting the automation logic right. Something like a plant monitor needs an appropriate moisture threshold, and a motion detector should have a cooldown period to avoid flooding your phone with notifications. Similarly, a weather station doesn't need to upload readings every second. Small adjustments like these make the projects considerably more practical for everyday use. Start small and build from there There's plenty of time to experiment with robots, displays, and more complicated projects once you're comfortable with ESP32 boards. For your first project, I'd recommend solving a small problem you actually have. You'll learn the fundamentals and end up with something you can continue using for years.
Your first ESP32 project should be something boring, and the boring ones are the ones I still use
Full Article
Original Source
Read the full article at Xda-developers →KhanList aggregates and links to publicly available news content. We do not host full articles from third-party sources. Always verify important information with original sources.