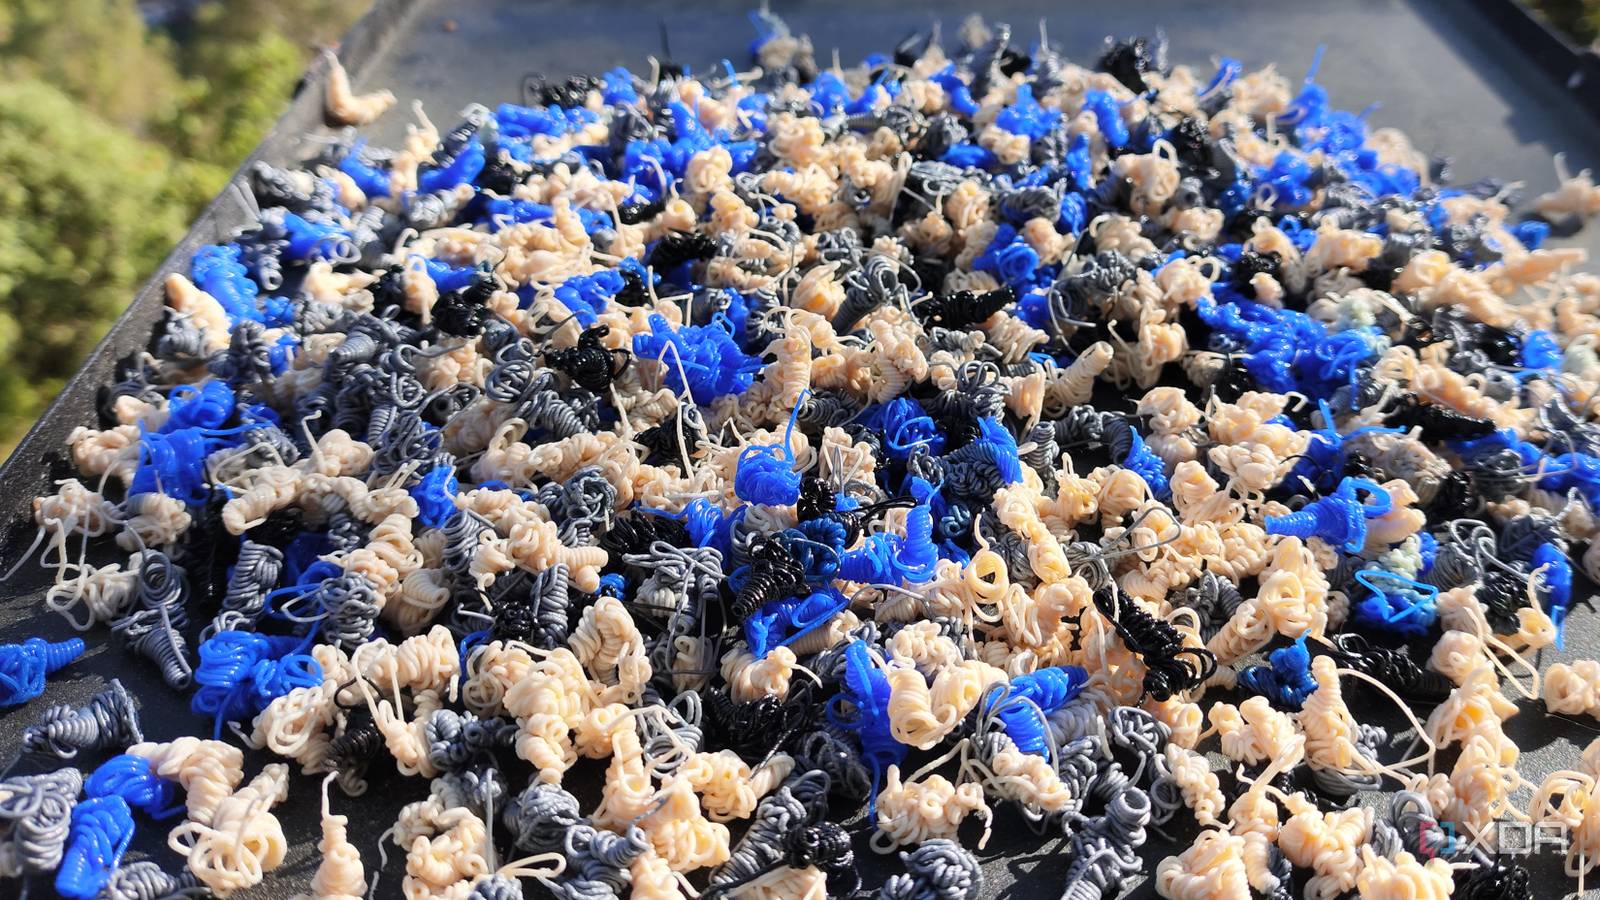
Published Jul 30, 2026, 11:00 AM EDT Jeff's been involved in the IT industry since before the Internet and spent more than 20 years working in technical support, system administration, network administration, and consulting roles. He holds an undergraduate degree in English, a Master's degree in English with a focus on professional writing and editing, and another Master's degree in Computing & Information Systems. After teaching university English and computer science for a few years, Jeff launched his writing career. He's written for Macworld, Tom's Hardware, groovyPost, The Mac Observer, and more before beginning here at XDA. If you’ve been 3D printing for a while, you’ve probably stopped noticing how much plastic gets tossed after every job. Purge lines, support scraps, brims, and leftovers from multicolor changes are part of the cleanup, so they barely register anymore. I accepted most of it because the printer produced it automatically, which made it seem necessary. Once I started paying attention to everything sitting beside the finished part, though, it became clear that cautious factory settings were responsible for more of that pile than I’d realized. Factory profiles favor reliable results over efficient material use Manufacturers cannot optimize one profile for every workspace Your printer’s default profiles weren’t designed for your room, filament, or typical projects. They have to work in dry offices, damp basements, warm spare rooms, and many other environments the manufacturer can’t predict. They also have to work for people who may not yet know what half the slicer settings do. That means leaving a comfortable margin wherever a leaner setting could cause a failed print. Those margins make sense when you’re just getting started. A manufacturer would rather have someone waste a little extra filament than risk a first print lifting, sagging, or coming loose from the plate. The problem is that the same profile often stays in place long after the user has learned what the machine can handle. At that point, a beginner-friendly safeguard can quietly become a permanent source of waste. You can see the same cautious approach in brims, supports, wall counts, and purge values. A wide brim may be excessive for a short, stable part, but it gives the printer a better chance of succeeding under less-than-ideal conditions. Dense supports may be more than the model needs, yet they’re less likely to leave a rough underside. These aren’t bad defaults. They’re broad compromises, and broad compromises don’t stay ideal forever. Purge settings can consume far more filament than expected Repeated color changes magnify every overly cautious setting A few extra grams of purged filament don’t sound like much until a model changes colors hundreds of times. Each transition adds more waste, and the same conservative value gets applied again and again. By the end, the purge material and tower can take up an uncomfortable amount of the build plate. That’s usually when the default stops feeling safely cautious and starts feeling expensive. Reducing purge volume doesn’t mean dragging a value down and hoping the result still looks clean. It means testing whether a particular transition can work with less material than the factory profile uses. Dark-to-light changes often require more purging than transitions between similar colors, so a single blanket value may not make sense. A few small tests can show where the default has more margin than you actually need. Don’t apply a single reduced purge value to every color change. A transition between similar colors may require far less purging than switching from a dark filament to a pale one. Test changes in a user-created profile and inspect each transition rather than cutting every purge value by the same amount. An adjustment that works cleanly in one direction can leave visible contamination when the colors are reversed. Some slicers also let you send purge material into infill, supports, or another object. The printer still extrudes that filament, so this doesn’t make color changes free. It does keep some of the plastic from going straight into a chute or tower, which is still better than throwing all of it away. I wouldn’t use the option blindly on every model, especially where internal colors might show through thin walls, but it’s worth checking before accepting a large purge pile as unavoidable. Supports and adhesion aids often deserve another look Automatic generation can add material your model never needed Supports were one area where I spent too long trusting the slicer without thoroughly checking its work. Automatic placement is convenient, and when the preview looks complicated, it’s easy to assume the software knows best. Then the print finishes, and you’re snapping away thick structures from surfaces that probably would have printed acceptably without them. You’ve used more filament, added more print time, and given yourself extra cleanup. Before starting the final job, it’s worth reviewing the preview and checking where each support begins. Some sections clearly need help, but others are there because the profile is being cautious rather than because the model would definitely fail. Adjusting placement, density, or interface settings can reduce material without removing the supports that matter. Reorienting the part can sometimes eliminate a large supported section entirely. Brims deserve the same attention. A tall object with a narrow footprint may genuinely need the extra contact area, while a wide, flat part may hold perfectly well without one. Removing one unnecessary brim won’t rescue an entire spool, and there’s no point pretending it will. The savings matter when the same habit repeats across dozens of prints, especially when every brim also leaves another edge to trim and clean. Conservative defaults still prevent costly printing failures Cutting every safety margin can quickly create more waste There’s a reason manufacturers don’t ship printers with the leanest settings they can manage. Most users would rather discard a little extra purge material than deal with a dark streak across the front of a pale model. They’d also rather remove an unnecessary support than wake up to a collapsed overhang. Reliability matters, especially when a print has already been running for most of the day. Reducing waste too aggressively can create more waste. A brim that looked excessive may have been the only thing keeping a tall part attached to the bed. Supports that seemed pointless might have prevented a small edge from curling upward and catching the nozzle. Once the whole model fails, the few grams saved earlier don’t count for much. There’s also a limit to how much time it makes sense to spend tuning inexpensive filament. Someone who prints only occasionally may prefer a dependable factory profile to maintaining separate settings for every material and project type. That’s a reasonable choice. Convenience and predictable results can matter more than squeezing every possible part from a spool. Careful tuning keeps reliability without preserving every excess Change one setting at a time and record results The answer isn’t to remove every conservative setting the moment you install the slicer. Start with the waste that keeps appearing in your own workflow. If you rarely print in multiple colors, spending hours refining purge values won’t do much for you. Oversized supports, unnecessary brims, or repeated first-layer failures may be better places to focus. Changing one setting at a time also makes failures easier to understand. If you reduce purge volume, support density, brim width, and wall count in the same print, you won’t know which adjustment caused the problem. I’ve found it much less frustrating to make one change, run a small test, and save the result when it works. It takes longer up front, but it keeps you from repeating the same experiment later. That middle ground is far more useful than chasing a perfectly optimized profile. Some factory settings can stay exactly where they are because they work and don’t create enough waste to justify the effort. Others deserve attention because the same unnecessary plastic appears after nearly every job. The goal isn’t a printer that produces no waste. It’s knowing why the extra material is there. Factory settings should start your process, not finish it Modern factory profiles deserve credit for making 3D printing much easier to get into. They help new users produce a reliable first layer, usable supports, and clean color changes without first learning what every slicer field controls. That reliability has real value, which is why replacing every default immediately is a bad idea. The problem starts when the beginner profile remains untouched long after the beginner stage has passed. Factory settings are meant to get you started, not decide forever how much plastic you throw away. Look at everything you remove from the build plate, not just the finished model in the middle. Repeated piles of purge material, oversized supports, and adhesion aids that weren’t needed are all signs that a setting deserves another look. A few measured adjustments can make each spool last longer without turning every print into an experiment. Factory settings are meant to get you started, not to decide forever how much plastic you throw away. OrcaSlicer OrcaSlicer is highly capable across all 3D printers, allowing you to tweak your profiles to ensure successful prints while minimizing waste.
Your 3D printer is throwing away more plastic than you think, and the factory profile is the culprit
Full Article
Original Source
Read the full article at Xda-developers →KhanList aggregates and links to publicly available news content. We do not host full articles from third-party sources. Always verify important information with original sources.