
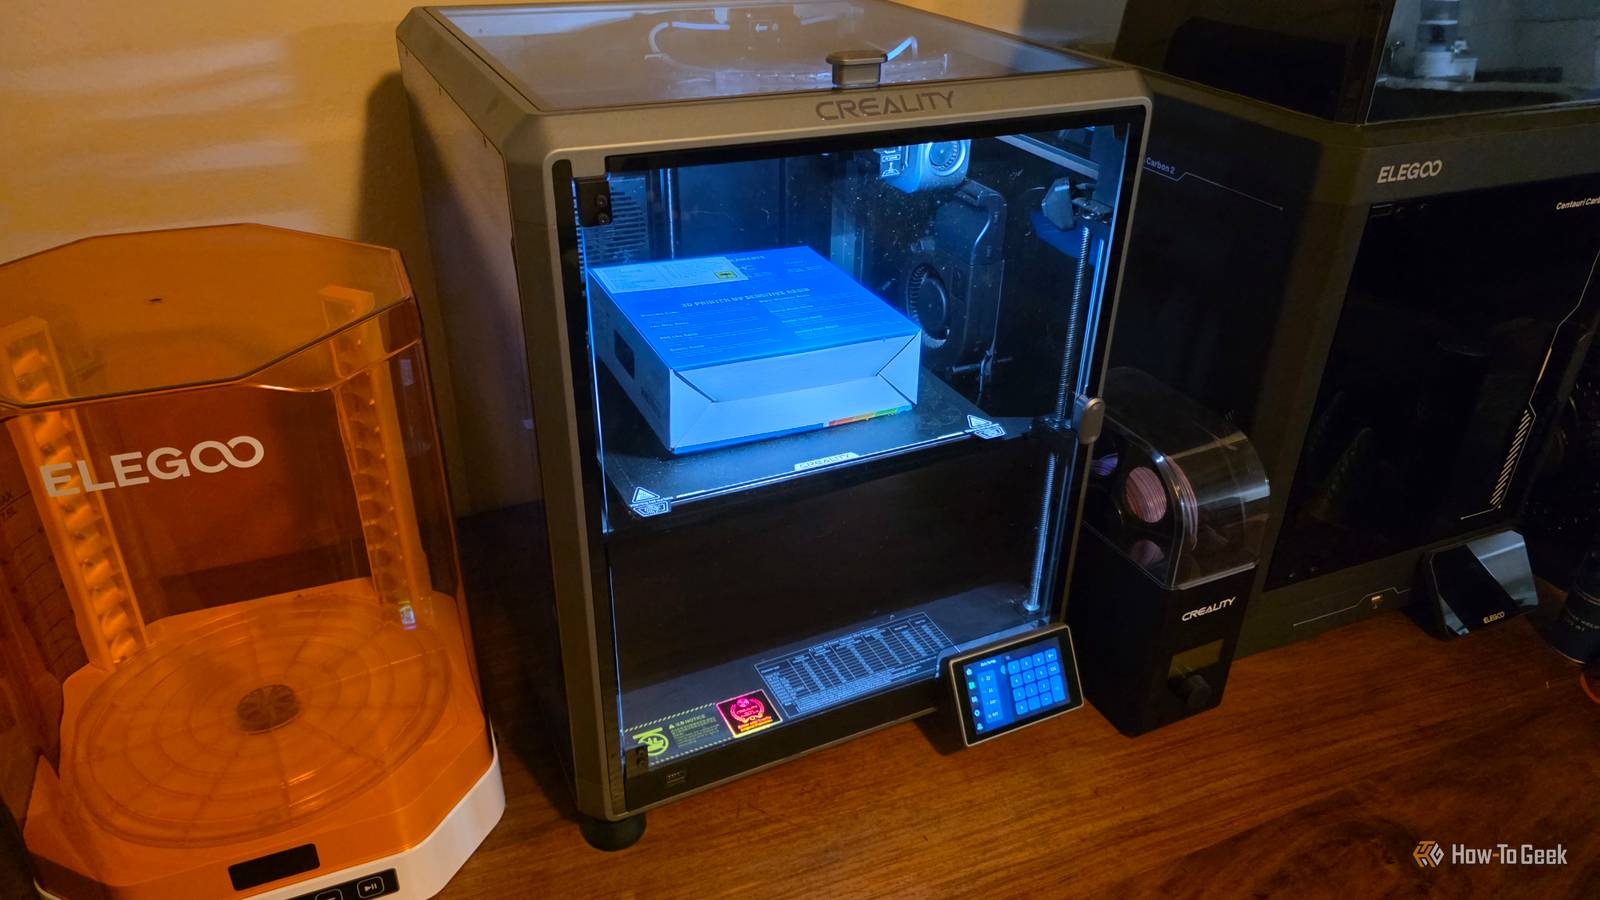
Published Nov 16, 2026, 6:00 AM EST Sydney Butler is a technology writer with over 20 years of experience as a freelance PC technician and system builder and over a decade as a professional writer. He's worked for more than a decade in user education. On How-To Geek, he writes commerce content, guides, opinions, and specializes in editing hardware and cutting edge technology articles. Sydney started working as a freelance computer technician around the age of 13, before which he was in charge of running the computer center for his school. (He also ran LAN gaming tournaments when the teachers weren't looking!) His interests include VR, PC, Mac, gaming, 3D printing, consumer electronics, the web, and privacy. He holds a Master of Arts degree in Research Psychology with a minor in media and technology studies. His masters dissertation examined the potential for social media to spread misinformation. Outside of How-To Geek, he hosted the Online Tech Tips YouTube Channel, and wrote for Online Tech Tips, Switching to Mac, and Helpdesk Geek. Sydney also wrote for Expert Reviews UK. He also has bylines at 9to5Mac, 9to5Google, 9to5Toys, Tom's Hardware, MakeTechEasier, and Laptop Mag. You may not know it, but your filament is wet. That's why your prints have been failing lately, and because you didn't store your filament in airtight containers with desiccants, it's been absorbing moisture. So what can you do about it? The common solution is to buy a dedicated filament dryer. That will run you around $30 to $150, depending on what you get. Or, hear me out: you can dry your filament for free right now with what you already have. Signs your filament needs drying Once you see them, it's unmistakable If you're the sort of person who cracks the seal on a new roll of filament and then prints it all in a day or two, then you've probably never run into wet filament issues. At some point, though, you took a roll off, stuffed it back in its box, and forgot about it. Trying to print with it again, something's wrong, and if you notice one or more of these issues, it probably needs a good drying: Hissing and popping as it comes out of the hot end Stringing and oozing Rough, pitted, or bubbled surfaces in your prints Brittleness, which is especially bad in filament-changing systems, because it snaps during retraction Poor layer adhesion Inconsistent or under-extrusion If that's what's happening, stop wasting your filament. Unload it, secure the end to avoid snags, and make a plan to dry it out. The traditional options This is what the normies do Companies like SUNLU and Creality will happily sell you a purpose-built filament dryer. I have a single-roll Creality dryer that feeds my K1 Max. It has a heater and a fan, and seals up except for the port for the filament to leave. It doubles as a spool holder, and I usually run it for a few hours on a roll that's been stored for a while before I start printing. Some printers have spool holders or multi-material filament systems that are enclosed and include humidity control and drying functions. If you have any of these facilities already, you can just use them, of course. If you don't, well, maybe you do want to save up for it. However, when YouTuber Ricky Impey tested this free DIY filament drying method against dedicated dryers, it actually beat several commercial dryers. SUNLU FilaDryer S4 The SUNLU FilaDryer S4 filament dryer is designed to actively dry up to four filament rolls at one time. There are digital controls on the side where you can choose what temperature you want it to run at and what type of filament you're drying. There are even filament guides out both sides of this dryer so you can feed filament directly into your 3D printer while it's drying. You need a printer with a heated bed, plus the box your filament came in A checklist of two The one little snag here is that you need a printer with a heated bed, and preferably one that can reach at least 70C. However, the filament drying temperatures for individual filament types and brands differ. You'll have to look it up just as you would with a commercial dryer. If you have a printer with a cold bed, you're out of luck. It will certainly be cheaper to get a $30 dryer than buy a whole new printer just for this feature. In addition to a heated bed, you need a filament box. We're simply going to use the box as a cover to trap hot air around the filament. Let's do it step-by-step You'll be surprised at how easy this is Now that you have it all, here we go! First, cut off the lid of the filament box. We need the section of the box that the filament was in. The flap can go. Some box designs don't have a flap, but you can still cut it to form a lidless cover. Poke a 3x3 grid of holes in the top. This will act as our air exhaust. Place your spool of wet filament in the center of your bed. Set the bed temperature to what's recommended for that filament manually using your printer's controls. Then place the box over it. We want some gaps between the bed and the box, so that cold air can be drawn in from below. The idea is that the hot air will exit at the top vent and draw cold air in through convection. As the air moves through, it carries moisture out of the heated spool of filament. Let the filament bake for six hours, and then flip it over for another six hours. Then return your printer to normal, and try the filament. Hopefully it will now print as well as it did when it was new. It's free, but safety still matters It feels pretty good when you can solve a real problem without spending any additional money, but we do need to cover some caveats here. First, you do this entirely at your own risk. While a printer's heated bed set to 70C is nowhere near the melting point of a plastic spool or the ignition point of a cardboard spool, you should perform this drying process when you are present. So you can smell or see signs of trouble immediately. Also, once you've dried your filament, get some airtight cereal containers or other suitable vessels and store your filament in them along with the desiccant. You can use the rechargeable type that changes color when it absorbs water. Proper storage will reduce how often or for how long you need to dry your filament.
You can dry your 3D printer filament for free, just don't throw away the box it came in
Full Article
Original Source
Read the full article at Howtogeek →KhanList aggregates and links to publicly available news content. We do not host full articles from third-party sources. Always verify important information with original sources.