
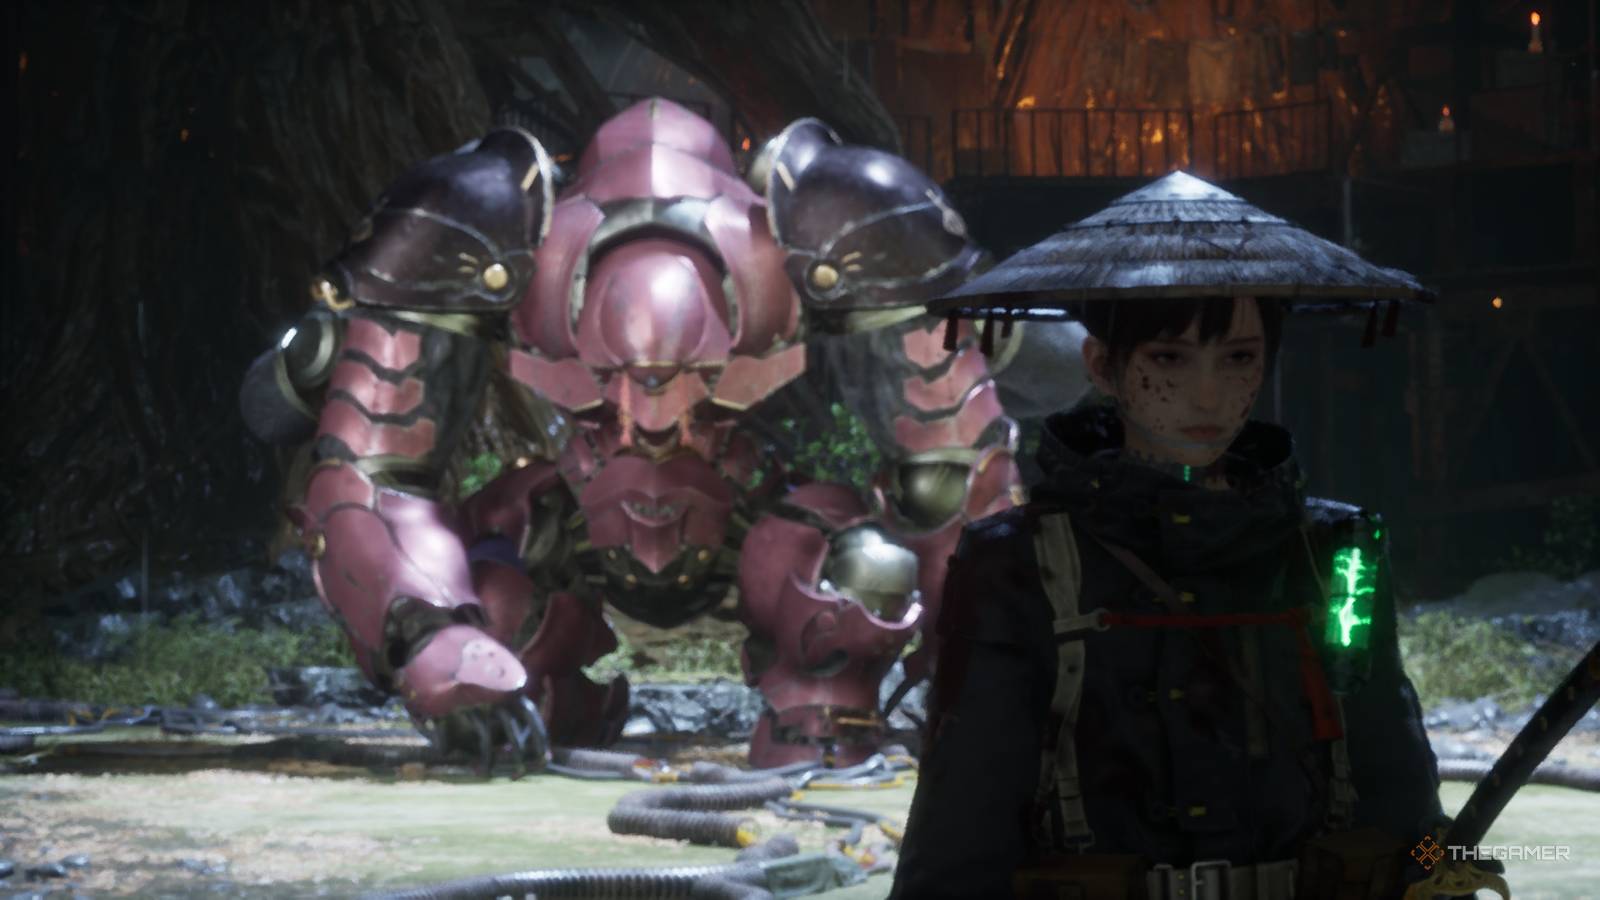
Published Aug 11, 2026, 2:15 PM EDT Collin is a Guides Staff Writer at TheGamer who has been writing guides for nearly ten years. He is also a professional game/level designer. More importantly, he's still waiting for a new Ape Escape game to release. If you want to survive the dangerous world of Beast of Reincarnation, you'll want to ensure you have the right tools for the job. There are a lot of enemies who want to make Emma past tense, which can make the opening chapters of the game fairly difficult for those not as experienced with a more parry-focused combat system. Thankfully, there's a variety of gear you can find in the first zone to both help you fight the normal enemies, set you up for success in future locations, and assist in defeating this region's main boss. Here are some of the best early game weapons you should grab right away before fighting the first Nushi. Mechblade (Light) Location One weapon you'll want to snag early on is the Mechblade (Light), which can be found at the Riverside Tower on the east side of the map. Just north of the river that splits the Ogouchi Buffer Zone (shown above), this massive tower is filled with golem enemies that you'll need to fight as you ascend. Thankfully, many of these can be easily dispatched by assassination, since they often roam alone or break line of sight to their allies. As you climb up, make sure to grab the campsite just before the roof since there's an elite-tier golem at the top. This foe can be pretty tricky if you're brand new to the game, as its large katana can cleave through your health if unparried. Because of this, try to sneak behind it via the shipping containers so you can land an assassination and cut its health in half. After that, focus on playing defensive and using Koo to bind the golem in place so you can easily hit it a few times. Once the robot is dead, make your way inside the tent, and you'll find the Mechblade (Light) on a stand to collect. This weapon is superb, since it will increase the damage to the second strike in your light attack chain, along with dealing Rupture damage to enemies that are weak against it. A great blade, this one is absolutely better than your defeat weapon, so make sure to stop at the Riverside Tower before leaving. Acid Bolts Manual Location Our next weapon is actually an ammo type for your crossbrow that's fantastic for stripping armor off golems. While this won't be as useful right away, the subsequent regions will have a ton of armored enemies, making this manual a must-have for anyone trying to use a ranged weapon against enemies. Located on the west side of the map, you will be heading to a large mine that is going up the side of a mountain. Across from the main river, when you arrive, take the elevator up to the second floor and kill the two golems guarding the next entrance. One they're dead, ignite the campfire and ride the second elevator to the top. Just like the Mechblade, you'll encounter another elite-tier golem who has a sword infused with acid. This allows it to do additional damage to you, making it even more important that you consistently parry its attacks. Focus on filling up the yellow stagger gauge under its health bar to ensure you can land a critical, killing blow on this foe. After it's been defeated, you can find some Acid Bolts along with the Acid Bolt Manual inside the small building the golem was guarding. As mentioned previously, these are superb for golem enemies since they will melt their armor and make them much easier to deal with. Flame Arrow Manual Location Another ammo type, the Flame Arrow Manual is terrific for dealing with a lot of the corrupted animals you'll come across and the first main Nushi boss. To find this manual, go to the southwest corner of the map in the Ogouchi Buffer Zone and look for large pipe that has a bunch of breakable boxes covering the main entrance. Kill the golems out front and use the pipe that connects to a tunnel leading into the Cliffside Village location (tunnel entrance marked with an X on the map above). While you can cut through all the golems guarding the exterior, using this tunnel allows you to sneak past a large amount of enemies. Once inside, slay all the enemies and make your way onto the metal platform with the small building sitting on it. Inside the structure, you'll find a table that has both a document for you to read and the Flame Arrow Manual. Just like the Acid Bolts, this will be activated once you visit any campfire and will give you access to Flame Arrows for the rest of the game. Remember, you have a finite supply of them while exploring; however, they will become restocked whenever you visit any campfire. Given how good the burn status effect is on the various corrupted enemies, this makes the Fire Arrows quite strong. I really recommend grabbing these before fighting the first boss, since Ragifer is weak to fire. Cirrus Sword Location Our final weapon is one you cannot really miss if you're paying attention to the story. As you progress through the main story, you'll eventually make your way down to Sub-Level 03 where you'll find a locked door that requires three keys. Next to the door is a broken-down golem who will speak to you. After his conversation, he will note there is a strong weapon stabbed into the ground behind you. This sword is the Cirrus, which gives you and Koo a damage boost after a successful parry. Given how critical parrying is, this makes the Cirrus a superb weapon for those who can consistently perform this defensive mechanic. Just remember, you can only acquire this weapon after you've chased the Nushi down to its lair. This means you'll need to beat it in a boss battle first before gaining access to Sub-Level 03!
Where To Find The Best Early Weapons In Beast Of Reincarnation
Full Article
Original Source
Read the full article at Thegamer →KhanList aggregates and links to publicly available news content. We do not host full articles from third-party sources. Always verify important information with original sources.