
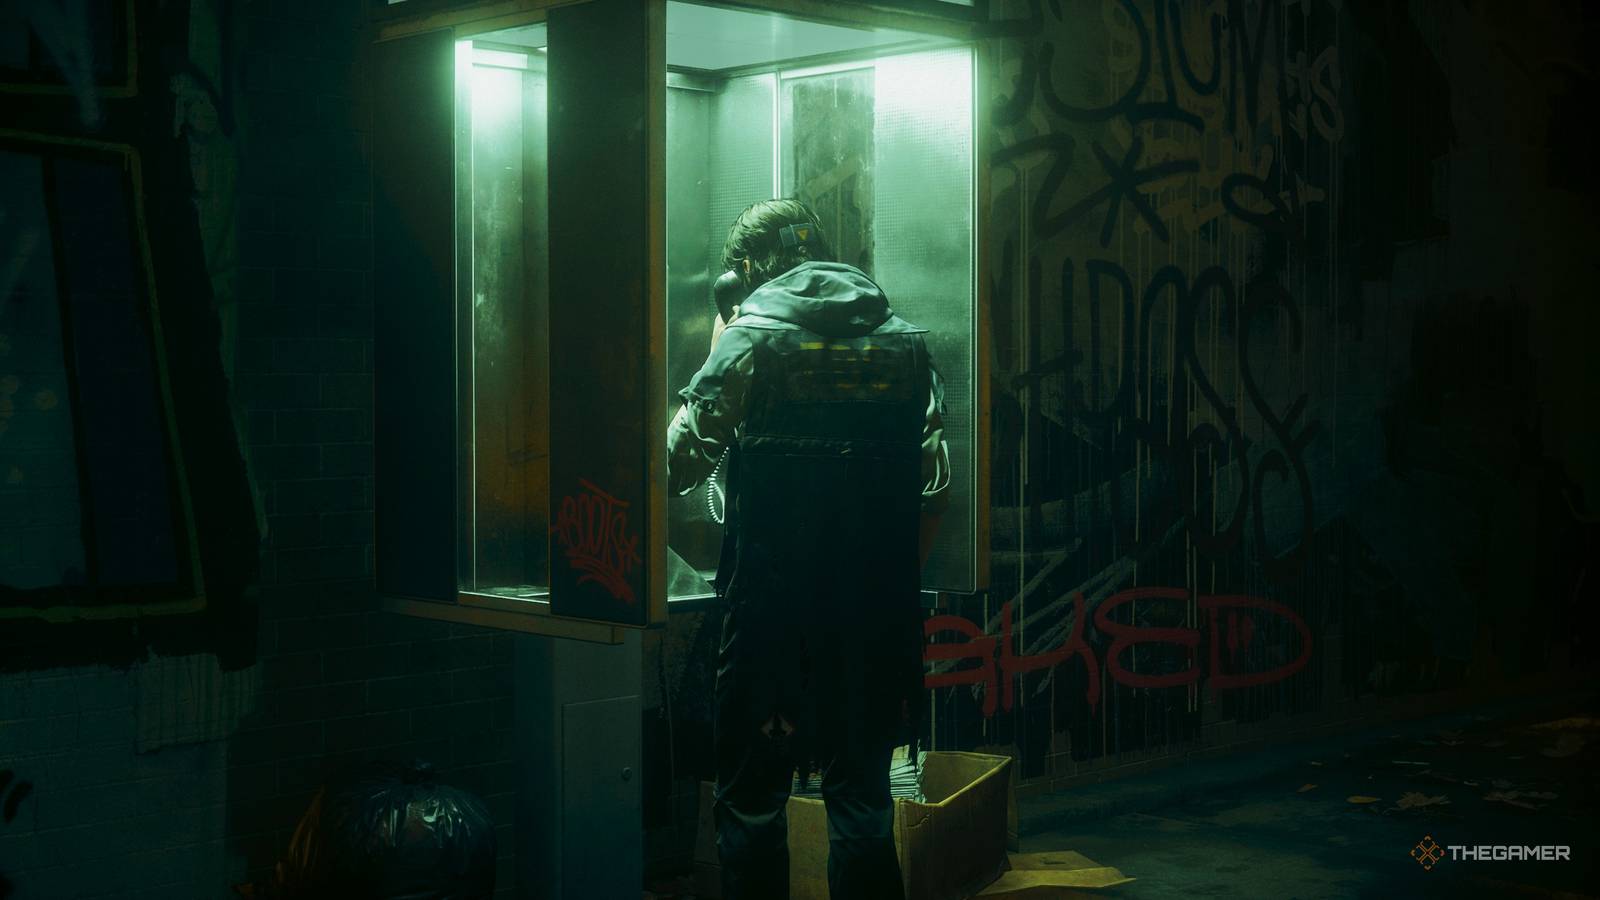
Published Sep 22, 2026, 11:06 AM EDT Collin is a Guides Staff Writer at TheGamer who has been writing guides for nearly ten years. He is also a professional game/level designer. More importantly, he's still waiting for a new Ape Escape game to release. There are a lot of weird things you can come across when exploring this twisted version of New York City in Control Resonant. Some of the oddest encounters in the game are tied to its various side quests. One of these is The Last Taxi, which can be found in the Evacuation Zone region. If you're looking to complete this quest or just want to go to where it begins, here's everything you need to know about this mission and what you get for your trouble. Where To Start The Last Taxi To find The Last Taxi quest, make your way to the Evacuation Zone region and head towards the southeast side. Specifically, look for a long alleyway that is filled with Hiss Spikes on the ground and laser beams firing above them. Use your hover and dash to navigate through the lasers so you can avoid taking damage from the spikes. At the end of the alley will be a long taxi with its lights on. Interact with the taxi to have the passenger door open. Then select the dialogue option "I guess I can do that," to have Dylan climb into the car. You will be instantly transported to a unique location that isn't on your map. This is known as a Threshold, and the only way to leave it is either through the main menu or by choosing to abandon the quest if you die. Keep in mind, if you do leave, all progress for The Last Taxi will be reset. The Last Taxi Walkthrough First Taxi Encounter Once you are dropped off on the road, make your way down the street. Take the first left at the newsstand and continue down the road until you reach an alleyway with a neon hotel sign above it. Make sure to listen for the ringing phone, as you will need to interact with a payphone in the alley. A brief cutscene will trigger where you'll learn that someone named Mila is also trapped in this strange dimension. Once you hang up the phone, make your way out onto the road and keep running until you are looped back to where the taxi dropped you off. What's changed is that there will be six taxis, three on either side of the road, that you can interact with. Getting into the wrong cab will cause the stoplight to flash red when it drives by, and you'll be back at the start of the street again. To avoid this, get into the only cab whose blinking lights won't be in sync with the rest of the taxis. Upon entering the taxi, a very brief cutscene will play where the stoplight flashes green as it drives by. You'll be back on the road again, but the taxis will be parked further down the street this time. Approach them and watch as each one briefly blinks its lights once in sequence. The correct taxi will be the only one of the group that blinks multiple times in a row before the next cab flashes its lights. Finally, once you're presented with another group of taxis, get into the one that never flashes its lights. Interacting with it will send you back to the actual New York City. You'll learn that the civilian is still trapped and that you'll need to keep your eye out for the cab again to return to this pocket dimension. Second Taxi Encounter You can find the next Taxi in the West Incursion Zone while you're hunting down the Resonant there. You will need the Gravity Anomaly movement ability, which allows you to change your orientation on specific walls or ceilings. This ability can also be acquired in the West Incursion Zone during the Search for Jesse quest line. Once you have the Gravity Anomaly, make your way towards the theater where the Resonant is. When you get to the street where all the frozen, dancing Hiss are, head left and then shift orientation so you're next to the taxi. Interact with it to be transported to the pocket dimension from before. Now go to the ringing phone and answer it to speak to Mila once again. After your conversation, return to the street to find another collection of taxis. This time, you will want to get into the taxi that is under the only streetlight that is blinking. Get into the car to drive off and spawn another collection of vehicles. For cab number two, you will need to get in the one that has no streetlight blinking over it. For the final set of taxis, look for the cab that is under a spotlight that is blinking out of sync with the rest. From where you spawn, this will be the front left cab. Your taxi will drive off, and you'll be teleported back to the West Incursion Zone. Third Taxi Encounter Your third taxi encounter can be found in the Central region. From the Field Office, head north until you reach the alley shown above. There you will find the taxi parked next to a chest you can open, so approach and interact with it again to teleport yourself to the Threshold. Make your way to the payphone again and answer it to talk to Mila. When you're done speaking with her, head back to where you started to find another group of taxis. Get into the only taxi with the top sign lit up. Repeat this process for the next set of taxis once you regain control of Dylan, as there will only be one with its sign illuminated. For the last group of taxis, approach the further group of four and get into the car with its headlights, taillights, and the top sign all lit up at the same time. Get inside the taxi to complete this section of the quest and return to the real world. Fourth Taxi Encounter The fourth taxi encounter is located in The Park region, which is accessible after completing the Evacuation Zone's Jesse Sighting. When you arrive, go to the northeast portion of the region and look for a large parking garage with a big neon sign along the wall. On the roof, you will find a vendor you can buy materials from, along with a path on the roof leading down to the cab, which is on the floor below the roof. When you enter the Threshold, once more go to the payphone and answer it to speak to Mila again. Make your way out to the road you arrived on to find several mounds of mold. Use your weapon and break all of them to reveal missing parts of a nearby cab. Interact with each part and bring it to the car to repair it. After it's fixed, climb into the cab to move to the next section. Once again, the taxi is broken and missing parts, so you'll need to find pieces for it. You can find both of the wheels on the ground to the left of the taxi, and the hood will be a bit farther down the road. Don't pick up the blue one; it needs to be the same yellow as the cab. Also, be wary of the mold pustules, as they will pulse and explode if you get near them. When the car is fixed, get it in to drive to the final section. The final section will require you to destroy more mounds of mold. Start with the outer ones first, as fully breaking these will weaken the central core and keep it from regenerating. After the outer three mounds have been shattered, destroy the core at the center to free the cab and scatter a bunch of taxi parts around the area. Repair the taxi a final time to complete this part of the quest. Fifth Taxi Encounter Your next taxi won't be available until you progress much later in the campaign and unlock The Underpass region. Once you are here, progress through the main story and restore power to the cable car. Ride this down to the lower levels and enter the first arena filled with Mold enemies. Kill all of them and go to the back left corner of the room to find the taxi. Look for the blaring headlights if you're struggling to find it. When you arrive at the Threshold, go to the payphone again and speak to Mila. Once your conversation is over, return to the street and approach the group of taxis. Wait until the streetlights turn off and get into the only taxi that still has its lights on. This will bring you to the next part, where you now need to get into the taxi whose sign on the roof doesn't turn on when the streetlights go out. Finally, for the last set of taxis, you want to get into the one that has all its lights off when the streetlights are on. The lights of this cab will only turn on when the streetlights go out, so look for the one that has no power when everything is lit up. Get into the cab and make your way back to The Underpass. Sixth Taxi Encounter Your sixth taxi encounter won't happen until you've progressed far enough into the story to unlock the Unknown region. This is the endgame location and will be the most difficult area in the game. When you arrive, make your way to Factory Island in the bottom left corner and set up the beacons for Pope. This will create a platform you can use to line yourself up with the southeast island. Just like before, activate both beacons to create a path to the southernmost island. From there, head to the west side, and along the edge you will find the taxi. There will be a lot of enemies around this area, so consider clearing them out first! When you arrive, go speak to Mila on the payphone again and head back to the road where the taxis are. Pick up the light on the ground and shine it on the taxis in front of you. Your goal is to find the one taxi with a shadow that matches the actual car, while the others will be trucks, construction vehicles, or vans. Repeat this process for the next two groups of taxis until you are back in the real world. Seventh Taxi Encounter Your seventh and final taxi can be found in Downtown. You'll need the Reach ability to get here, as Dylan will need to grapple to one of the elevated FBC platforms to get over the wall to reach this section of town. Once over the wall, head north up the main road until you find a row of cars all parked neatly next to one another. Look for the blinking cab among them and get inside. Once you're in the Threshold, go answer the payphone, and then return to the cabs. Your first taxi will be the only one whose sign is lit up, so get inside that car to progress to the next section. For cab number two, you will want to approach each cab and see if the sign on the roof turns off when you're near it. If the light turns on, get into that cab. Last but not least, approach any cab and look at the other taxis. Whichever taxi's sign lights up when you're next to any cab is the correct one. Here's where things get interesting, as you won't be teleported to the real world. Instead, you'll still be in the Threshold despite picking all the right cabs. Go and answer the payphone a final time to learn that Mila is done waiting and is going to try to escape on her own. After the call, you will be teleported back to the real world. Speak with Zoe to learn that Mila could still be alive if she managed to escape. Completing all the taxis will unlock the Coffee Cup artifact you can craft back at the Board's hub area. This artifact provides health regeneration outside of combat, which can be pretty helpful when you're out exploring and completing side objectives!
Where To Find Every Taxi In Control Resonant
Full Article
Original Source
Read the full article at Thegamer →KhanList aggregates and links to publicly available news content. We do not host full articles from third-party sources. Always verify important information with original sources.