
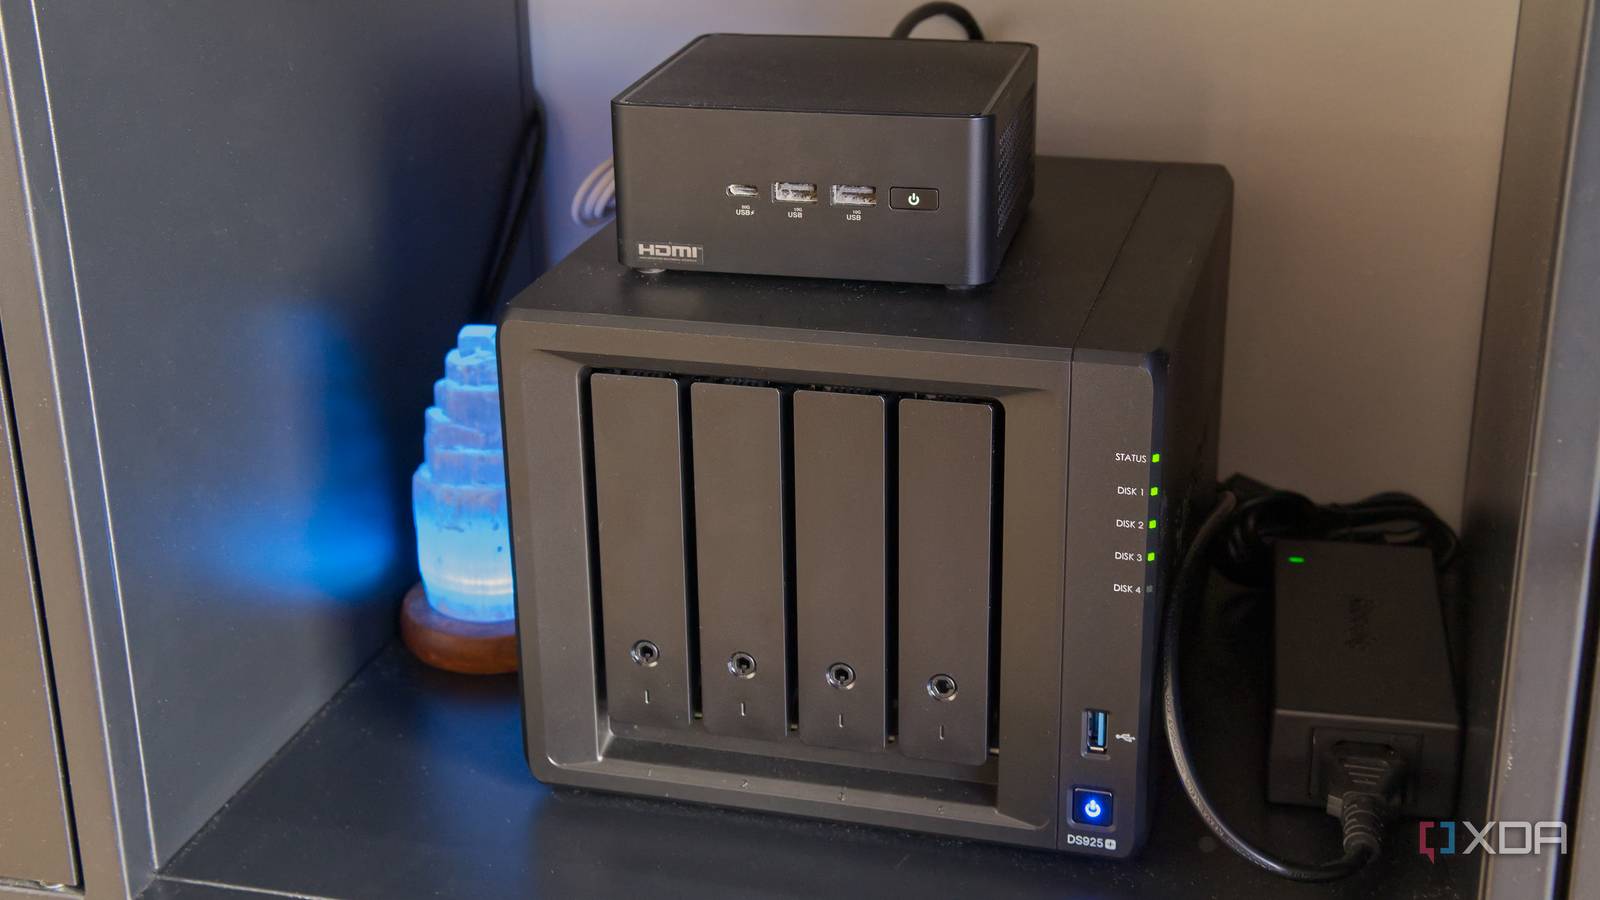
Published Nov 20, 2026, 8:00 AM EST Anmol has been interested in tech for close to two decades now and has been covering all things tech for more than a decade. He started his journey with a blog post, when Google Blogger used to be cool and has covered everything from Windows Phone to Windows 11. Anmol has written for MSPoweruser and Neowin in the past, and is always keen to get his hands on the latest gadgets. When not doomscrolling, you would find him playing video games, reading or catching up on football. NAS, or Network Attached Storage, is a great way to build your own media storage, back up your precious memories or serve as a hub for your smart home automations. Whatever your use case, it is always a great idea to give it a break, especially if you are not doing something that requires the disks to keep spinning 24/7. The good news is that there is an easy way to set up your NAS to wake up when required and go to sleep when not in use. My NAS doesn’t need to be on all day Most of the time, it’s waiting for me My DS923+ does two jobs. It serves my media library through Plex, and it syncs media from my phone, serving as a backup. I use Plex in the evenings, and backups run when I need them. The rest of the day, nobody touches it. An always-on NAS makes sense for a business or a household that streams around the clock, but keeping mine running all day just for a few hours of real use felt wasteful. The most obvious solution could be setting up drive hibernation. However, the issue is that drives rarely idle in a NAS. Synology has its own list of services that can stop drive hibernation, including DDNS, Plex, QuickConnect, and a host of other services. So, this wasn't a viable option for me, considering I have Plex running, not to mention my NAS connects to my desktop via SMB, which can also prevent drives from hibernating. Wake-on-LAN (WOL) fills the gap It is helpful if you can't use hibernation and need additional control Wake-on-LAN is an industry standard for network devices that lets you turn on or "wake up" a computer remotely as long as it is on the same network. It works by sending a special packet called a "magic packet" containing the target computer's MAC address over a UDP port. The target system, on the other hand, is usually in sleep mode with its NIC (Network Interface Card) active, so it can receive the packet over LAN and wake up the device. Wake-on-LAN is a feature built into the NAS that can be used to power the device when needed. It has a few caveats, though. It only works after a proper shutdown (via the power button or the Shutdown option in DSM), and the power cord has to stay plugged in. It’s also only available on some models, and not on 10GbE ports. You can fix the first issue using Synology's auto-power-off feature or, in my case, creating an auto-shutdown task. This is because auto power-off also relies on hibernation, which will not work if you have services like Plex running on the NAS. However, you can create a shutdown task to turn off the NAS every night when you go to bed, and wake it up in the morning using WOL when you need it. To do this, you need to turn on WOL on your NAS, which you can do by following the steps below: On Synology DSM, open Control Panel -> Hardware & Power -> General. Under Power Recovery, tick Enable WOL on LAN 1 (and LAN 2 if you use a second port), then click Apply. DSM will also turn on Restart automatically when the power supply issue is fixed, which it requires for WOL. Once done, you can move on to setting up a shutdown task on the NAS. Follow the steps below to set up the schedule: On your DSM, go to Control Panel -> Hardware & Power -> Power Schedule and click Create. Select Shutdown, choose the days and a time after you usually stop using the NAS, and click OK. Don’t create a startup task if you want the NAS to come back on only when you wake it. The aforementioned steps will enable WOL and set up a nightly schedule. Next, you need to set up a way to send the magic packet to wake up the NAS. You can do so by installing Synology Assistant on your PC. When you launch the app, it searches and lists all the NAS devices that are connected to the network. You can then right-click on the NAS and choose WOL -> Wake Up. Similarly, you can download DS finder from the app store on your phone and set up WOL so that you can power your NAS using your phone as well. In both cases, your NAS should be powered on and connected to the same network in order to set up WOL. The wait is the only trade-off I'd rather wait for a few minutes if it means letting the NAS rest when not in use The biggest drawback of WOL is that your NAS will take some time to wake up and be ready for use when you need it. However, for me, it is not a deal-breaker as the benefit of having it turned off when not in use outweighs the couple of minutes that I need to wait for it to power on. Also, over time, I have gotten used to it and usually use the DS finder app to turn on the NAS when I need to stream something or back up my media files. So the NAS doesn't run around the clock, but it's ready for me when I needit. My NAS runs on my schedule now Let it rest until you need it Credit: My DS923+ rests when not in use and wakes up when I need to access its data. This keeps the drives from working and running around the clock. And of course, not having the drives spin all the time helps extend the lifespan of my hard drives as well. WOL is a great tool that ensures the device is not idling all day just for me to watch a movie or TV show late at night after work. This may not work for some, especially those who run automation or other services that require the device to be active 24/7. However, if you are one of those who don't need NAS all the time, then WOL might just be the best option for you.
Wake-on-LAN solved my NAS power problem, and it sleeps until I call it
Full Article
Original Source
Read the full article at Xda-developers →KhanList aggregates and links to publicly available news content. We do not host full articles from third-party sources. Always verify important information with original sources.