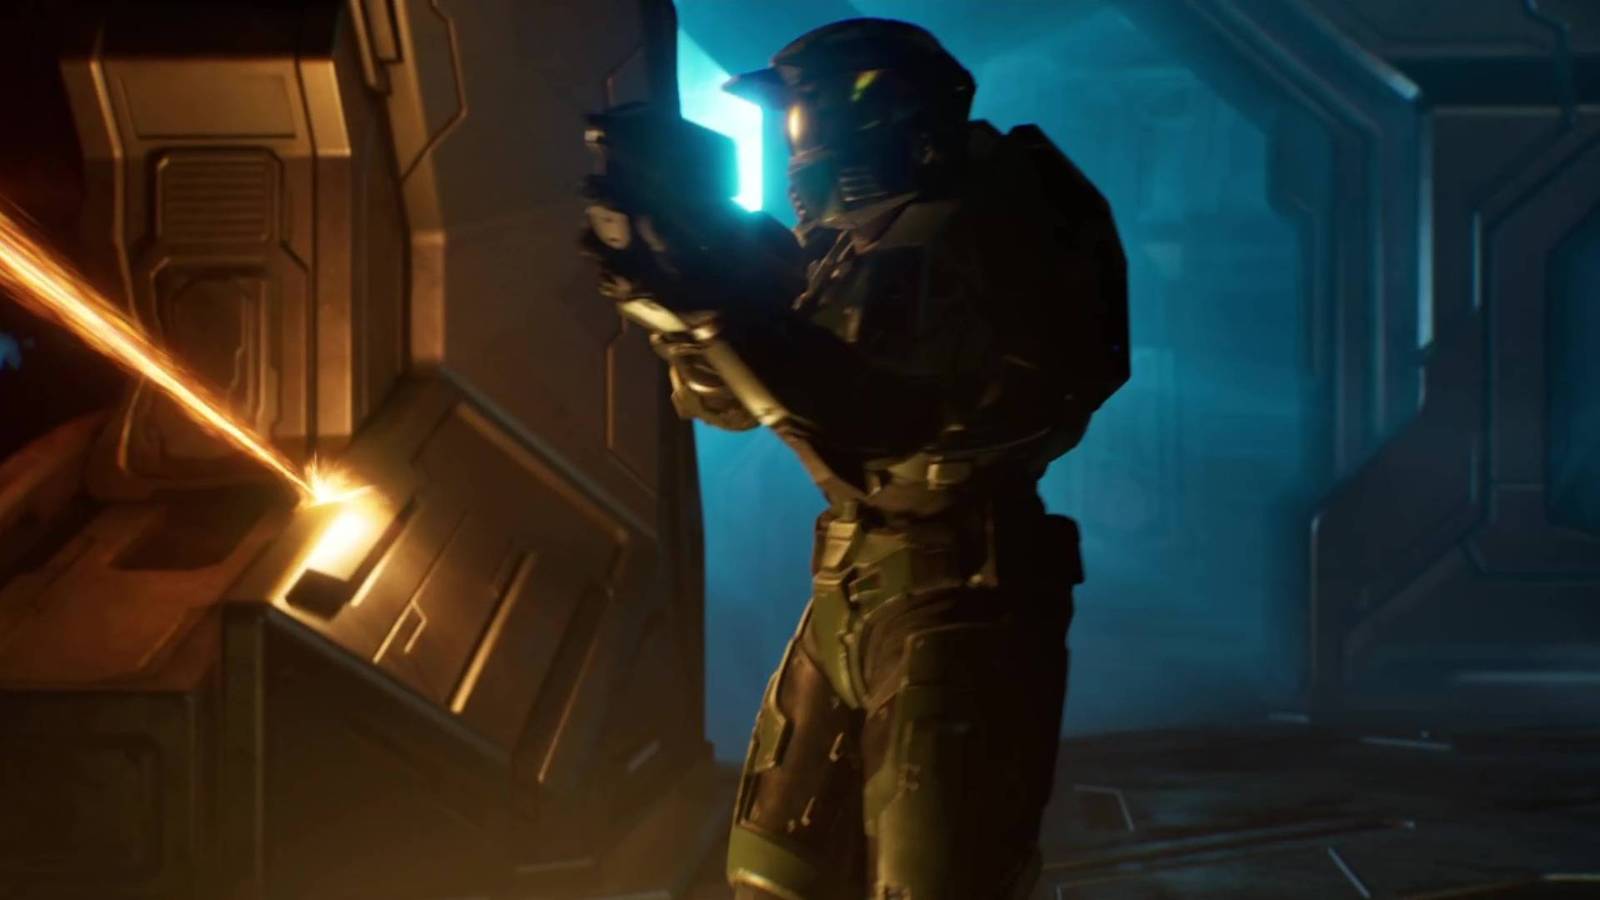
Published Jul 29, 2026, 11:34 AM EDT You're joking, not another one?! Image: Halo Studios/Xbox Game Studios via Polygon Jump Links The "Two Betrayals" mission in Halo: Campaign Evolved has three skulls and one terminal to find (like every other level in the game), and it comes immediately after "The Library." Guilty Spark is no longer your friend, so it's time to leave the control center and destroy some pulse generators… but only once you've nabbed the collectibles along the way, of course. Here are the skull and terminal locations during "Two Betrayals" in Halo: Campaign Evolved. Terminal: Alone Objective: Exit Halo's control center. As soon as the mission starts, you'll have four sentinels to take down. Defeat them, then turn around and follow the walkway to the other side of the holographic planet to find the Alone terminal. Skull 1: Tough Luck Description: Enemies always go berserk, constantly dive out of the way, and never run away from a fight. Objective: Commandeer a banshee to reach the upper landing. As soon as you exit the control center, you'll be outside, and in the distance will be a parked banshee next to a wraith. Take the banshee and fly it past the upper landing the objective marker is pointing you to. Instead, look at the huge Forerunner structure, and you'll see a blue beam of light emitting vertically. Land on the part of the structure the light is coming from to find the skull; if you're being warned about going out of bounds, you've flown too far. Skull 2: Black Eye Description: Your shields will only recharge when you melee enemies. Objective: Destroy the conduits at each pulse generator (1/3). After destroying the first pulse generator, you'll head outside with three ramp-like structures in front of you, not to mention an all-out Covenant and Flood war happening. When the coast is clear, head to the opposite side of the ramps, where you'll find a lot of Flood growths. Hidden among them is the Black Eye skull. Skull 3: Mythic Description: Enemies have increased health. Objective: Destroy the conduits at each pulse generator (1/3). Continue following the objective marker until you come to another huge open space, with a path either left or right. You'll know you're in the right place if there's a fierce battle taking place between the strongest Covenant and Flood enemy variants. Go left and take the banshee parked on the ground. Fly it directly up and land it on the platform above the rock in the middle. Take down the enemies here, then interact with the console to open the door on the platform opposite the one your quest marker is pointing you to. Grab another banshee and fly over there, then head inside. Kill all the enemies in the first room, then use the console to head through the door to a tunnel. Kill all the enemies here, followed by all the foes in the second room. Watch out, because there are stealth elites with energy swords throughout this section, not to mention three hulking Flood enemies. When all the enemies are dead, the Mythic skull will spawn on a pedestal in the middle of the second room.
'Two Betrayals' skulls and terminal locations in Halo Campaign Evolved
Full Article
Original Source
Read the full article at Polygon →KhanList aggregates and links to publicly available news content. We do not host full articles from third-party sources. Always verify important information with original sources.