
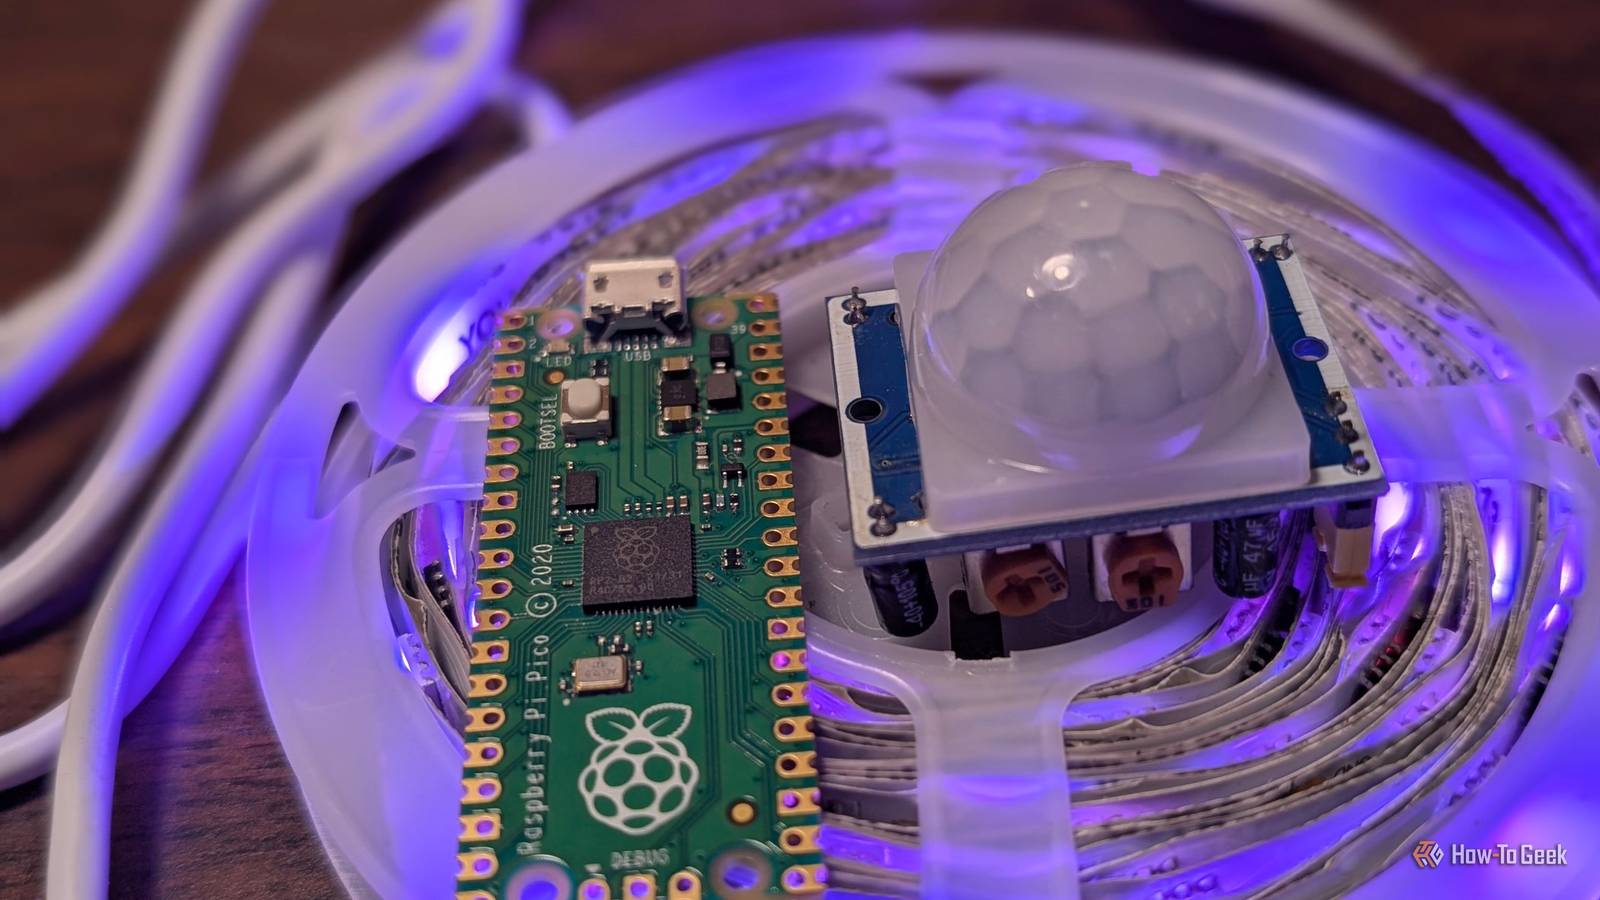
Published Nov 5, 2026, 6:30 PM EST Nick Lewis is an editor at How-To Geek. He has been using computers for 20 years --- tinkering with everything from the UI to the Windows registry to device firmware. Before How-To Geek, he used Python and C++ as a freelance programmer. In college, Nick made extensive use of Fortran while pursuing a physics degree. Nick's love of tinkering with computers extends beyond work. He has been running video game servers from home for more than 10 years using Windows, Ubuntu, or Raspberry Pi OS. He also uses Proxmox to self-host a variety of services, including a Jellyfin Media Server, an Airsonic music server, a handful of game servers, NextCloud, and two Windows virtual machines. He enjoys DIY projects, especially if they involve technology. He regularly repairs and repurposes old computers and hardware for whatever new project is at hand. He has designed crossovers for homemade speakers all the way from the basic design to the PCB. Nick enjoys the outdoors. When he isn't working on a computer or DIY project, he is most likely to be found camping, backpacking, or canoeing. My first Pi Pico purchase was on a whim. I didn't have any particular project in mind at the time, but after a bit of experimenting, I decided to try and build a motion-activated light that was situated under my bed so I could see at night without lighting up the entire room. It didn't work out exactly as I'd planned, but it demonstrated three important things: how easy the Pi Pico lineup is to work with, the incredible diversity of hardware, and how practical Home Assistant could actually be. Today, Home Assistant is at the heart of my What is a Pi Pico, and how is it different from a regular Pi? A $6 Wi-Fi microcontroller connects to Home Assistant The Pi Pico W and the Pi Pico 2 W are microcontrollers that come out of the box with Wi-Fi and Bluetooth. The Pico uses the RP2040, while the Pico 2 uses the RP2350. They're distinct from the "regular" Raspberry Pi lineup in that they're not really miniature computers. The Pico 2 only has about 500 KB of memory and four very low power cores—the original Pico has even more paltry specs. They don't have a memory management unit (MMU), which makes it impossible to run conventional desktop or mobile operating systems. Far from making them useless, those limitations actually carve out a great niche. They're designed to act as the "brain" of simple electronic devices, sensors, robots, and other gadgets. If you need a small, low-power device to take input from a sensor or control a simple motor, a Pico board is a reasonable candidate. That makes them great for electronics hobbyists or, in the case of the RP2350 (the Pico 2), some industrial applications. The Wi-Fi and Bluetooth connectivity found on the Pico W and Pico 2 W also allow you to take input information from a sensor, analyze it using a more powerful PC, and then send a response back to the Pico W directly. That makes them a valuable part of any DIY homelab setup. ESPHome makes getting started easy Microcontrollers are famously less friendly to work with because you had to write small, efficient code using a handful of fairly difficult languages llike Assembly, C, or C++. Even the friendlier languages, like microPython, were significantly more constrained than the regular desktop version. Today, most of that difficulty is gone. ESPHome—a tool designed originally for ESP32 boards—makes programming a Pico significantly easier. ESPHome uses YAML files, which are human-readable, to generate firmware instead of coding it manually. They can then connect to Home Assistant automatically. For example, if you wanted to get sensor information from a temperature sensor attached to pin 32, you could just include the following in a YAML file: sensor: platform: gpio pin: GPIO32 name: "Temperature 1" device_class: temperature unit_of_measurement: "°C" accuracy_decimals: 1 state_class: measurement Even if you've never programmed in C, C++, or Python, you'll be able to look at a YAML file and figure out what it does. I wanted a motion-activated under-bed light I was tired of tripping over a blanket I threw off the bed My first "real" Pico project was a motion-activated LED strip around the perimeter of my bed that would trigger when I put my feet on the floor. The idea was to illuminate the floor, so I wouldn't trip over a blanket or pillow I'd throw off the bed without turning on lights bright enough to wake me up. I used a Pi Pico W (which is currently attached to my washer), one sensor, one Wi-Fi enabled LED strip, and Home Assistant (HA). The Pico and the sensor handled detecting my feet and relaying that information to HA. Home Assistant handles processing the information and then sending the appropriate signal to my Wi-Fi LED strip. I could have also opted to connect a compatible LED strip directly to the Pico and bypassed Home Assistant entirely. I chose to use Home Assistant because it makes creating more advanced behavior significantly easier. Motion sensors are a problem In theory, a motion sensor (commonly a PIR sensor) seems like a great idea. In practice, my setup was way too prone to false positives. PIR sensors, like my HC-SR501, work by detecting changing IR heat. In my case, that meant that throwing off a too-warm blanket triggered the sensor when I didn't want it to. If you have a pet, they'll also trigger it. As a result, my lights often came on erroneously throughout the night, which wound up disturbing my sleep nearly as much as turning on my phone light on low. My motion-activated lights were a failure, but now I see projects everywhere My first real project was a practical failure, but it kickstarted the hobby. Now, every time I find myself wishing something happened automatically, I wonder, "Can I do that with Home Assistant and a microcontroller?" More often than not, the answer is yes—it can be done. That is especially true now, since vibe-coding firmware for ESP32 or Pico boards makes almost any project way easier than it would have been even 18 months ago. I've experimented with door sensors, sensors to monitor my washer and dryer, plant moisture probes, and dozens of other things, and I can't seem to stop—I have a growing list of experiments and not nearly enough time to implement them all. I'd recommend anyone with a passing interesting in DIY electronics pick up a Pico W or Pico 2 W and give it a spin.
This Pi Pico project kicked off my Home Assistant obsession for just $6
Full Article
Original Source
Read the full article at Howtogeek →KhanList aggregates and links to publicly available news content. We do not host full articles from third-party sources. Always verify important information with original sources.