
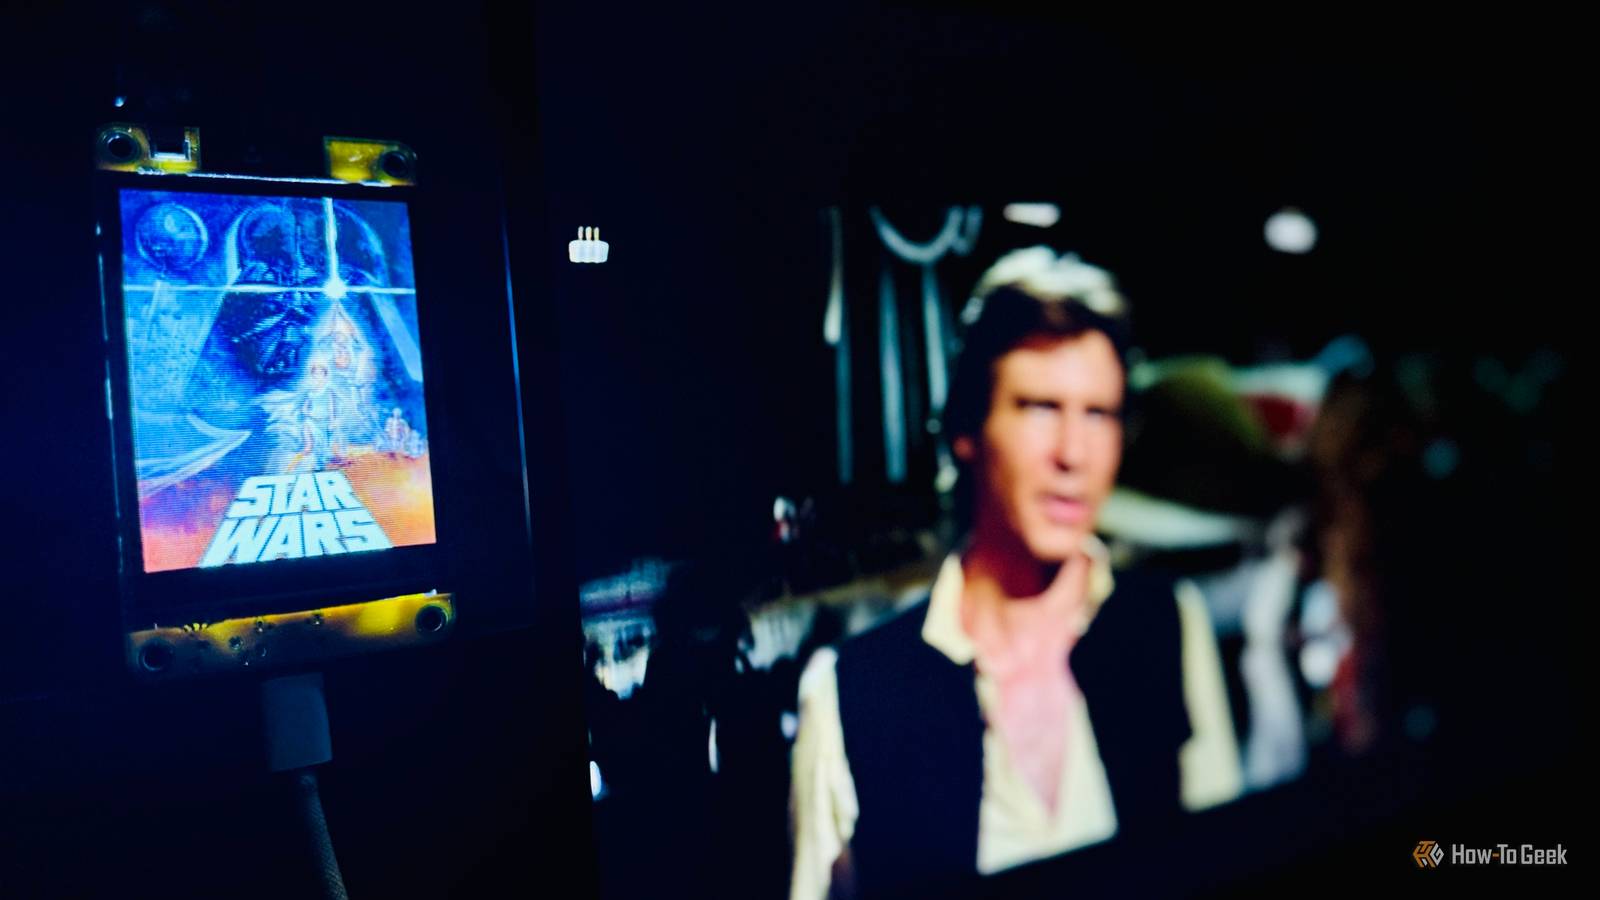
Credit: Adam Davidson / How-To Geek Published Sep 4, 2026, 7:00 PM EDT Adam has a degree in Engineering and has a life-long interest in technology. He has been writing for over a decade for various print and online publications, with a focus on consumer tech. He joined How-To Geek in 2024 while working at Pocket-lint. As well as being a long-term fan of Apple products, he also has a strong interest in smart home tech, running a Home Assistant server at home to automate all his smart home devices. He believes that the ideal smart home should work with minimal interaction from the user, with automations running as if by magic rather than requiring you to push buttons on a control panel. You can find more of his work on Muck Rack. Sign in to your How-To Geek account I miss the good old days when you had to queue for a movie, lining up outside the theater and passing the Now Showing posters which would get you excited about what you were about to see. I wanted to build something similar for Jellyfin using a cheap ESP32 display. I built a Now Showing display for my TV A Raspberry Pi and the screen of an old iPad Credit: Adam Davidson / How-To Geek I've already built a Now Showing screen for my TV. It uses a Raspberry Pi as the brains, and the display ripped from an old iPad 2 to show the movie posters. The display is fixed inside a photo frame, which looks smarter than I expected. An automation in Home Assistant pulls the poster image from whatever is currently playing in Jellyfin on my TV and displays it in the frame. It means when I'm watching a show or movie, I have the artwork displayed next to the TV. I've added some additional features so that the display will show an image for whatever channel I'm watching on my set-top box. It even displays photos from a shared album when the TV isn't in use. It's become one of my favorite things in my home. I wanted to build something similar for my computer Watching movies on my laptop deserves the same marquee Credit: Adam Davidson / How-To Geek We watch movies from my Jellyfin library on the main TV when we're watching as a family or as a couple. I'll also watch on the TV on the rare occasions when I'm home alone, as watching with surround sound makes the experience more immersive. Sometimes, however, I'm forced to watch movies on my laptop while the kids selfishly hog the TV just because their program is live and isn't available to stream on demand at any time, like that's a valid excuse or something. When I'm watching on my laptop, I miss having the Now Showing poster that's by the TV. I decided to see if I could build something similar for my home office so that I could display movie posters when I watched movies alone in the dark like a sad old man. I didn't have a spare Raspberry Pi or an old iPad 2 that I could cannibalize, so I needed to think of another option. A Cheap Yellow Display was just enough to do the job The limited memory was a real issue The most obvious option I had to hand was a Cheap Yellow Display. This is a $15 ESP32 development board with a built-in color touchscreen. It has on-board Wi-Fi, so I knew I'd be able to get the current movie image onto the device. The biggest concern was that my Cheap Yellow Display has very little memory. Even with a small JPEG image, the ESP32 needs to decompress it to raw pixel data to display it on the screen. A full-screen RGB565 image needs 153,600 bytes of memory at the CYD's resolution, which is more than the free memory available on the CYD after things such as Wi-Fi and the display driver had taken their share. A smaller image would load, but it only took up a portion of the screen and just looked weird. The solution was to download the image at a smaller size and use custom code to scale it up as it was drawn on the screen. The result is a little blocky, but it's good enough for my purposes, and the images display without running out of memory. The final step was to create an automation in Home Assistant that monitors the Jellyfin player on my laptop and reads the ID of the movie that's playing. It uses the ID to generate a link to a small version of the movie poster on my Jellyfin server and then sends the URL to the ESP32 through ESPHome. When the movie changes, the ID changes, and so does the image on the CYD. When the Jellyfin player is stopped, the URL is cleared, and the CYD displays text reading "COMING SOON." My Now Showing display is good enough for now A larger screen would definitely be an improvement Credit: Adam Davidson / How-To Geek Although the screen of the CYD is tiny, and the image isn't displayed in the highest quality, the Now Showing poster actually looks better than I thought it might. It's a similar experience to the setup in the living room, but on a smaller scale. Ideally, I'd like to upgrade to a larger screen with a higher resolution, which would require more memory than my CYD has. Using the same Raspberry Pi and iPad display setup as the living room is probably overkill for my home office, as the display would sit on my desk and be too large in such close proximity. Something a little larger would be the sweet spot. A CYD can be incredibly useful Despite the limited memory, a Cheap Yellow Display can be put to good use in many ways. The touchscreen display means it can do more than just show images or information; it can be used to control your smart home, too.
This $15 ESP32 board gave my Jellyfin library the marquee it deserves
Full Article
Original Source
Read the full article at Howtogeek →KhanList aggregates and links to publicly available news content. We do not host full articles from third-party sources. Always verify important information with original sources.