
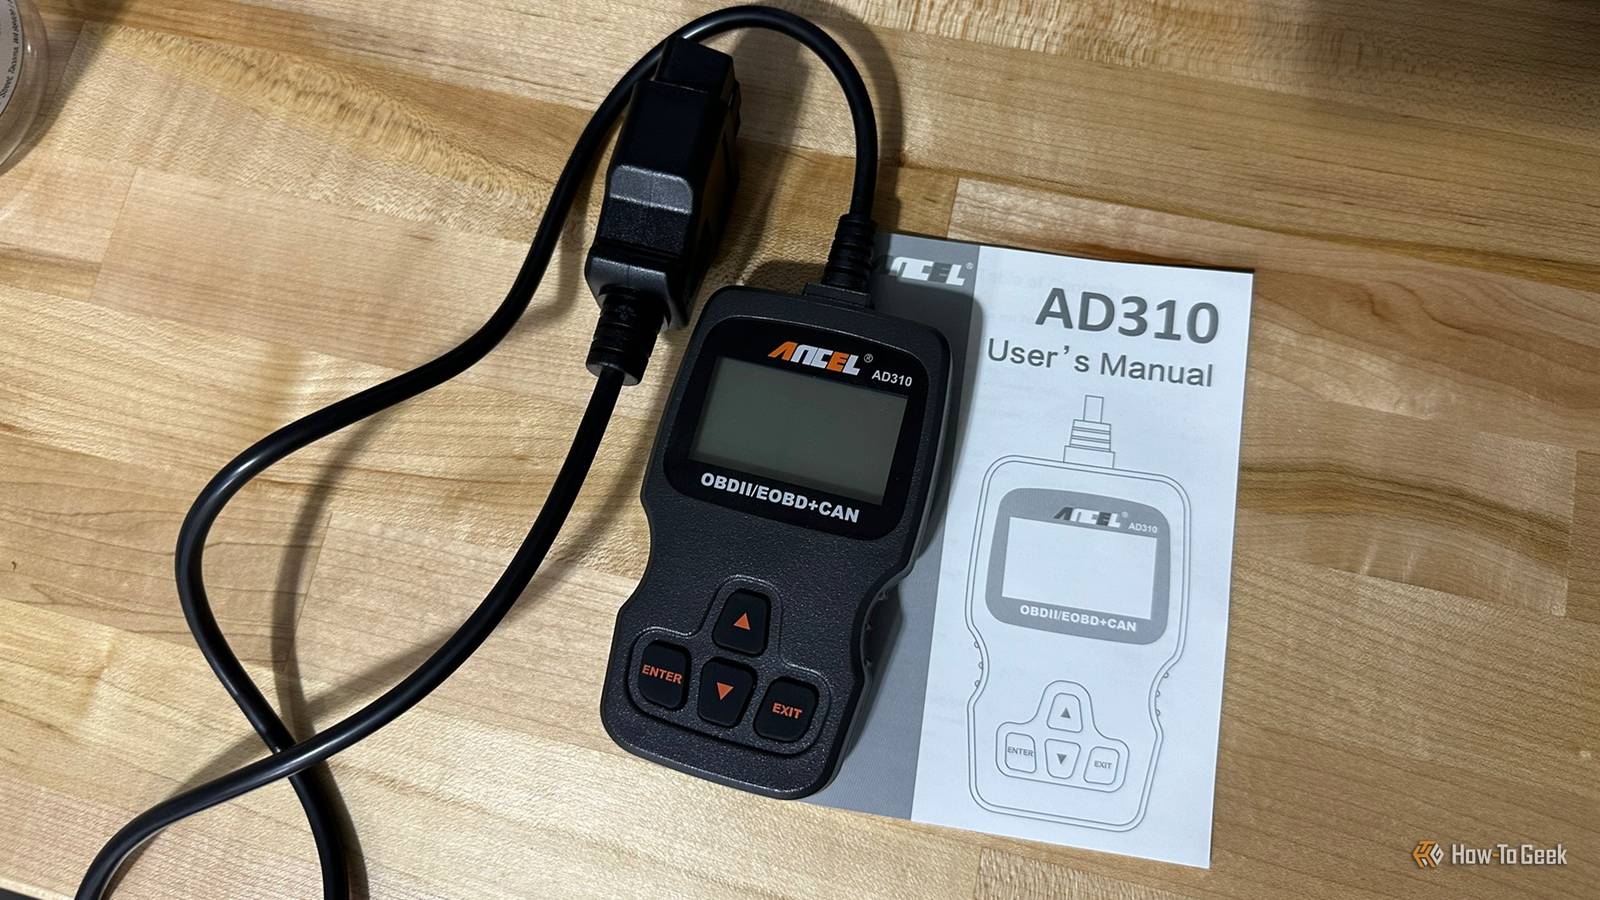
Published Jul 23, 2026, 10:30 AM EDT Joe Kucinski is an author at How-To Geek with a decade of automotive writing experience. As a former SCCA competition license holder, a certified high-performance driving instructor and Porsche Club of America regional officer, Joe brings a unique perspective to his automotive storytelling. Writing and driving are his main passions but he can also quote any movie from the 1980s and holds a black belt in various martial arts disciplines including Taekwondo, Hapkido and Okinawa-Te. Buying a used car can save you thousands of dollars compared to purchasing a new one, but it also comes with risks. A vehicle may look spotless on the outside and drive perfectly during a short test drive while hiding expensive mechanical or electrical problems beneath the surface. Fortunately, one inexpensive tool can help level the playing field. An OBD-II scanner plugs into the vehicle's diagnostic port and communicates directly with its onboard computer. Most basic scanners cost less than 50 bucks. For the price of a tank of gas, you can gain access to information that could save you thousands of dollars in unexpected repairs the next time you are looking at a used car. Keep in mind that an OBD-II scanner isn't a substitute for a professional pre-purchase inspection, a review of service records, or any of the other steps you should take before buying a used car. However, it is one of the smartest and easiest-to-use tools you can bring along. Here's how to use it to spot potential problems before you sign on the dotted line. Find the OBD-II port See what the dashboard isn't telling you Every passenger vehicle sold in the United States since the 1996 model year is equipped with an OBD-II port. In most vehicles, it's located underneath the dashboard on the driver's side, usually near the steering column or above the driver's knee area. With the engine off, plug the scanner into the port and follow any on-screen instructions. Turn the ignition on and within a few moments, you'll be connected to the vehicle's computer. The first order of business is the most obvious: check for trouble codes. Just because the dashboard doesn't display a check engine light doesn’t mean there aren’t any issues. The computer may have stored diagnostic trouble codes indicating current or developing issues. These codes don't always mean the vehicle is about to break down, but they do deserve further investigation. For example, you may find codes related to a weak battery, emissions system issues, engine misfires, alternator issues, and more. If you discover any stored codes, don't immediately walk away from the vehicle. Instead, ask the seller about them. If you don’t get a satisfactory explanation, ask the seller whether you can have the car inspected by a third-party mechanic (or ask if they will lower the asking price given the potential mechanical issues). If they refuse, then it might be time to walk away. ANCEL AD310 OBD II Scanner Power Source Corded Electric Operating System Linux The ANCEL AD310 OBD II scanner can help you understand your vehicle's condition by providing exceptionally fast and accurate results. It reads and clears engine trouble and emission codes in seconds after you fix the problem. Equipped with a 2.5-foot cable made of thick, flexible insulation. Don't ignore pending codes Today's pending code could be tomorrow's repair bill Credit: Joe Kucinski | How-to Geek Many buyers only look for confirmed trouble codes. That can be a mistake. Check for pending codes as well. A pending code means that an issue has been detected but not confirmed. It could mean that the issue exists, but at the moment it is not severe enough to trip the check engine light. But after you own the car for a few months, that condition could worsen, and now you have an issue you will need to fix out of pocket. Think of pending codes as early warning signs. An example of this is code P0131, which can indicate an oxygen sensor exhibiting fluctuating readings. That could indicate that the oxygen sensor is about to fail. Check the Readiness Monitors Don't let a recently cleared check engine light fool you This is one of the most valuable, and often overlooked, features of an OBD-II scanner. Readiness monitors tell you whether the vehicle has completed its self-tests for emissions-related systems. Ideally, most or all monitors should display “Ready.” If several monitors show “Not Ready,” that's worth asking about. The reason is that clearing diagnostic trouble codes resets these monitors. You may be dealing with a dishonest seller who just erased a check engine light shortly before showing the vehicle to you. The seller hopes the warning light stays off long enough to complete the sale. Once you buy the vehicle, unless you have a warranty, you will be paying for the repair out of pocket. That being said, a vehicle with multiple incomplete monitors isn't automatically a bad purchase, but it should prompt additional questions. The seller may have recently disconnected the battery or completed legitimate repairs. Either way, it's information you want before buying. Look at freeze-frame and live data See what the engine is really doing Credit: Joe Kucinski | How-to Geek If the scanner finds stored trouble codes, many models allow you to view freeze-frame data. Freeze-frame information captures the operating conditions at the time the fault first occurred. It will show you engine rpm, vehicle speed, coolant temperature, and other parameters that can help you understand why the fault occurred. Even an inexpensive scanner can often display live data while the engine is running. This information helps you evaluate how well the engine is operating. The data points will vary based on the vehicle’s make and model. But there is a lot of useful information here. Things like coolant temperature, battery voltage, fuel trims, and engine rpm can clue you in to the overall health of the car. While you don't need to become an expert at every sensor reading, anything that appears significantly abnormal deserves further investigation. Other helpful tips Credit: Joe Kucinski | How-to Geek Scan before and after the test drive. Don't just plug the scanner in once. It is best to perform an initial scan before driving, then connect it again after a thorough test drive. Some problems only appear after the engine reaches full operating temperature or after specific driving conditions have been met. A second scan can reveal pending codes that weren't present when you first arrived. Also, it may be tempting to erase fault codes, but don’t do that. Erasing diagnostic information also deletes valuable clues that could help identify existing problems. It also resets emissions readiness monitors, making it harder to determine whether the vehicle has recently experienced trouble. Leave the diagnostic information exactly as you found it. Combined with a thorough test drive and a professional inspection, an inexpensive OBD-II scanner can help you avoid costly mistakes and negotiate with confidence. Considering many quality scanners cost less than $50 and are a snap to use, it's one of the smartest investments any used-car shopper can make.
The $50 tool every used car buyer should bring to test drives
Full Article
Original Source
Read the full article at Howtogeek →KhanList aggregates and links to publicly available news content. We do not host full articles from third-party sources. Always verify important information with original sources.