
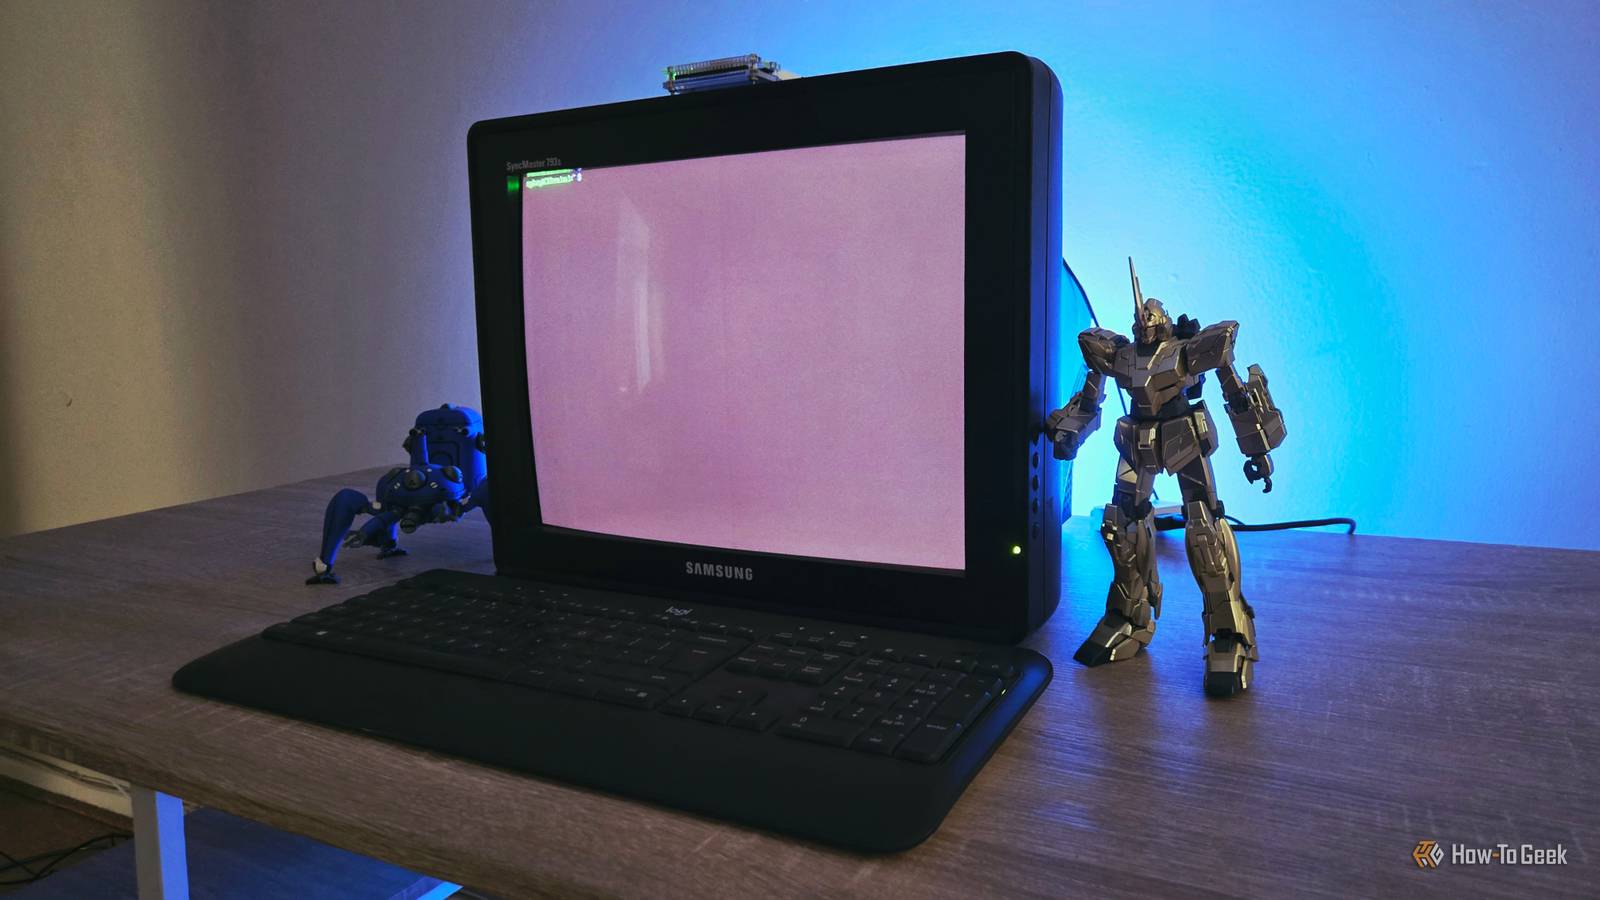
Published Nov 10, 2026, 6:00 AM EST Patrick Campanale has been in the tech space for well over a decade, specializing in PC/gaming news and reviews, as well as maker-focused products to build small businesses. With a start in technology back in 2010 surrounding the Palm/webOS ecosystem, Patrick spent his formative years developing mobile applications as well as blogging for various publications, eventually leading to starting his own website in 2014. After running a technology blog for a few years, he stepped out of that role and into the world of high-end custom PC manufacturing and building, with a focus on YouTube video production and overclocking. Then, in 2017, Patrick joined the 9to5Toys team as an editor/writer/reviewer with over 14,000 articles being published during his time there, ranging from deals and roundups to in-depth reviews on the latest technology, video games, 3D printers, and more. In his free time, Patrick loves to create projects from wood using various robots and methods, including leveraging the technologies of CNCs and lasers. If Patrick isn't working on a computer or playing video games, he's likely in his 2-car garage workshop creating something unique. In addition to all this, Patrick is also the media director at his local church where he feels God has called him to serve, and he loves every minute of it. That Game Boy in your closet or the stereo you spotted at an antique store probably isn't as dead as it looks. A lot of vintage electronics come back to life with a new belt, a few fresh capacitors, or a drop-in screen that needs little or no soldering. Others, like a CRT that can run around 27,000 volts, deserve a lot more respect. Here are five restorations worth your time, starting with the easiest. A Game Boy is the best first restoration you can buy Most screen kits need almost no soldering I still remember having my Game Boy, riding in the back of my parents' car, trying to play games under the passing streetlights. Or, when I finally became “cool” when I got the battery-powered light and magnifying glass kit that attached to the back of my Game Boy so I could play it anywhere! These days, you can take an old Game Boy and retrofit it with an IPS display that requires little to no soldering. Depending on the Game Boy model you have and which screen you get, there is anywhere from zero to six solder points you’ll need to touch. This type of upgrade is normally battery-powered too, which means you’re not working with power systems and there’s much lower risk of getting shocked if you’re new to DIY electronics. Old consoles mostly need cleaning, not repairs Leaking capacitors are the one thing worth checking for Before the age of modern consoles, older consoles were actually fairly simple in how they were built. There weren’t as many graphics chips or other components to fail, and often these older systems just need a good cleaning more than anything else. Modern systems use hard drives or discs to play a game. The older systems used carts and metal contacts for everything to work. One dirty metal contact could be the difference between playing the next level or the game freezing up on you. So, you should try cleaning the contacts on the console with some isopropyl alcohol with a lint-free cloth. You might want to wrap the cloth around a card or a pick of some sort to get into the tighter spaces of the cart or the slot on the console, but just be careful when cleaning the contacts and you should be good to go. Vintage stereo gear is where restorations start paying off Belts and caps fix most of it, but receivers can still bite An area of vintage electronics I eventually want to get into restoring (and then enjoying) is stereo gear. Old turntables, speakers, amps, and receivers were just simply made better I think. Most turntables fail simply because the belts wear out. Now, belts are often model-specific, so you’ll want to verify what model it is before ordering a replacement. And, whenever working with vintage stereo gear like receivers, always make sure the system has been unplugged for a while and you use a multimeter to verify that the capacitors are discharged. If you don't, then you're asking to be zapped—ask me how I know. You just have to find the right components and make sure everything is cleaned up. There might be some soldering if you have to replace capacitors, but it’s fairly simple and straightforward if you take your time. Old computers live or die by their power supply Swap the cracked filter caps before you ever switch it on Power supplies are almost always the first thing to go out on an old computer. These types of repairs and restorations are definitely more involved than the others on this list so far, but the payoff can be huge. These days, computer power supplies are basically universal. There are two main standards—ATX and SFX—and almost every desktop uses one of those two power supply systems. Back in the early days of computing, it wasn’t so simple. The first thing you’ll want to check for is cracked capacitors in the power supply. Do this before you even turn it on. The tops of a blown capacitor should be fairly evident, but, when in doubt, test it out. You’ll want to use a multimeter in capacitance mode to see if the capacitor is good or not. Just remember, like stereo systems, these capacitors can hold a lot of charge if you did have the system powered on at any point, so be sure it’s fully discharged before you dive into it. If the power supply is in good condition with no cracked capacitors, then move onto looking at the rest of the system. Older computers were much simpler than modern systems, and they were also a lot more repairable. So, just look for any visible signs of burning or leakage out of a component and start there. Tube radios and CRTs can wait until you've done a few A CRT still holds a dangerous charge after it's unplugged While the power supplies that I’ve mentioned so far can hold a charge after being unplugged, CRT TVs and tube radios are a completely different beast. For example, a 27-inch CRT can run at about 27kV. That’s 27,000 volts. Not only do they run at ultra-high voltage, but there’s also the risk of toxicity and poisoning from the contents of the tubes or CRTs. Some systems contain beryllium and cadmium inside of older tubes, which can be very toxic if touched or inhaled. These types of repairs are better left to the professionals—or at least until you have some experience under your belt. There’s a site called AntiqueRadioSchematics that has many tube and early transistor radios covered if you want to dive into them. Just make sure you know what you’re doing before cracking open a CRT display or tube radio. It’s one area of vintage gear that I won’t personally touch. A 25W iron and the right service manual cover most of it Almost all vintage electronics repairs will require a soldering iron, and you don’t have to have anything super fancy. A simple 25W pencil iron and some 60/40 resin-core solder is all you need. Diagonal cutters and a solder sucker or solder wick definitely help, but aren’t completely necessary. Stepping up to a 50W or higher temperature-controlled soldering iron is definitely a big upgrade though if you plan to do lots of work with it. Being able to dial in the right temperature for the solder you’re using the the material you’re working with can make projects flow a lot smoother. Regardless of what soldering iron you have, just make sure you find the right service manual for whatever vintage gear you're restoring. Knowing what components it should have on it (and where they're located) will be crucial to a successful repair.
Old consoles, stereos, and PCs are worth restoring, but leave the CRT alone
Full Article
Original Source
Read the full article at Howtogeek →KhanList aggregates and links to publicly available news content. We do not host full articles from third-party sources. Always verify important information with original sources.