
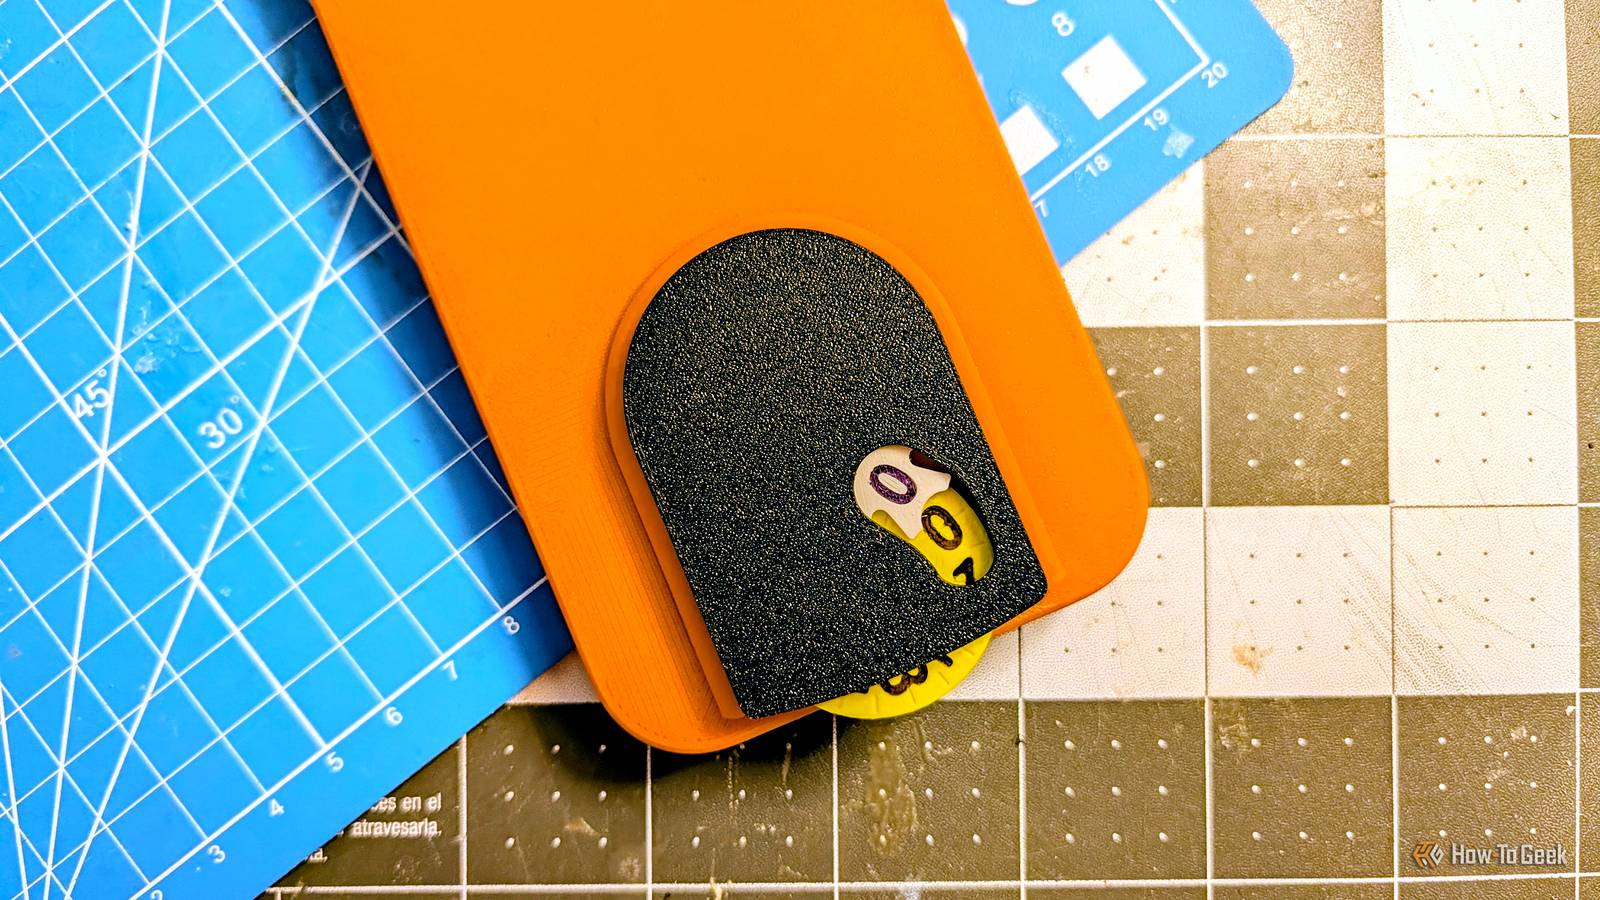
Published Aug 28, 2026, 2:00 PM EDT Joe Fedewa has been writing about technology for over a decade. Android and the rest of the Google ecosystem have been a focus for years, as well as reviewing devices, hosting podcasts, filming videos, and writing tutorials. Joe loves all things technology and is also an avid DIYer and food blogger. He has written thousands of articles, hundreds of tutorials, and dozens of reviews. Before joining How-To Geek, Joe worked at XDA-Developers as Managing Editor and covered news from the Google ecosystem. He got his start in the industry covering Windows Phone on a small blog, and later moved to Phandroid where he covered Android news, reviewed devices, wrote tutorials, created YouTube videos, and hosted a podcast. From smartphones to Bluetooth earbuds to Z-Wave switches, Joe is interested in all kinds of technology. After several years of jailbreaking and heavily modifying an iPod Touch, he moved on to his first smartphone, the HTC DROID Eris. He's been hooked ever since. Recently, I had the realization that phone cases are underdeveloped real estate. Few things are with us as often as our phones, and that includes anything attached to them. So, why not have a phone case that can also be used as a tool? As an avid DIYer with hobbies that span from 3D printing to woodworking, I often find myself measuring things. However, I rarely actually have a tape measure or ruler on me. There is, of course, An App For That, but it’s hard to trust digital measurements. It’d be cooler to simply have a physical measuring device with me all the time without thinking about it. This was more difficult than I expected Some projects test your creativity I’ll admit I thought this was going to be an easy 3D printing project. I already had a good case model to work from, and I assumed adding some sort of measuring apparatus would be simple. That last part was very much not true. When I’m designing something into a phone case—as I did with an extra charging port and microSD card reader—my top priority is to keep it slim. No one wants to add a thick, bulky case to their phone, regardless of how useful it is. At one point, I thought about adding a MagSafe ring to a small tape measure, but that would be hard to pocket. Integrating the measuring device into the case was clearly the best path to explore. As I always do, I started by browsing MakerWorld and Printables for inspiration. One of the first models I stumbled upon seemed perfect. It was a measuring wheel specifically made for a phone—the CMF Phone’s mounting point. However, upon downloading, I quickly realized it was a proof-of-concept, not functional. The second model I found took advantage of a nifty mechanism called a Geneva drive. It’s a type of gear system with wheels that move at different rates. One wheel moves constantly, and it moves the second wheel a little bit after each full rotation. It’s perfect for measuring. Here’s a quick video of the Geneva Measuring Wheel by Highrise Workshop in action. As you can see, the two wheels each have digits numbered from 0 to 9. When the bottom wheel rolls around one full time, it turns the top wheel by one digit. At any point, you can stop rolling and read the measurement (in millimeters). If the top number reads 2, and the bottom number reads 5, that’s 25 millimeters. This clever mechanism allows for measuring from 0 to 99 millimeters without needing a wheel with a 99 millimeter circumference. Optimizing for a phone case Must go slimmer As I said, keeping the case slim is my top priority, which is what made this project so tricky. I liked the Geneva Measuring Wheel, but it was 12mm thick—nearly a 1/2-inch. After messing around with a few other ideas, I decided to simply trim it down as much as possible. I reduced the thickness of both wheels, redesigned the case, and simplified a few other elements. The end result came in under 6mm. Not wildly thin, but acceptable. From there, it was just a matter of adding it to an existing Pixel 10 case model and printing it out. I colored in the numbers with a Sharpie for better visibility. Honestly, this thing is super cool (and fun to play with). It actually does what it’s supposed to do, too. I had my doubts about accuracy, but it’s spot on. I kept it in millimeters since that’s what I use for 3D models, but this same concept could be used for literally any unit. You just have to scale the wheels accordingly. As with all my projects, there are improvements that could be made. It would be more ergonomic if the entire back of the case were the same thickness as the wheel enclosure. Of course, that opens up the opportunity to add even more gadgets to the case. A phone case is your oyster!
My phone case now measures things, and it's thanks to one clever mechanism
Full Article
Original Source
Read the full article at Howtogeek →KhanList aggregates and links to publicly available news content. We do not host full articles from third-party sources. Always verify important information with original sources.