
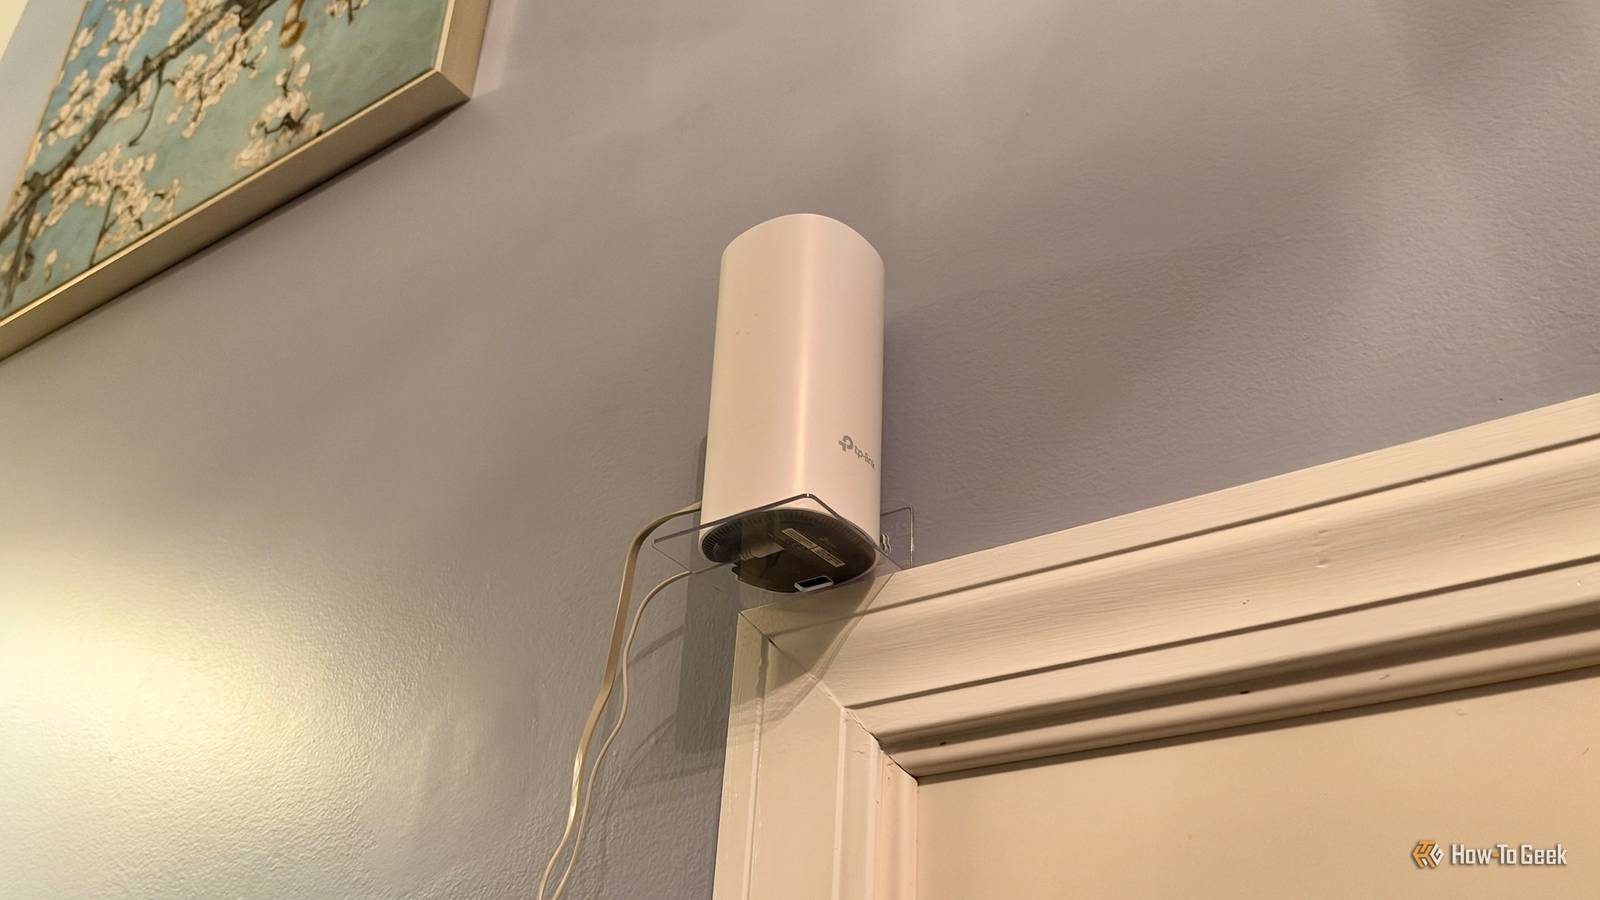
Published Nov 11, 2026, 7:30 AM EST Nathaniel Pangaro is a tech enthusiast who dives deep into Apple’s world, from Macs and iPads to iPhones, Apple Watches, and every gadget in between. He loves turning tricky tech features into guides and reviews that are actually fun to read—and easy to use. At AppleInsider, he broke down the latest Apple releases with hands-on testing, clear explanations, and visuals that make readers feel like they’re right there with him. He also keeps SEO in mind so people can actually find his work online. He’s also written for The Student Loan Help Group, turning tech and finance topics into simple, helpful, and engaging content. Nathaniel also takes photos and creates rendered visuals to showcase devices and highlight features. When he’s not writing, Pangaro enjoys listening to music, working out, baking, and spending time with his pets. These hobbies help him recharge and bring a fresh, creative perspective to his work, keeping his writing energetic and relatable. Pangaro's goal is simple: help readers get the most from their Apple devices and actually enjoy doing it. When I upgraded my Wi-Fi router, I stored the old one away in the box it originally came in. I could have easily thrown it away, but I didn’t — since technically nothing was wrong with it — so it stayed where it was, collecting dust. Yet even with an updated router, some areas of my house were still dead spots. Although it came with extenders, they didn’t cover my whole house, so I took my old router out of the box and made it solve the issue. Deciding to take the old router out Reasons why I went with an old router rather than a new extender As previously mentioned, my old router sat in a box collecting dust because I installed an updated one with newer hardware. However, I didn’t want to throw out my old version — or recycle it — because it was still in good shape; I just didn’t need it at the time. That was until I did some research and learned I could use it as an extender for my current Wi-Fi, even though it does not have the same specifications. Adding it would supplement the two extenders that came with the router, but even with just them plugged in, it isn’t enough for my home. In retrospect, if I lived in an apartment that wasn’t multiple floors, the two extenders would be more than enough. However, because I live in a multi-floor house, they aren’t. Besides extending coverage, the main reason I chose my old router over buying a new extender was to save money. I would rather take the old router out of the box than the money out of my pocket. Even though I could find an extender for around $30 on Amazon, I would rather spend that money on something else. TP-Link Deco X20 Mesh Router $150 $160 Save $10 The Deco X20 system offers budget-friendly whole house Wi-Fi 6 coverage. Ethernet Ports 6 (2 each) Additionally, main routers have stronger hardware than cheap extenders. This is because they include a more powerful processor, better internal antennas, and more memory. But even with all that, I still used the extenders that came with the new router — I most certainly did, because they are still powerful. But instead of betting on a cheap extender, I went with the old router I knew could stand the test. Putting it all together Taking my idea and making it a reality When I put it all together, I could have easily put the old router on a random table and called it a day, but that could have drawbacks that would keep the problem from being fixed. You may not be aware, but signals from a Wi-Fi router or extender radiate outward and slightly downward — think of it like light from a lamp. So putting it on a random table tucked in the corner or behind the couch wouldn't help; it would make things harder because the signal would have to fight through dense objects. This is the main reason I decided to mount my old router at a higher altitude rather than have it sitting at hip level. Elevating it would improve coverage while also boosting my home Wi-Fi’s speeds and stability. So when mapping it out, I knew I had to keep two things in mind: keep the router high, and make it reachable by the Ethernet port, since a wired connection is more reliable. Luckily, the Ethernet cable I had was long enough to reach the raised router from the wall port. So while I knew my cable would reach the port and my router at the height I wanted, keeping the router at that height was another obstacle. Credit: RandomMoments/Shutterstock.com If my router were thinner and flatter, I could have used Command Strips to stick it to the wall. However, it is not. My old router is round, so there is really no distinct flat side. In retrospect, the only flat sides are the top and bottom, and mounting it there would make it stick out like a sore thumb. To combat this, I decided to install a small, clear shelf for the router to sit on. Ironically, while this could have been installed with the included screws, I decided to attach it to the wall with the included adhesive tape. Once the shelf was added — and I let it set for a couple of hours before placing the router on it — I was able to set everything up and bring my older router to new heights, both metaphorically and literally. Dead zones come alive My old router revived dead spots around my house Since I installed my old router as a Wi-Fi extender at home, dead zones that used to be the death of me have vanished overnight. I really noticed the improvement in our dining room, which rarely got good Wi-Fi. In there, getting a connection was torture, and it either rarely reached or was nonexistent. Now, with the help of my old router, that room is washed in Wi-Fi. This means I can work in the dining room if I want, or watch YouTube on my iPad while eating dinner. iPad Pro (M5) Storage 156GB, 512GB, 1TB, or 2TB Operating System iOS The 2025 MacBook comes with the powerful M5 chip, plus everything else you've come to know and love from Apple. Also, after I set up my older router, I realized it had extenders, so I could add more coverage to my house if needed. However, it’s not always ideal to stock your home with nodes. Converting and installing my old router as a Wi-Fi extender has opened my eyes to what I can do with tech I threw in a box and how I can potentially give it a new life. So even though I don't plan to upgrade my router anytime soon, I do have an idea of what I will do with it when it's time for an update. Instead of putting it back in the box, I’ll put it right on the wall.
Mounting my old router on the wall turned my dead Wi-Fi zones into full coverage
Full Article
Original Source
Read the full article at Howtogeek →KhanList aggregates and links to publicly available news content. We do not host full articles from third-party sources. Always verify important information with original sources.