
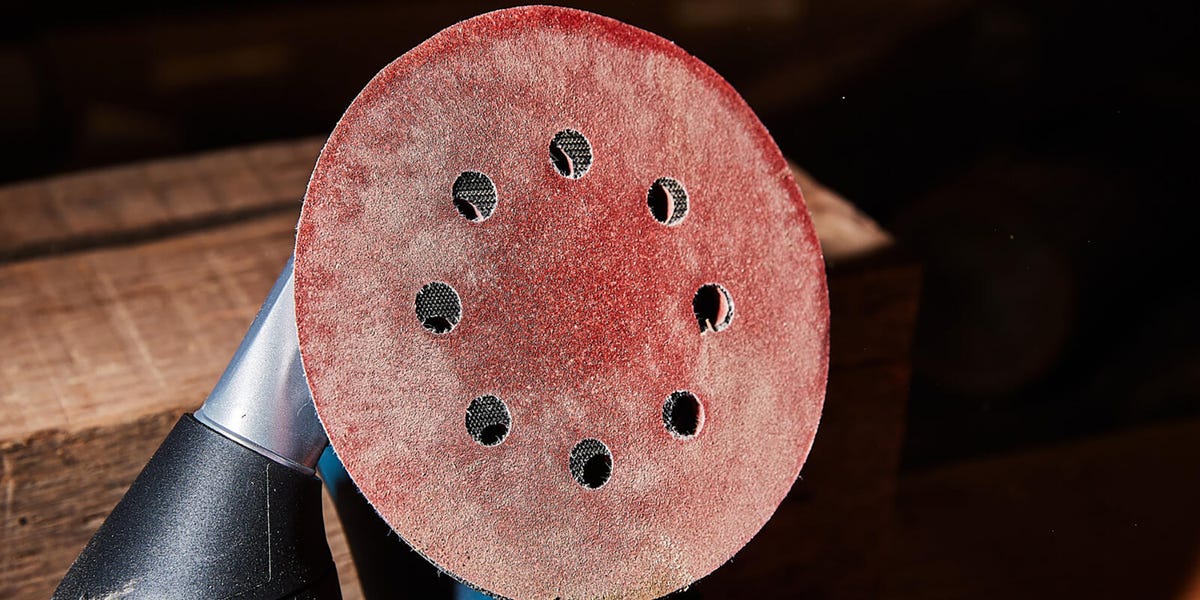
4 min readOur choices for the best orbital sanders are extremely capable tools, but they can’t do much with sandpaper that’s called it quits. Maybe you’re running a Makita BO5030K—our choice for Best Overall—to sand down a set of newly built shelves, or perhaps you’ve powered up DeWalt’s DCW210 to prepare a door for a new finish. In any case, a sanding disc always needs to be replaced eventually.Before you say it: Yes, Captain Obvious has entered the workshop, but knowing sandpaper wears out and actually throwing it away are two totally different concepts. I’ll admit it’s tempting to squeeze another cabinet door or a second pass across a tabletop out of a spent sanding disc. We all do it at one time or another. But that decision can cause more harm than you may realize, especially when dealing with higher finishing grits where precision matters most. Here’s how to tell the difference between a disc that’s operating properly and one that’s wasting valuable time and electricity.Key SpecsTypeCordedPower15 ampMax speed12,000 OPMWeight2.9 lbKey SpecsTypeCordlessPower2 ampMax speed12,000 OPMWeight3.3 lb (with battery)There’s a Lot of Noise, but Little ProgressA fresh disc should remove material at a steady rate with light pressure. If the same grit suddenly takes much longer to sand the same amount of area, stop and give the disc a quick inspection. The abrasives might be worn away or buried under accumulated debris. Whatever the cause, leaning harder on the sander won’t solve the issue. In fact, excessive pressure can encourage more clogging and further compromise your results. That’s a sander in your hand, after all, not a panini press.The Grit Has Disappeared Under the GunkWith the tool unplugged or its battery removed, take a look at the disc. Packed dust, gummy finish, and resin can cover the abrasive until it’s barely making contact with the workpiece. This frequently occurs when you’re refinishing furniture or sanding old latex paint. The friction of the sander builds up heat against the work surface, causing sanded latex, urethane, and other finishes to congeal in a kind of goo on the pad itself. Sometimes, loose dust alone is enough to clog a disc.It is possible to brush or blast away loose dust with compressed air, so a dirty disc isn’t automatically relegated to the trash can. But if stubborn buildup remains and cutting performance doesn’t return, replace the disc. Some sanding discs, like these from Diablo’s Hook & Lock, have a coating built into the surface that reduces clogging. Still, that doesn’t make them immortal.The Disc Is Damaged—or Is Leaving Fresh ScratchesTorn edges, missing abrasives, and damaged backings are all good reasons to retire a disc. So are stubborn clumps that drag across the surface and leave scratches. I don’t typically worry too much about this when working with lower grits, but seeing these scratches in the final, finer grits can be super frustrating.If you’re experiencing these unexpected swirl marks, don’t automatically assume the sandpaper is worn out. Trapped debris, excessive pressure, and poor technique—like favoring an outside edge of the sander—can also be the root cause. Take a beat, inspect both the disc and your workpiece, and clear out any dust from the disc before continuing.The Disc Won’t Stay AttachedIf a disc keeps peeling away from the sander itself, check its backing. The hook-and-loop system—similar to Velcro—operates on a lining behind the abrasive with soft, looped fabric that integrates with tiny hooks on the backer pad to hold the disc in place.Sometimes, the fabric backing can pull away from the abrasive pad or the sander’s backer pad itself becomes so clogged with dust or debris that the hooks become blocked. This prevents proper contact between the two surfaces, and the disc skids off the sander as you apply pressure. If that’s the case, simply clean out the backer pad with a bit of compressed air and grab a new disc. If the situation persists, it might be time to purchase a new backer pad entirely and replace the old one.The Bottom Line: Replace Your Sanding Disc When It Stops Making DustThere’s no universal countdown to the end of a sanding disc. Grit, material, finish, pressure, dust collection—these are all factors that affect the life of a disc. The useful test is performance: Is it still cutting cleanly with light pressure? Keep going. Is it damaged, constantly clogged, or barely accomplishing anything? Toss it, and swap in a new one.The best way to determine the degree to which a sanding disc is functioning is to draw a light squiggle line in pencil across your workpiece. I’ll repeat that and shout it to the cheap seats: Lightly. In PENCIL. Simply put, if the line disappears as you sand, the disc is functional. If it remains, the disc is likely shot.And remember, using a sanding disc past its prime doesn’t do you or your workpiece any favors. You’re trying to finish a project, not set a longevity record for a piece of sandpaper.More Discs & Other Sanding EssentialsBest for Drill Mounted SandingPaul Russell Smith is a former NYC ironworker turned screenwriter (Grace Point) and home renovation specialist. He lives in a crooked old farmhouse in Stockton, NJ, where he’s just as likely to be clearing a clogged pipe as rewriting a third act. When he’s not working, he enjoys hiking, pedestrian beer, and cooking over a live fire. His self-proclaimed spirit animal is the English Bulldog.
Is Your Orbital Sander Actually Sanding—or Just Vibrating Against the Wood?
Full Article
Original Source
Read the full article at Popularmechanics →KhanList aggregates and links to publicly available news content. We do not host full articles from third-party sources. Always verify important information with original sources.