
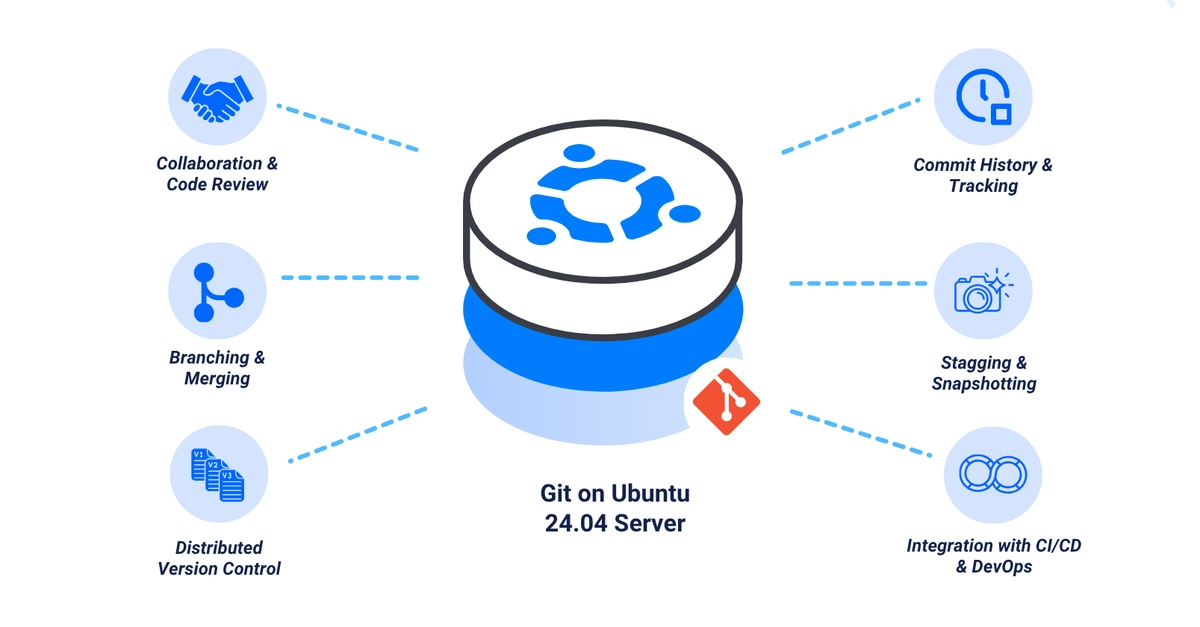
Git is an open-source distributed version control system used to track changes in projects and during software development. Git allows multiple contributors to simultaneously work on a single project, maintain and track the history of all changes. It enables efficient collaboration and allows developers to synchronize changes using Git-compatible platforms such as GitHub, GitLab, and Bitbucket. This guide walks through installing and configuring Git on Ubuntu 24.04. By the end, you'll have the latest Git version installed and configured to work with local and remote repositories in your project environment. Before you begin, you need access to an Ubuntu 24.04 instance to install Git as a non-root sudo user. 1. Verify the Default Git Version Git is available by default on Ubuntu 24.04, but the default version may be outdated and not the latest. 1. View the default installed Git version: $ git --version Enter fullscreen mode Exit fullscreen mode Your output should be similar to the one below. git version 2.43.0 Enter fullscreen mode Exit fullscreen mode 2. Run the Git command and verify that the default help page displays: $ git Enter fullscreen mode Exit fullscreen mode Output: usage: git [-v | --version] [-h | --help] [-C ] [-c =] [--exec-path[=]] [--html-path] [--man-path] [--info-path] [-p | --paginate | -P | --no-pager] [--no-replace-objects] [--bare] [--git-dir=] [--work-tree=] [--namespace=] [--config-env==] [] These are common Git commands used in various situations: ........ Enter fullscreen mode Exit fullscreen mode If Git is unavailable or outdated on your workstation, follow the steps below to install the latest Git version on your instance. 2. Install Git Using APT Git is available in the default APT package repositories on Ubuntu 24.04. 1. Add the Git PPA to the APT package repository sources: $ sudo add-apt-repository ppa:git-core/ppa Enter fullscreen mode Exit fullscreen mode 2. Update the APT package index: $ sudo apt update Enter fullscreen mode Exit fullscreen mode 3. Install Git: $ sudo apt install git -y Enter fullscreen mode Exit fullscreen mode This command installs the latest Git version and replaces the default version installed on your system. To install Git and all extra tools, install the git-all package instead. $ sudo apt install git-all Enter fullscreen mode Exit fullscreen mode 4. Verify the installed Git version: $ git --version Enter fullscreen mode Exit fullscreen mode Your output should be similar to the one below. git version 2.48.1 Enter fullscreen mode Exit fullscreen mode 3. Install a Specific Git Version From Source Code Specific Git versions offer enhanced features and compatibility options you can use with applications or platforms like GitHub. 1. Install all required dependency packages for compiling Git: $ sudo apt install libz-dev libssl-dev libcurl4-gnutls-dev libexpat1-dev gettext cmake gcc -y Enter fullscreen mode Exit fullscreen mode 2. Visit the Git releases page and use wget to download your target .tar.gz Git source code archive depending on the version. For example, git-2.48.1.tar.gz. $ wget https://mirrors.edge.kernel.org/pub/software/scm/git/git-2.48.1.tar.gz Enter fullscreen mode Exit fullscreen mode 3. Extract files from the archive: $ tar -zxvf git-2.48.1.tar.gz Enter fullscreen mode Exit fullscreen mode 4. Navigate to the Git directory depending on the downloaded version: $ cd git-2.48.1/ Enter fullscreen mode Exit fullscreen mode 5. Compile the source code to the /usr/local directory using Make: $ sudo make prefix=/usr/local all Enter fullscreen mode Exit fullscreen mode 6. Install the compiled Git package: $ sudo make prefix=/usr/local install Enter fullscreen mode Exit fullscreen mode 7. Test the installed Git version: $ git --version Enter fullscreen mode Exit fullscreen mode 4. Configure Git Git requires a valid username and email to include on commit messages in your project. 1. Add a global username to use with Git: $ git config --global user.name "Your Full Name" Enter fullscreen mode Exit fullscreen mode 2. Add a global email to use with Git: $ git config --global user.email "email@example.com" Enter fullscreen mode Exit fullscreen mode 3. Test the Git configuration and verify that your account information is available: $ git config --list Enter fullscreen mode Exit fullscreen mode Output: user.name=Your Full Name user.email=email@example.com Enter fullscreen mode Exit fullscreen mode Open the .gitconfig file in your user's home directory to modify the Git configuration directly without using commands. $ nano ~/.gitconfig Enter fullscreen mode Exit fullscreen mode 5. Access and Use Git on Ubuntu 24.04 1. Create a new project directory such as demo-project: $ mkdir demo-project Enter fullscreen mode Exit fullscreen mode 2. Navigate to the demo-project directory: $ cd demo-project Enter fullscreen mode Exit fullscreen mode 3. Create a new sample file such as file.txt: $ echo "Hello, Git Works!!" > file.txt Enter fullscreen mode Exit fullscreen mode 4. Initialize a new repository in the directory using Git: $ git init Enter fullscreen mode Exit fullscreen mode 5. Add all files in the directory to staging using Git: $ git add . Enter fullscreen mode Exit fullscreen mode Or specify a specific file to stage using Git. $ git add file.txt Enter fullscreen mode Exit fullscreen mode 6. Create a new commit using Git with all new or updated files: $ git commit -m "First Commit" -a Enter fullscreen mode Exit fullscreen mode The -a option includes all new and modified files in the commit. Output: 1 file changed, 1 insertion(+) create mode 100644 file.txt Enter fullscreen mode Exit fullscreen mode 7. Use the following command to commit specific files using Git: $ git commit -m "Initial Commit" file.txt Enter fullscreen mode Exit fullscreen mode 8. View the Git commit history: $ git log Enter fullscreen mode Exit fullscreen mode 9. Check the repository status to test all changes, and untracked files in the current branch: $ git status Enter fullscreen mode Exit fullscreen mode 10. Add a new remote repository and save it as origin to use with Git: $ git remote add origin Enter fullscreen mode Exit fullscreen mode 11. Verify all available remotes: $ git remote -v Enter fullscreen mode Exit fullscreen mode 12. Push all local changes to the remote repository: $ git push origin main Enter fullscreen mode Exit fullscreen mode This command pushes all changes to the remote repository's main branch. Verify that you have write privileges to the remote repository before pushing changes using Git. 13. Pull the latest changes from the remote repository: $ git pull origin main Enter fullscreen mode Exit fullscreen mode 14. View all branches in the active project directory: $ git branch -a Enter fullscreen mode Exit fullscreen mode Output: * master Enter fullscreen mode Exit fullscreen mode The * asterisk symbol confirms the active branch while the /remotes/origin/master path indicates that a single branch master is available on the remote origin. 15. Create a new branch such as demo-branch using Git: $ git checkout -b demo-branch Enter fullscreen mode Exit fullscreen mode Output: Switched to a new branch 'demo-branch' Enter fullscreen mode Exit fullscreen mode Creating branches in Git allows you to separate environments in a project. For example, you can create a separate development and production branch to push different repository changes. 16. Switch to the branch: $ git checkout demo-branch Enter fullscreen mode Exit fullscreen mode 17. Check the active branch and verify that it's demo-branch: $ git branch Enter fullscreen mode Exit fullscreen mode Output: * demo-branch master Enter fullscreen mode Exit fullscreen mode 18. Switch back to the master branch: $ git checkout master Enter fullscreen mode Exit fullscreen mode Output: Switched to branch 'master' Enter fullscreen mode Exit fullscreen mode 19. Use the git merge command to merge branches. For example, merge the demo-branch to the master branch. $ git merge master --no-ff Enter fullscreen mode Exit fullscreen mode 20. Push changes to the remote repository: $ git push origin Enter fullscreen mode Exit fullscreen mode 21. Use the git clone command to clone a remote repository to a directory using Git. For example, clone the Nginx webserver repository. $ git clone https://github.com/nginx/nginx Enter fullscreen mode Exit fullscreen mode 6. Update Git You can upgrade Git from the active version to a new or latest version on your Ubuntu 24.04 instance. 1. Test the active Git version: $ git --version Enter fullscreen mode Exit fullscreen mode 2. Update the APT package index: $ sudo apt update Enter fullscreen mode Exit fullscreen mode 3. Install the Git package to automatically update the installed version: $ sudo apt install git -y Enter fullscreen mode Exit fullscreen mode This command installs the latest Git version available in the APT repository sources. The latest stable version is installed if you added the Git PPA to your repository sources. 4. Test the installed Git version and verify that it's updated: $ git --version Enter fullscreen mode Exit fullscreen mode Next Steps Set up SSH keys for authenticating with remote Git hosts like GitHub or GitLab. Learn Git branching strategies such as Gitflow for team collaboration. Configure a .gitignore file to exclude build artifacts and secrets from commits. Explore Git hooks to automate checks before commits or pushes. For the full guide with additional tips, visit the original article on Vultr Docs.
Installing Git on Ubuntu 24.04
Full Article
Original Source
Read the full article at Dev →KhanList aggregates and links to publicly available news content. We do not host full articles from third-party sources. Always verify important information with original sources.