
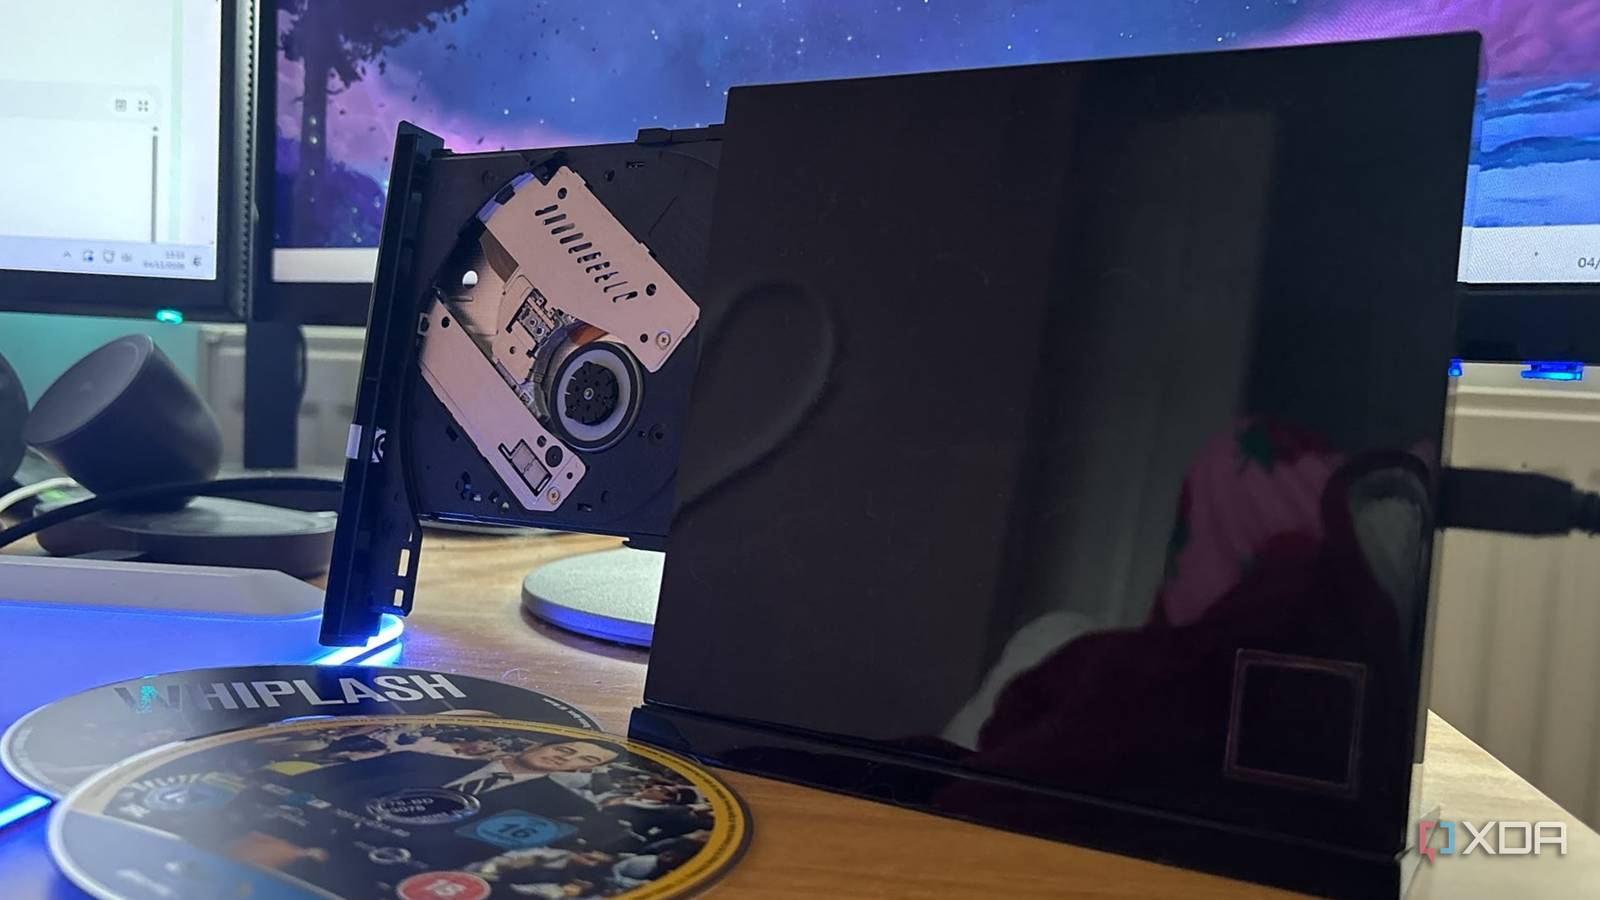
Published Nov 13, 2026, 2:30 PM EST Jasmine is Software and PC Hardware Author at XDA with years of tech reporting experience ranging from AI chatbots right down to gaming hardware, she's covered just about everything. Whether it's breaking news about the latest AMD NPUs or creating video tutorials on social media platforms, Jasmine has contributed to the world of AI and tech in a variety of ways including interviewing the CEO of Razer, AMD's Director of Product Marketing and the VP of Lenovo. Passionate about gaming and PC technology, she has built countless computers, keyboards and other peripherals - knowing them inside and out. In an era dominated by streaming fragmentation, disappearing digital licenses, and highly compressed web video, physical optical media feels like the only true way to retain sovereign ownership of your entertainment library. Traditionally, digitizing a physical DVD, Blu-ray, or audio CD collection meant opening HandBrake, entering metadata by hand, and babysitting long conversion queues. By using an old optical drive and connecting it to a home server running the Automatic Ripping Machine (ARM) project, you can turn that tedious chore into a hands-free, automated ingest pipeline you actually follow through on. That way, a forgotten piece of hardware becomes the most active and satisfying utility in a self-hosted home lab ecosystem. How does automatic ripping machine work? You can automate the entire process Automatic ripping machine, sometimes referred to as ARM, runs as a headless Docker container on a home server. It listens for udev kernel events, so the moment you insert an optical disc into your connected drive, the system detects the hardware interrupt and initiates an automated identification script. That means all you have to do to start this process is insert the disc. Beyond that, the ARM takes care of the rest. It has intelligent content classification, so the container inspects the disc structure to determine its format, then sorts it dynamically into audio for CDs, video for DVDs or Blu-rays, or raw data blocks. Paired with the content classification, it also has automated API metadata scraping. For video media, the ARM queries the Open Movie Database API or disc headers to automatically match the title, year, and cover art, formatting the output directory structure precisely, so media servers like Plex or Jellyfin can ingest it instantly. This may sometimes need manual fixes, especially for films that have duplicate titles, but has worked for me every time so far. The apps used in the process take care of everything From ripping right down to compression Alongside this, you do need a ripping and transcoding pipeline. The easiest way to proceed is using MakeMKV integration for lossless extraction. Video discs are first processed via MakeMKV to extract the video streams, audio tracks, and subtitles directly from the disc containers without quality loss. Once the raw rip is complete, ARM automatically ejects the physical disc and cues an asynchronous background task in HandBrake in order to transcode the video files into compressed, space-efficient formats (such as H.264 or HEVC) based on user-defined presets. You can set ARM to skip this step if you don't want your files compressed, but I highly recommend it because uncompressed files can use anywhere from 50 to 100GB per film for 4K UHD titles, quickly clogging your NAS or home lab server. For audio CDs and data ISO backups, audio compact discs are processed with tools like abcde (A Better CD Encoder), pulling metadata and artwork from MusicBrainz, while data discs are securely dumped into raw ISO archive files. This setup is perfect for headless home labs You don't need any input and can opt for notifications too Integrating this pipeline into your home lab can make the whole process feel so much smoother and less like a chore. The operational loop requires zero keyboard or mouse interaction. Simply insert a disc, wait for the drive to finish ripping, eject the media, and then repeat. When running this in a Docker container or on a virtual machine, you have to ensure that your optical drive is able to operate and be recognized by the system as an optical drive. You can do this by opening your ARM Docker-compose.yml file and adding the devices section, then map the physical drive from the host directly into the container. You can check your optical drive device path by running the Bash ls -l /dev/sr* /dev/cdrom* through your SSH. You should then see an output pointing to your drive, this is the map to copy over to your container. Because we're using MakeMKV during the process too, this also requires the SCSI generic device to be added as well. When done, your container should have the following section: devices: - /dev/sr0:/dev/sr0 - /dev/sg0:/dev/sg0. Once set up, this process is great for headless setups since the only indication you need that the process is done is the ejection itself. When using a disc drive, make sure it's compatible with the discs you're putting into it. Older DVD drives aren't always compatible with Blu-ray discs, and some Blu-ray drives will need custom LibreDrive firmware in order to be able to rip 4K UHD Blu-ray discs directly in MakeMKV. Running the ARM Docker container on an Unraid or generic Linux server tied directly to a local NAS pool ensures that newly ripped media lands immediately inside your active media library storage shares. You can then access it directly from your Plex or Jellyfin server without extra work. Insert the disc and next thing you know, the film is ripped, compressed, and placed in the correct location for your media server to access. You can set up webhooks and notifications with notification agents such as Discord, Telegram, or Apprise. That way, the ARM can push real-time status updates to your phone when a batch transcoding finishes or if an unreadable sector requires manual intervention, and you're always in the loop with what's going on. Digitize it right now Hardware obsolescence is often an illusion. A dusty DVD drive in a drawer can be immensely useful when paired with modern containerized orchestration. If you've got a physical media shelf gathering dust, it might be time to wire up an old optical drive, spin up the ARM container, and turn your physical archives into an automated asset for your home media server.
I pulled an old DVD drive out of a drawer, and it's become the busiest thing in my home lab
Full Article
Original Source
Read the full article at Xda-developers →KhanList aggregates and links to publicly available news content. We do not host full articles from third-party sources. Always verify important information with original sources.