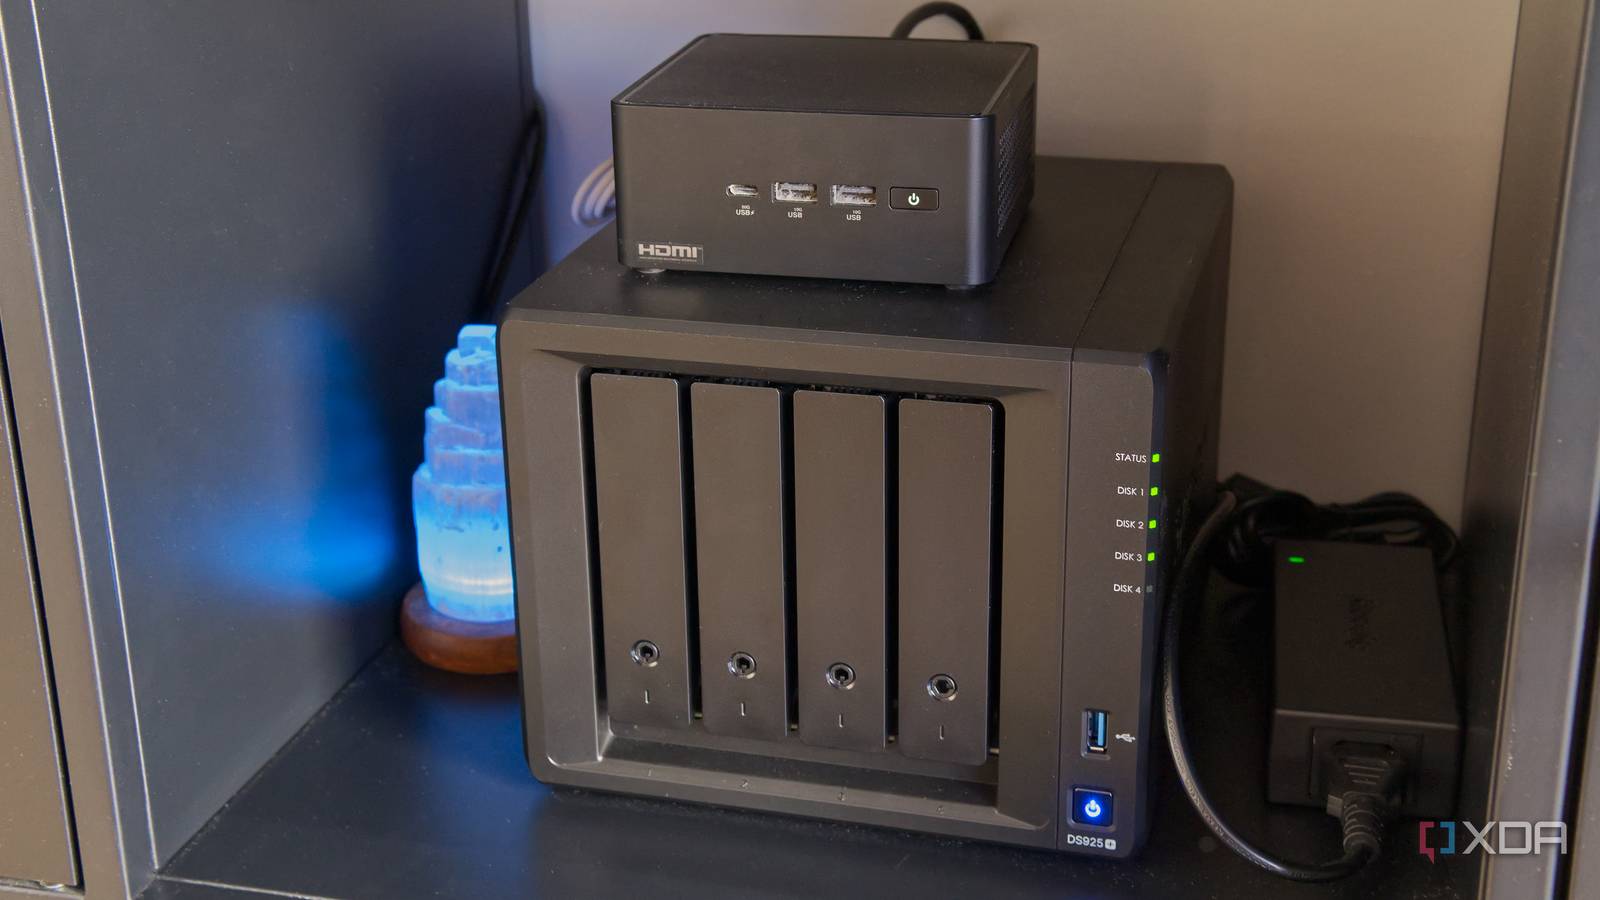
Published Aug 3, 2026, 2:30 PM EDT João has been covering the tech world for over 7 years, with a heavy focus on laptops and the Windows ecosystem. I also love all things tech and videogames, especially Nintendo, which he's always happy to talk about. Prior to joining XDA in 2021, he worked at Neowin: https://www.neowin.net/news/poster/jo%C3%A3o-carrasqueira/ A little over a year ago, I turned a spare mini PC into an makeshift home lab and NAS by adding an HDD to it and installing TrueNAS. That setup got me in the door of self-hosting and I loved it, but I always knew it was somewhat temporary. So, recently, I finally got a proper Synology NAS with a couple of drives, and I had to undertake the process of moving my data to it. At the same time, I had to move a lot of my services to run directly in Proxmox and then map the appropriate storage on the NAS. To my surprise, this was all easier than expected, and after some work, I have everything up and running on my new setup. The current setup was a mess Context is important Before I get into what was needed, let me just explain how my mini PC was set up with TrueNAS. Inside the mini PC was an SSD for booting and a 2.5-inch HDD. The mini PC was already running Proxmox, which contained a VM for Home Assistant, one for TrueNAS, and a container for Jellyfin. Most of my services lived inside TrueNAS (which had full control of the HDD) as Docker containers. That included Nextcloud, Immich, Tailscale, Nginx, Vaultwarden, and a few others I've played with here and there. Jellyfin used to live here, too, but that setup didn't allow me to use hardware accelerated transcoding, so I had to move the app itself out of TrueNAS and into Proxmox, while TrueNAS just handled the storage. Moving to Synology, I could probably have ditched things like Nextcloud and Immich for Synology Drive, Office, and Photos, but I wanted to keep everything I'm familiar with already. That took a bit of work, but it was more manageable than I thought. Moving Jellyfin was easy It was already in Proxmox Moving Jellyfin to the new NAS was the easiest part of the process, mostly because the app itself was already on Proxmox, so I had just had to move the data. By setting up an SMB share on the new NAS, I could just use any of my devices to copy all the folders from my old SMB share to the new one. Then, it was just a matter of replacing the old SMB share with the new one in Proxmox, and once Jellyfin was running, update the folder paths so it could pull my library data again. All in all, it was an easy process, and my server was up and running quickly. Since I didn't move the service itself, all the client apps were also connected already. Nextcloud was harder I cheated a bit for this one As I mentioned, I know I could probably have replaced Nextcloud with a combination of Synology Drive and Office, but I wanted to keep the tools I'm familiar with, so I had to move Nextcloud to a new instance running on Proxmox, then map storage to it from the new NAS. At the same time, this felt like a good opportunity to split the app itself and the storage, so I would leave Proxmox running from my homelab, and just have the storage on the NAS. I deployed Nextcloud as a VM using this helper script, and that in itself took a bit of work. Not so much the deployment, but the fact that the VM comes with pretty old versions of Nextcloud and other packages. I had to go through multiple upgrades to get up to date, but then I ran into another problem: the PHP version in the VM (8.2) is also old and soon to be unsupported. Before upgrading to Nextcloud 34, I had to upgrade the PHP package, and the easiest way I found to do this was to use this custom script created by a user online. This is a risky move because it relies entirely on the user's own server, but it's been around for a couple of years and it makes things much easier, so I went with it. A more proficient user may want to find a more manual way to do it. I know there's a proper migration process to carry the whole Nextcloud database, but I only have two users and not much in the way of special features in use, so it frankly felt easier to just download all my files using Nextcloud's web UI, and then upload them onto my NAS. Then, rather than set the NAS as the default storage for Nextcloud as a whole, I mapped SMB shares for each user as external storage in Nextcloud. This adds one extra click to get to my actual files when browsing the Nextcloud web UI, but otherwise it works perfectly, and I get to keep my file and folder structure intact without much work. I can also limit access to each SMB share per user, so I can't access my wife's files in the web UI, and she can't access mine. Immich also required some research The challenges continued Immich was the last of the services I expected to be truly challenging, and it was. In this case, the service was set up in a way that made it much harder to just manually download files and re-upload them. I had to export the database properly so everything would keep working just as it was. The problems started right away because the Proxmox helper script to deploy Immich was on a newer version of the app (3.1) than TrueNAS was (3.0.3), but more importantly, the TrueNAS version actually had a newer version of Postgres (18) compared to the Proxmox LXC, which comes with version 16. So just to import the database, I first had to update Postgres. That in itself took some work because Immich requires the VectorChord extension for Postgres, which isn't served through the normal package repository for APT. There are dedicated commands to install Vchord, so I first had to update pgvector, then install Vchord and then finally run the general upgrade command for Postgres (apt-get upgrade postgresql) so that it wouldn't fail. Now running the same Postgres version, I was able to import the database file from my TrueNAS instance of Immich, despite Immich itself being on a different version. Admittedly, I may have been a little lucky on that front, and I'd recommend aiming for the same version, if possible. Then it was a matter of putting my files on the new NAS and making them accessible to Immich. I partly followed this guide to setting it up, mounting the Synology shared folder as the primary data folder for Immich. The only difference was I didn't care to mount a second share to use as "standard" photo storage. I just needed to mount the share that had the files coming from my previous Immich instance, since I will always be uploading new content through the Immich UI anyway. I initially tried to mount my NAS shared folder in Immich as an SMB share, but Immich doesn't play nice with SMB. Instead, I had to use an NFS share, which worked completely fine. Everything else was easy Though I did learn a lot All of my other services — including Nginx, Tailscale, and Glance — were very easy to move over from TrueNAS to Proxmox. Most of them don't really have any permanent data I need to keep safe, except maybe Vaultwarden, though I can always just export my personal database from the web UI in an encrypted format and put it on the NAS if I want it saved. One thing I learned was that Tailscale isn't deployed as its own LXC, but rather as an add-on to an existing one. It's still best to do it using this helper script, as I couldn't get it to work by just installing Tailscale using APT inside a container. I needed to do this on my Nginx container so that it could pick up requests for my custom URLs. That also meant going into my Cloudflare dashboard to re-route the URLs to my new Nginx instance, which is easy enough. What I struggled with the most was setting up access to Nextcloud through Nginx. Unlike most other services, this required me to change Nextcloud's configuration files. The turnkey VM uses Apache2 by default to enable an SSL connection with a self-signed certificate, so I had to modify a few files. First, in the config.php file (stored in /var/www/nextcloud/config inside the VM) I had to add my custom domain to the list of trusted domains, and then also add my Nginx IP to the list of trusted proxies (in fact, this list doesn't exist by default, so I had to create it). Then, I also modified the two files /etc/apache2/ports.conf and /etc/apache2/sites-enabled/nextcloud.conf, to change mentions of the default ports (80 and 443) to other port numbers, as described in this post. The default ports don't play nice with Nginx, but after changing this, I was able to get it going. In nextcloud.conf, I also removed two lines that read: RewriteEngine on RewriteRule ^ https://%{SERVER_NAME}%{REQUEST_URI} [L,R=301] I'm not completely sure if this is relevant to the solution, but once it was working, I didn't want to touch the configuration anymore to reverse it and test. A NAS and home lab working together I was happy running my makeshift NAS and home lab for the past year, but having a proper Synology NAS with redundancy baked in (I decided to use SHR for the flexibility of adding more storage later) gives me a lot more confidence in my setup, and I'll rely on it even more going forward. And this transition was an excellent learning experience; I wouldn't say I recommend it, but I certainly don't regret it. Synology DS925+ 7/10 CPU AMD Ryzen V1500B Memory 4 GB DDR4 ECC SODIMM Drive Bays 4 x HDD, 2 x NVMe Expansion 1 x USB Type C The Synology DS925+ is a powerful NAS with four SATA slots supporting 2.5-inch and 2.5-inch drives, as well as two M.2 slots for SSD expansion or caching. Ports 2 x 2.5GbE RJ-45; 2 x USB-A 3.2 Gen 1 OS DSM 7.2 Dimensions 166 mm x 199 mm x 223 mm Weight 2.26 kg
I migrated from TrueNAS to Synology and Proxmox without losing a single service
Full Article
Original Source
Read the full article at Xda-developers →KhanList aggregates and links to publicly available news content. We do not host full articles from third-party sources. Always verify important information with original sources.