
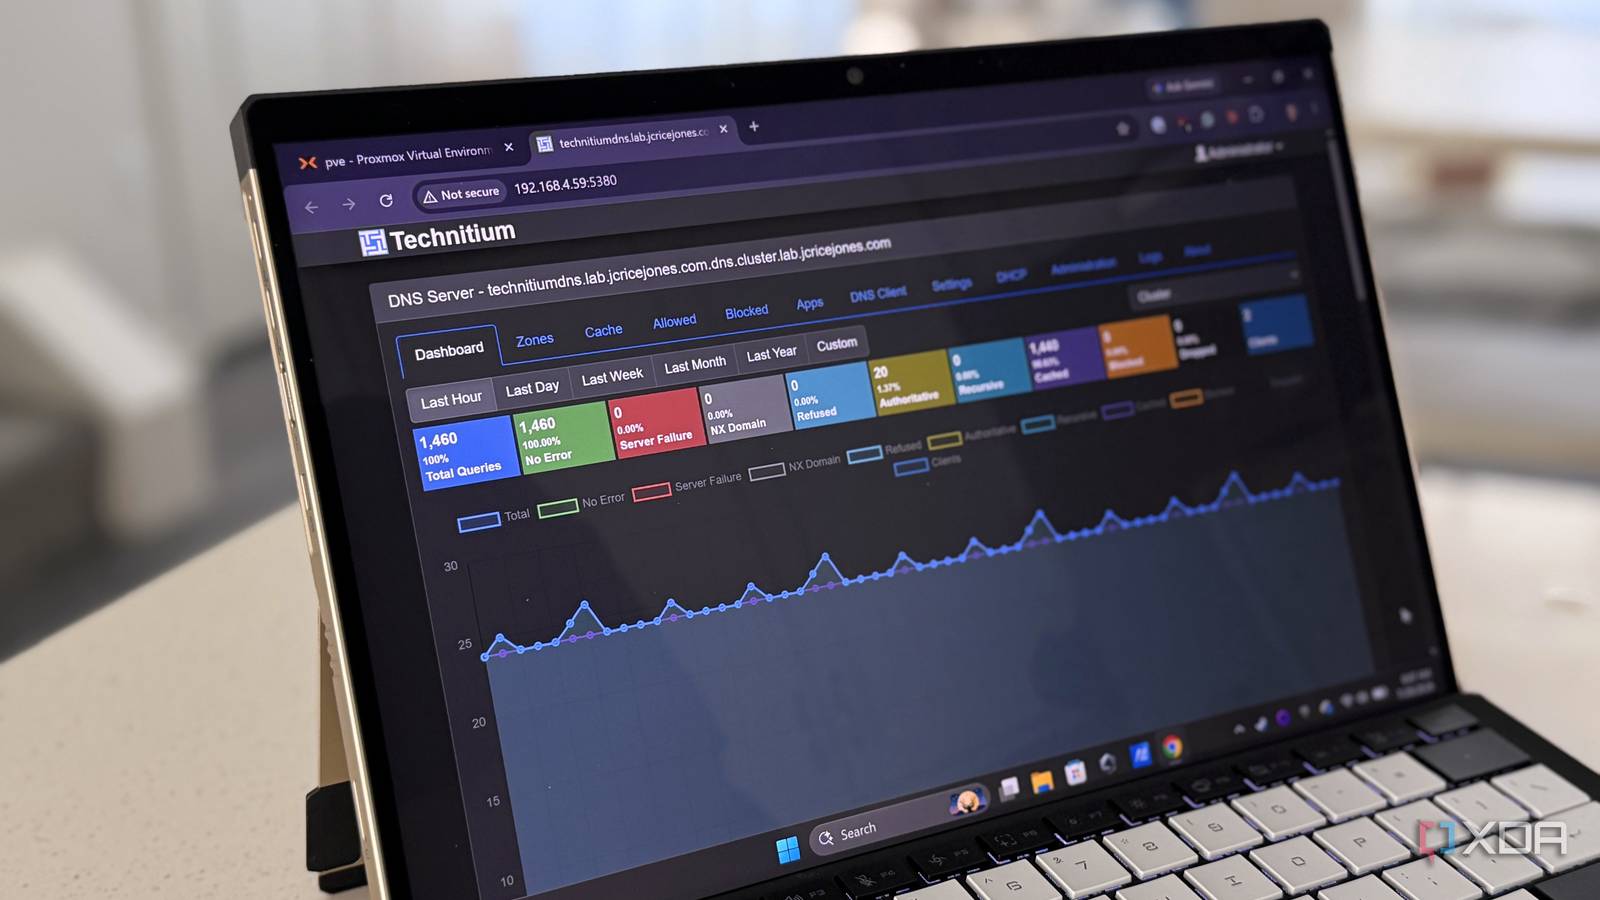
Published Aug 20, 2026, 3:31 PM EDT Anmol has been interested in tech for close to two decades now and has been covering all things tech for more than a decade. He started his journey with a blog post, when Google Blogger used to be cool and has covered everything from Windows Phone to Windows 11. Anmol has written for MSPoweruser and Neowin in the past, and is always keen to get his hands on the latest gadgets. When not doomscrolling, you would find him playing video games, reading or catching up on football. Source: Unsplash I have spent years trying different DNS options, both commercial (including paid) and self-hosted alternatives. Somewhere along the way, I realized that if I needed a truly privacy-focused DNS I could deploy across the whole network at once,self-hosting is the way to go. However, there are so many that choosing one can become a challenge. There’s, of course, the most popular one, Pi-hole, and rightly so, as it is one of the most used or recommended DNS sinkholes that you can set up on the cheap. Why choose Technitium? Much more than just a DNS sinkhole Credit where it is due: Pi-hole does an excellent job blocking those pesky ads and the occasional social media app when you need to focus, and it's a great starting point for anyone looking to go down this rabbit hole. However, it falls short on granular controls and stronger privacy, since it's a DNS forwarder, not a full DNS server. This is where services like Technitium come into the picture. Technitium already includes services like DNS-over-HTTPS and a built-in blocker list, with the option to add your domain name to set up client-facing DoH. It is also free and open source; plus, you get DNS-over-HTTPS, DNS-over-TLS, and DNS-over-QUIC out of the box, plus a small algorithm that analyzes different upstream forwarders and picks the fastest. All of this can run off a single Raspberry Pi and may take half an hour to set up, making it a great choice for those who are starting or want to upgrade from Pi-hole. What you will need Parts are cheaper than you think Source: Unsplash The parts you need to set something up at home are pretty straightforward. As you may have figured out from the title, the first thing that you will need is the Raspberry Pi itself. While you do need a relatively newer model, Technitium isn't really a resource hog, so you can get by with an older model you may have lying around at home. I am personally running Technitium off my Raspberry Pi 3B, which handles the network traffic without major interruptions. You'll also need a microSD card. I would suggest getting something fast with around 16 GB of storage for optimal use. You also may optionally need a microSD card reader and an Ethernet cable, depending on whether your device does not already have a microSD card slot and whether you plan to connect your Raspberry Pi to your router via Ethernet. Lastly, you will need a power supply. The one that comes with the Raspberry Pi should suffice, but if you don’t have one, it's best to get one before we move forward with the tutorial. How to set up Technitium It’s not as complicated as you may expect Download and run Raspberry Pi Imager on your PC. Insert your microSD card into the PC (use a card reader if your device doesn't have a microSD card slot). Select your Raspberry Pi model and click Next. Select Raspberry Pi OS (64-bit) from the list of OS and click Next. Select your microSD card. Set up the hostname, enable SSH, and add the Wi-Fi SSID and password if needed (for DNS, it’s better to use Ethernet, as Wi-Fi drops can take the whole network down). Once done, click Next to write the image to the microSD card. Insert the microSD card back into the Pi and boot it. Optionally connect Ethernet if you plan to use a wired connection. You can then SSH into Pi using the credentials and IP address from your router’s admin panel. Once in, run ip addr show to see your current IP and MAC address (look for eth0 for Ethernet, wlan0 for Wi-Fi). Next up, you can log into your router’s admin page or app and set up a static IP. In my case, I logged into Deco’s app and created an address reservation for the Raspberry Pi, so it doesn’t change its IP address when the device reboots or loses power. You can check your router’s manual on how to set this up, as the process varies from hardware to hardware. Now we are ready to install Technitium on Pi. SSH back into Pi and run curl -sSL https://download.technitium.com/dns/install.sh | sudo bash to start the installation. Once done, the installer will give you a URL for the web console. You can also check if the service has started by running sudo systemctl status dns. You should see “active (running)” in green. You can now grab the console URL from the SSH terminal and open it in a web browser of your choice. At the first login, it will ask you to set up a password. If the pop-up doesn't show up, click Administrator in the top right -> Change Password to update the password (the default username and password are admin). Now that Technitium has been set up, we can move on to setting up DoH forwarders. What is DNS-over-HTTPS (DoH)? It really makes a difference in ensuring privacy for your network DNS-over-HTTPS, or DoH, protects and encrypts your requests so no one can eavesdrop. Normally, DNS sends your requests in plain text, which nefarious actors can easily intercept, making you susceptible to man-in-the-middle attacks. DoH uses port 443, which HTTPS uses to send requests. This sequence makes it difficult, if not impossible, for anyone to identify the actual queries or lookups from the sea of HTTPS requests on the network. DoH currently supports HTTP, HTTP/2, and HTTP/3. Technitium on its own is miles ahead of Pi-hole in terms of features, but pair it with DoH, and it becomes a powerful tool in your home, ensuring your web searches and queries are hidden from prying eyes. To set up DoH, you can follow the steps below. Log back into the Technitium web console and navigate to Settings -> Proxy & Forwarders Look for Forwarder Protocol and change it to “DNS-over-HTTPS” In the Forwarders box just above, add the following, then scroll down and save the changes: https://cloudflare-dns.com/dns-query (1.1.1.1) https://cloudflare-dns.com/dns-query (1.0.0.1) https://dns.quad9.net/dns-query (9.9.9.9) https://dns.quad9.net/dns-query (149.112.112.112) Next, go to the Blocking tab and scroll down to Quick Add under the Allow / Block List URLs section. In Quick Add, select the option that suits your needs. When you're done, click Save Settings at the bottom. Before leaving the page, click Update Now in the Block List Next Update On section to force the list to download immediately. Once you are done with the settings in the web console, scroll to the bottom of the settings page and click on Backup Settings. This will back up everything you just did in the web console. Next, we need to use DHCP Server to point the DNS to Pi. This will vary by hardware, so check your router’s manual for how to add a DHCP server. Ensure you add Pi’s IP as the Primary IP address and either leave the secondary IP blank or add Cloudflare’s 1.1.1.1 as a fallback in case Pi goes down. Remember that the fallback IP can’t use DoH and will revert to plain DNS traffic. So, if you are privacy-oriented, it may be best to leave it blank. This way you will know if the server goes down. You will, however, be trading privacy for reliability, so it comes down to your preferences and priorities. You can go back to step 5 if you want to add multiple lists. You can also open the URL populated in the Allow/Block List section to see what services/apps/websites are covered in that specific list before you decide to commit to one. Blocklists refresh every 24 hours, so you always have the most up-to-date version. Adding more lists does not mean more blocking. In fact, more lists will slow down Pi, as it will need significantly more memory to load and query them, not to mention it can unintentionally block/break other services and apps for users on the network. That should do it. Your custom, privacy-focused DNS is now ready to use and running on a Raspberry Pi. To confirm that Technitium is actually working, go to dnsleaktest.com and run a standard test. Look for Cloudflare/Quad9 to show as the ISP instead of your actual ISP, confirming that you're running queries through Technitium. You can also use adblock.turtlecute.org to confirm if the blocklist is working and can block adware and trackers. My network is more private now, but Technitium can do even more There's a lot more this DNS server can do In today’s digital age, privacy is a luxury for many people, whether it's social media tracking your every scroll or a Flock camera in your neighborhood. But it really shouldn’t be this way. What we have covered here is a quick and cheap route to add a bit of privacy to our lives, which we so desperately need. But Technitium doesn't stop there. It offers plenty of features, like a DoH/DoT server that uses your domain and lets your devices talk to Pi outside your home network. Technitium can also act as its own DHCP server, letting you replace your router’s DHCP duties. It is much more than just a Pi-hole replacement and a rabbit hole of its own, or an ambitious project for a privacy-focused person.
I installed Technitium DNS with DoH on a Raspberry Pi to secure my network traffic, and you can do it too
Full Article
Original Source
Read the full article at Xda-developers →KhanList aggregates and links to publicly available news content. We do not host full articles from third-party sources. Always verify important information with original sources.