
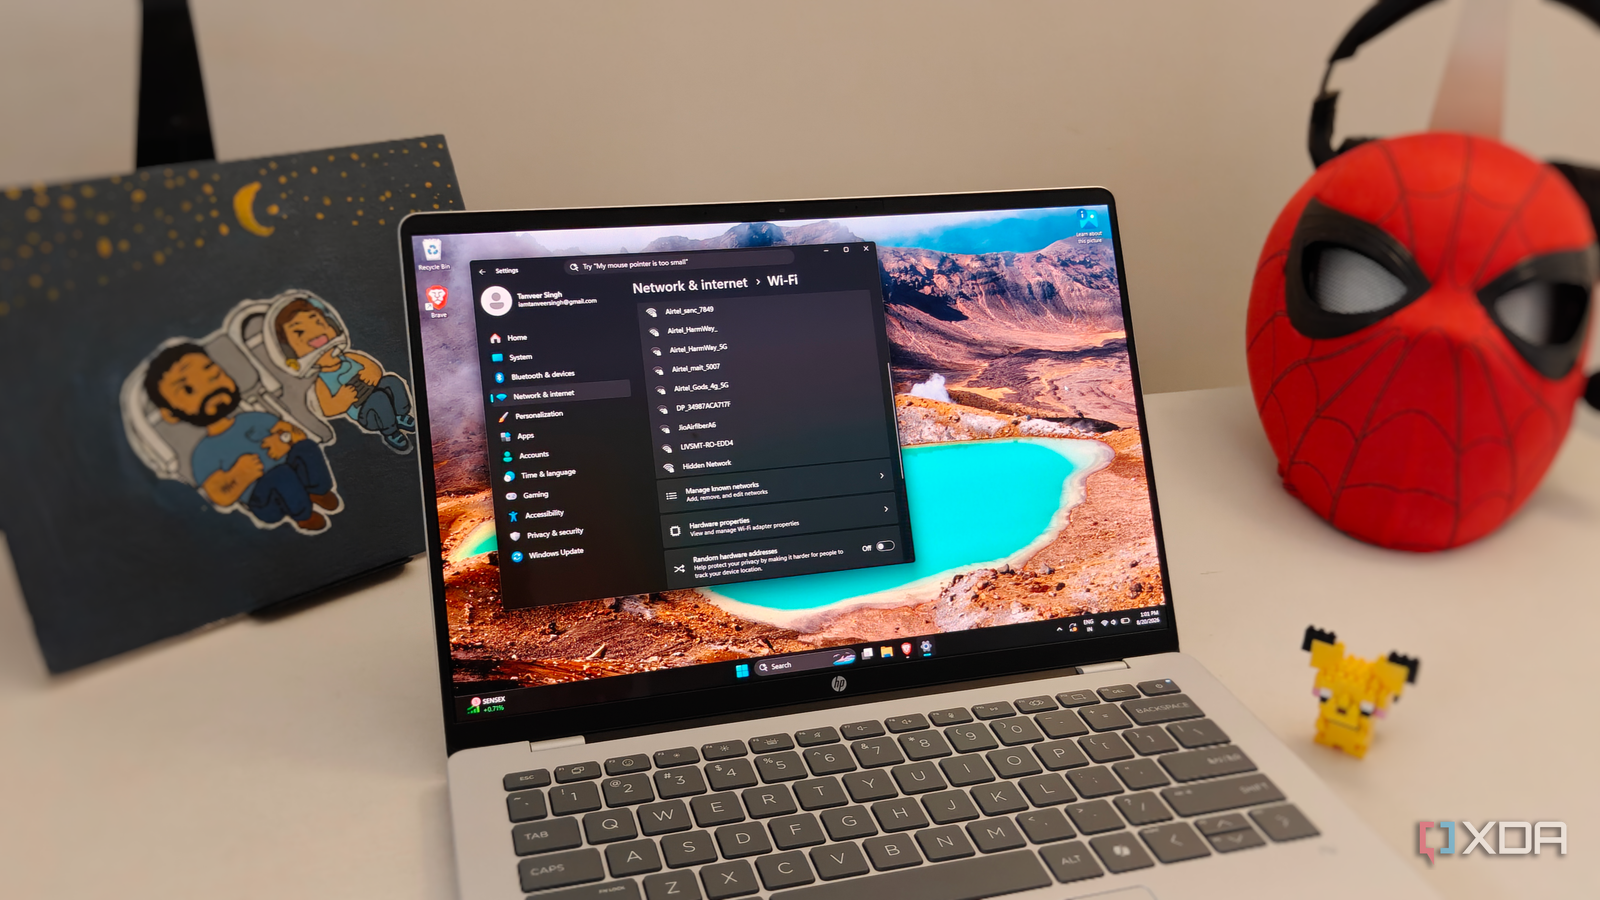
Published Aug 24, 2026, 1:30 PM EDT After a 7-year corporate stint, Tanveer found his love for writing and tech too much to resist. An MBA in Marketing and the owner of a PC building business, he writes on PC hardware, technology, and Windows. When not scouring the web for ideas, he can be found building PCs, watching anime, or playing Smash Karts on his RTX 3080 (sigh). My gaming PC is my dedicated work device, so I'm always on a wired connection, and Wi-Fi is reserved for emergencies. When I'm traveling or working away from my desk, however, using Wi-Fi on my laptop becomes the only option. The default Wi-Fi settings on Windows 11 aren't the best, and you should always spend some time optimizing them on a new machine. That's what I did on my recently purchased Snapdragon X laptop. A combination of wireless adapter tweaks in Device Manager and custom DNS settings in Windows settings was all it took to ensure Windows wasn't holding out on me anymore. Maximize transmit power You don't want your adapter holding back The transmit power of your wireless adapter affects the strength of the signal it sends back to the router. While reducing the transmit power of your router is usually the right call, the opposite is true with your PC's wireless adapter. Since its internal hardware isn't as strong as your router's, setting its transmit power to maximum gives you the best results. You'll find the necessary setting in Device Manager after right-clicking your wireless adapter and selecting Properties. Go to the Advanced tab and find the Transmit Power Level setting. It's usually set to Highest, but if it isn't, then that's the setting you want. Your adapter should now be able to answer back to the router to the best of its abilities. Turn off power saving Stop Windows from throttling your Wi-Fi Power consumption isn't a huge concern on desktops, but when you're on a laptop, you can't ignore it. This is why some power-saving features are usually enabled on Windows by default. This includes Windows' ability to put your wireless adapter to sleep when it's not in use. That said, if you're experiencing unreliable connectivity or Wi-Fi is taking too long to respond after waking from sleep, disabling this setting is recommended. You'll find it in the Power Management tab in the same Properties dialog box of your adapter in Device Manager. Uncheck the Allow the computer to turn off this device to save power box, so that Windows doesn't put your adapter to sleep unexpectedly. You may sacrifice some battery backup, but your Wi-Fi will behave more reliably. Set your preferred band Prevent Windows from choosing the wrong band If you have a distinct 5 GHz or 6 GHz network to connect to, it's easy to avoid accidental slowdowns due to being stuck on the 2.4 GHz band. On the other hand, if the router you're connecting to (at home or outside) has a unified network, your laptop may be stuck on the 2.4 GHz band. Depending on your wireless adapter's quirks and your distance from the router, Windows might have you locked to the slower 2.4 GHz band. To fix this, find the Preferred Band setting in the Advanced tab, and set it to Prefer 5GHz band or Prefer 6GHz band, depending on what's available on the router. This will force Windows to use the faster band instead of silently locking you to the slower one. Of course, you shouldn't be too far from the router that the "faster" band becomes the poor one due to signal degradation. Lower roaming aggressiveness But it's only useful for laptops By default, Windows keeps trying to find the best network available, but this also means your laptop might be doing one too many hops from one network to the other. Even if you've chosen a faster band in the settings, Windows can still jump to a different network if the current signal drops below a threshold. To ensure you remain connected to your preferred network, you should tweak your adapter's roaming aggressiveness. You'll find the setting in the same Advanced tab in the Properties dialog box, and it's recommended to set it to Lowest. Now, once you're connected to a fast enough network, Windows won't constantly try to find a better connection, improving your Wi-Fi reliability. Change your DNS server The default is usually the worst Finally, you should change the DNS servers manually on Windows to ensure a snappier connection. On your home router, you may or may not be able to modify the DNS servers, depending on the router model. Outside your home, the only option is making the change on your device itself. I use Cloudflare's DNS servers on my laptop, since they are faster than my ISP's default servers. You can do this in the Network and internet section in Windows settings. Click on Wi-Fi > Hardware properties, and click Edit next to DNS server assignment. You can then enter the desired server address in the Preferred DNS and Alternate DNS fields. For Cloudflare, these are 1.1.1.1 and 1.0.0.1, respectively. You can also run a DNS Speed Test to find the fastest servers near you, and choose one of the free options. A few tweaks to Windows settings are all it takes to speed up your Wi-Fi Changing your Windows Wi-Fi settings doesn't take long, but the payoff is significant. You're no longer at the mercy of the default settings. Your Wi-Fi is faster and more reliable than ever, and the only downside is a minor hit to battery life. If your laptop has a full-day battery life, this isn't a huge sacrifice, considering the upside.
I changed these 5 Windows settings, and my Wi-Fi immediately became faster
Full Article
Original Source
Read the full article at Xda-developers →KhanList aggregates and links to publicly available news content. We do not host full articles from third-party sources. Always verify important information with original sources.