
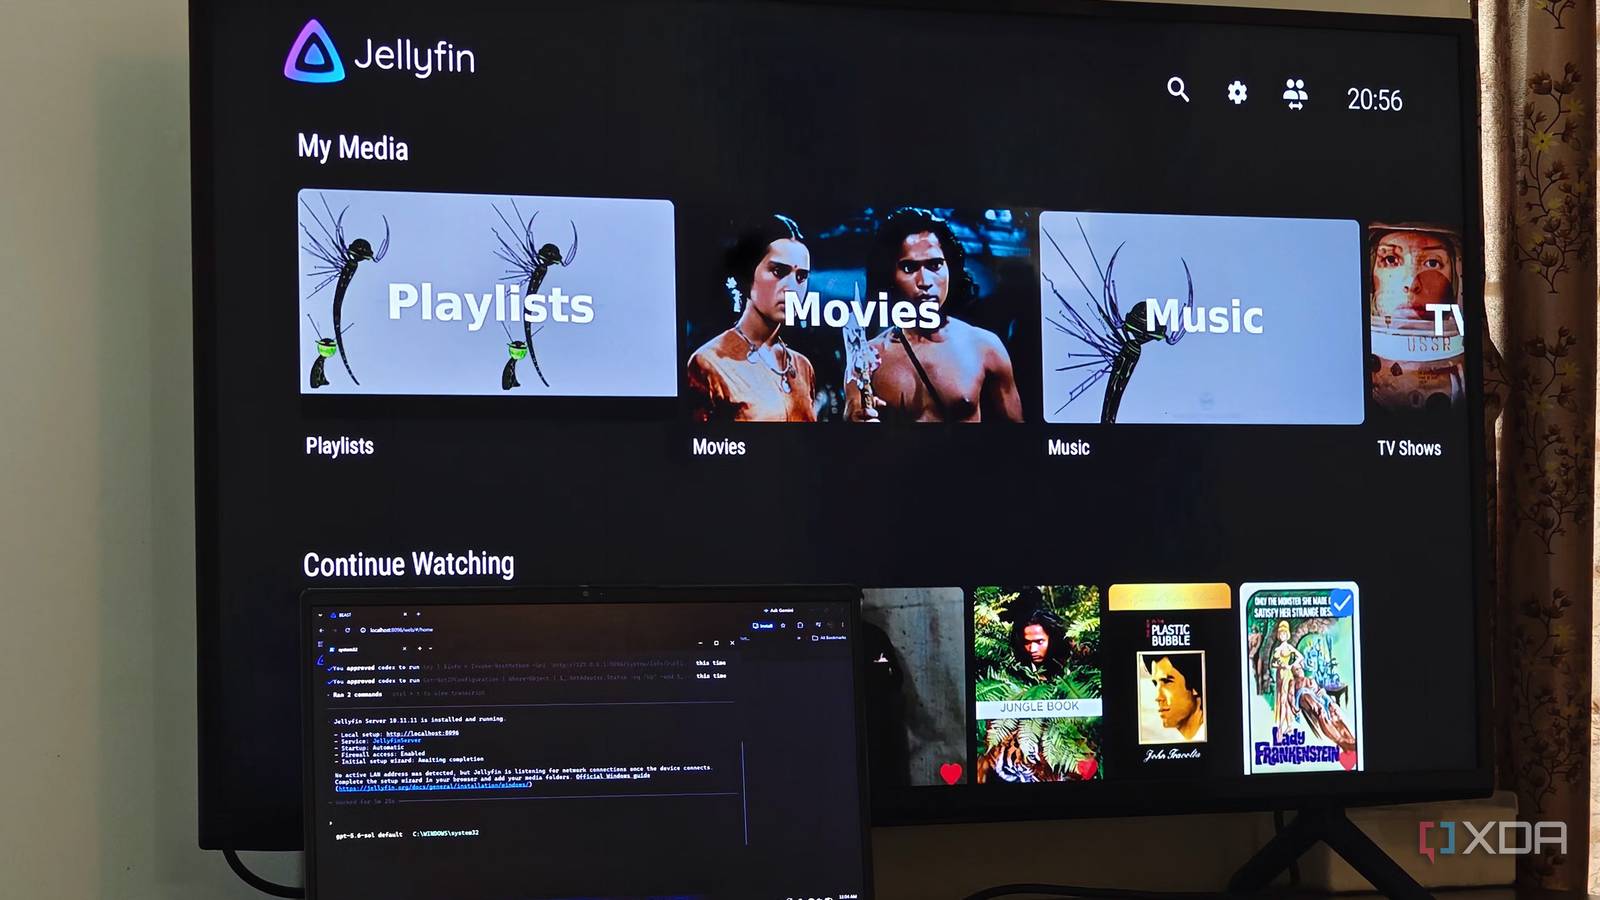
Published Aug 31, 2026, 11:30 AM EDT Anurag is an experienced journalist and author who’s been covering tech for the past 5 years, with a focus on Windows, Android, and Apple. He’s written for sites like Android Police, Neowin, Dexerto, and MakeTechEasier. Anurag’s always pumped about tech and loves getting his hands on the latest gadgets. When he's not procrastinating, you’ll probably find him catching the newest movies in theaters or scrolling through Twitter from his bed. Most TVs on the market have only evolved in terms of the display. You can see one new display technology coming out every year, whether it's Mini LED, RGB, or whatnot. The rest of the hardware on these devices, the actual hardware needed to run all the software these brands keep stuffing into them, has remained abysmal. The most basic use cases, like turning on the TV, scrolling through apps, opening Netflix, or changing a setting, have remained terrible experiences. Many TVs on the market have decade-old processors and only one or two GB of RAM, which results in these TVs becoming extremely slow in just a few years. Try using a few-year-old Samsung, LG, or Sony, and you'll realize what a mess you're dealing with. I've had my share of slow TVs and have wanted to build a streaming box to improve the experience. I repurposed an old Windows laptop I had lying around, and it beats every smart TV I've owned. An old laptop has everything a streaming box needs In fact, more than what is needed A streaming box mainly needs enough performance to decode video, switch between apps, and keep a few services running in the background. Even an older laptop clears that bar comfortably. My laptop has an older-generation Ryzen 5 processor with 4GB RAM, which is already a lot more than what you get in any smart TV out there. 3GB is the max you get in TVs, but you have to spend a lot for those. The laptop also has essential features like Wi-Fi, built-in storage, and an HDMI port, and it has its own power supply and cooling system. It covers most of the things you are going to need. I personally think it's a lot better to build something like a streaming box with this hardware than use a Raspberry Pi, because then you would need to get all the other things. My laptop comfortably streams 1080p without issue, and I think any laptop should be able to handle it. For 4K, you need to check whether its processor supports hardware decoding for the codecs used by your media. HEVC support is particularly important if you have a local 4K library. You also need an HDMI port that supports the required resolution and refresh rate. Your laptop doesn't need much storage to act as a streaming box. It won't hold any media itself. Streaming services handle their own content, while my local library can remain on another computer, NAS, or Jellyfin server. Windows and the necessary applications barely need more than a modest SSD. An SSD is preferable because it makes booting and opening applications noticeably faster, although an old hard drive will still work if you don't mind waiting longer. Turning Windows into a television interface You don't need to make a lot of changes I kept Windows instead of switching to Android TV or a media-focused Linux distro. Windows already had working drivers for the laptop's Wi-Fi, Bluetooth, graphics, and HDMI output. More importantly, most streaming services work properly through their Windows applications or websites. You can always install an unofficial Android TV build, but then you wouldn’t be able to access apps like Netflix. Even if you do, there will be unnecessary problems with DRM and video resolution. After connecting the laptop to the television over HDMI, I configured Windows to use only the television as its display. I selected the TV's native resolution and the highest refresh rate supported by both devices, then changed the audio output to the television over HDMI. I also set the laptop to do nothing when I closed the lid while it was plugged in and disabled automatic sleep. Closing the lid would otherwise suspend the entire machine mid-playback. Setting the television as the only active display also switched off the laptop's screen, so it wasn't wasting power or glowing behind the TV. I installed the streaming services I regularly use as web apps. Each service then opened in a separate window and appeared in the Start menu like a conventional app. For my own media, I installed Kodi and connected it to my Jellyfin library. Kodi gave the local collection a proper television interface with posters, watch history, subtitles, and support for nearly every file format I use. For controls, I paired my phone with the laptop using KDE Connect. Its remote-input feature can turn the phone screen into a trackpad. You can use the media controls to handle playback and volume without requiring a keyboard on the couch. I also added Kodi and my main streaming shortcuts to Windows startup, removed unnecessary startup applications, and disabled notifications. Using my TV for what it was intended for Finally putting it to good use By using my laptop as a substitute for the hardware inside my TV, I am no longer asking the TV to do much. The only things I care about now are picture quality, brightness, refresh rate, and all that. I no longer have to deal with slow boot times, software updates, sluggish menus, or apps taking forever to open. If you have a Google TV and are planning a similar experiment, I suggest switching it to basic TV mode. This removes all the apps and other software that Google TV loads during the full setup. You can also disable the TV's internet access, so it essentially becomes a dumb display. However, you cannot always remove the Netflix, Amazon Prime Video, and YouTube buttons from the remote. Google sometimes requires manufacturers to include certain buttons, while manufacturers may also have deals with individual streaming services. Let me also be clear about the limitations — if you go ahead with this setup, you will miss having a proper remote. The KDE Connect method works and is useful, but it is not a complete replacement. There will still be times when you have to open the laptop and use its keyboard.
I built my own streaming box, and it beats every smart TV I've owned
Full Article
Original Source
Read the full article at Xda-developers →KhanList aggregates and links to publicly available news content. We do not host full articles from third-party sources. Always verify important information with original sources.